1. Introduction: The Art of Upcycling
Upcycling, the process of transforming old or discarded materials into something new and useful, has gained popularity in recent years as a sustainable and creative way to reduce waste. One particularly versatile material for upcycling projects is the humble wooden pallet. In this article, we’ll explore how to repurpose wooden pallets to create a stylish and organized shoe rack that adds character to your home while keeping your footwear neatly stored.
2. The Appeal of Wooden Pallets
Wooden pallets are widely available and often free or inexpensive, making them an ideal material for DIY projects. They come in various sizes and shapes, allowing for flexibility in design, and their rustic charm adds warmth and character to any space. By repurposing wooden pallets, you not only save money but also contribute to sustainability by giving new life to materials that would otherwise end up in landfills.
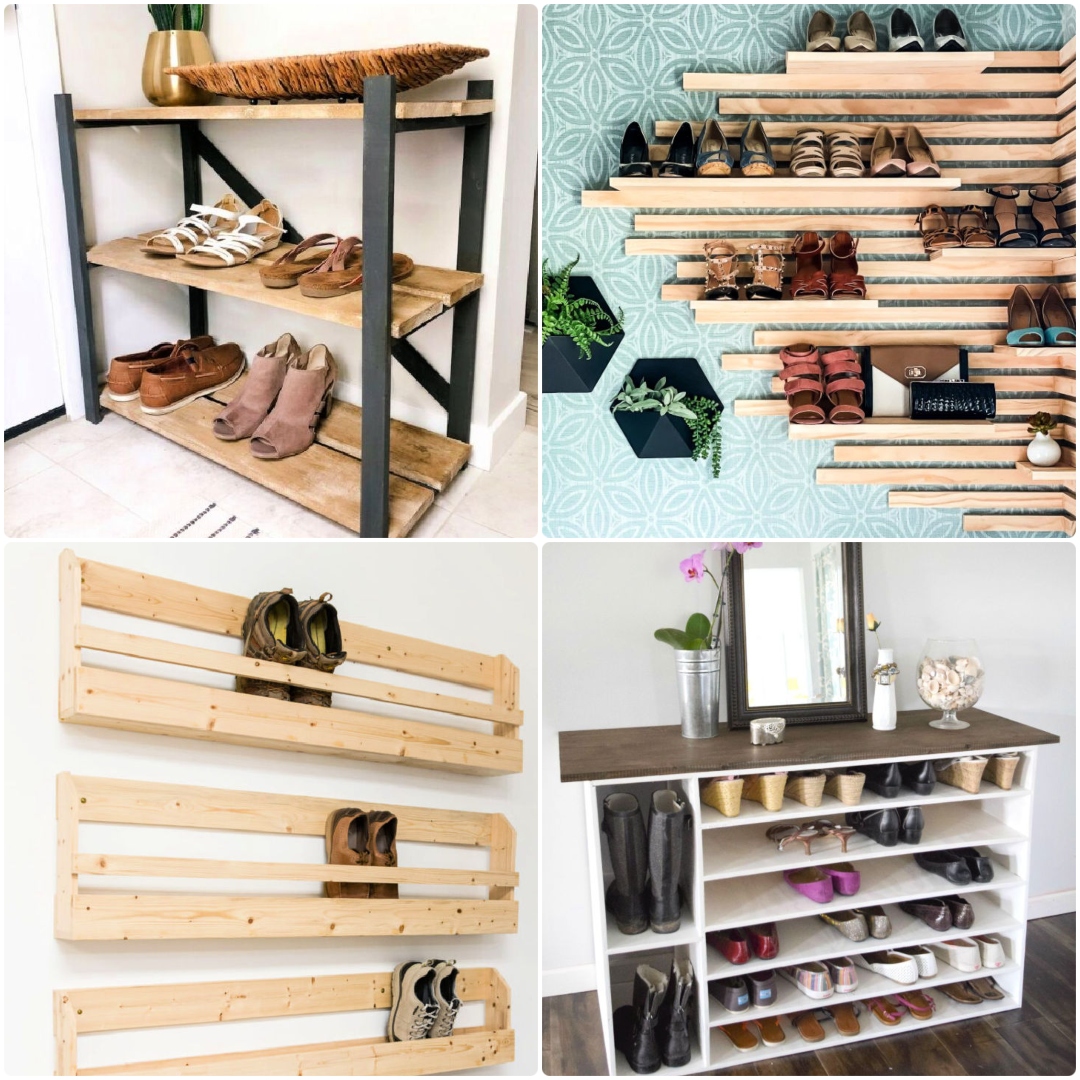
3. Planning Your Pallet Shoe Rack Design
Before diving into your upcycling project, take some time to plan your pallet shoe rack design. Consider factors such as the number of shoes you need to accommodate, the available space in your home, and any specific aesthetic preferences you have. Sketch out a rough design and gather the necessary tools and materials, including a saw, hammer, nails, sandpaper, and paint or stain if desired.
4. Preparing the Wooden Pallets
Once you have your design in mind, it’s time to prepare the wooden pallets for transformation. Start by dismantling the pallets carefully, removing any nails or staples and separating the individual planks. Use sandpaper to smooth out rough edges and surfaces, taking care to remove any splinters or rough patches that could snag your shoes.
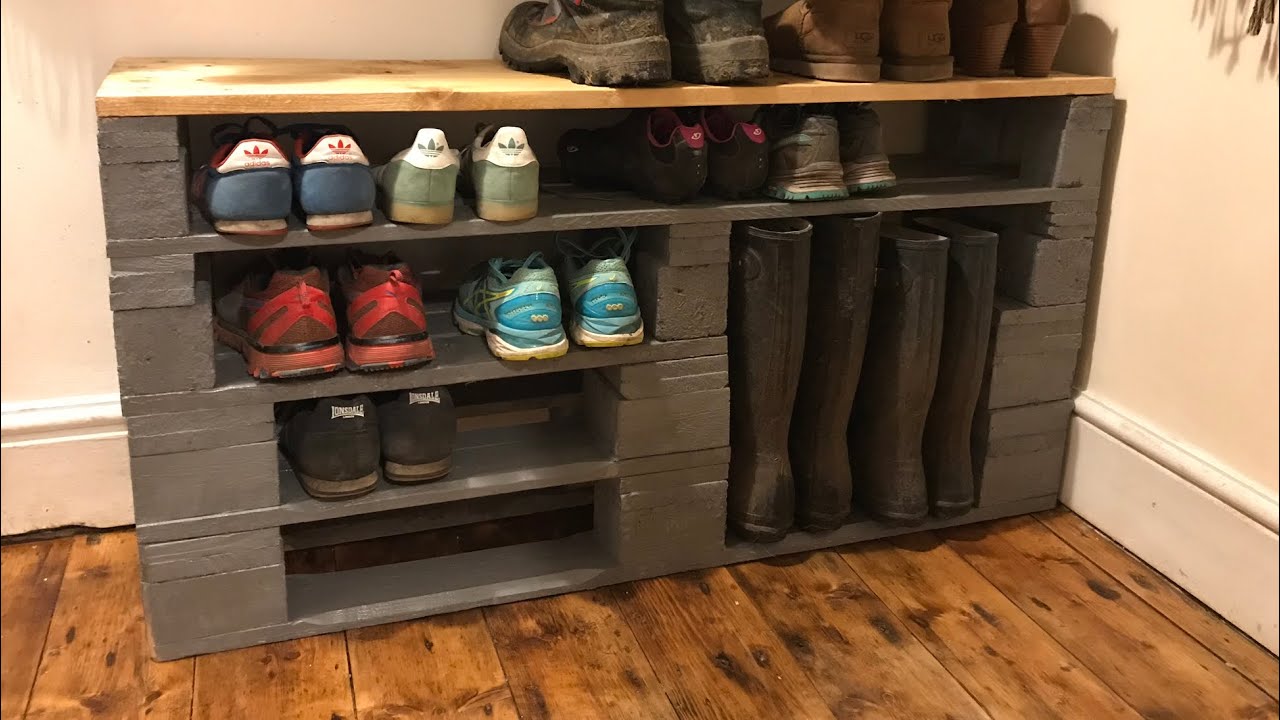
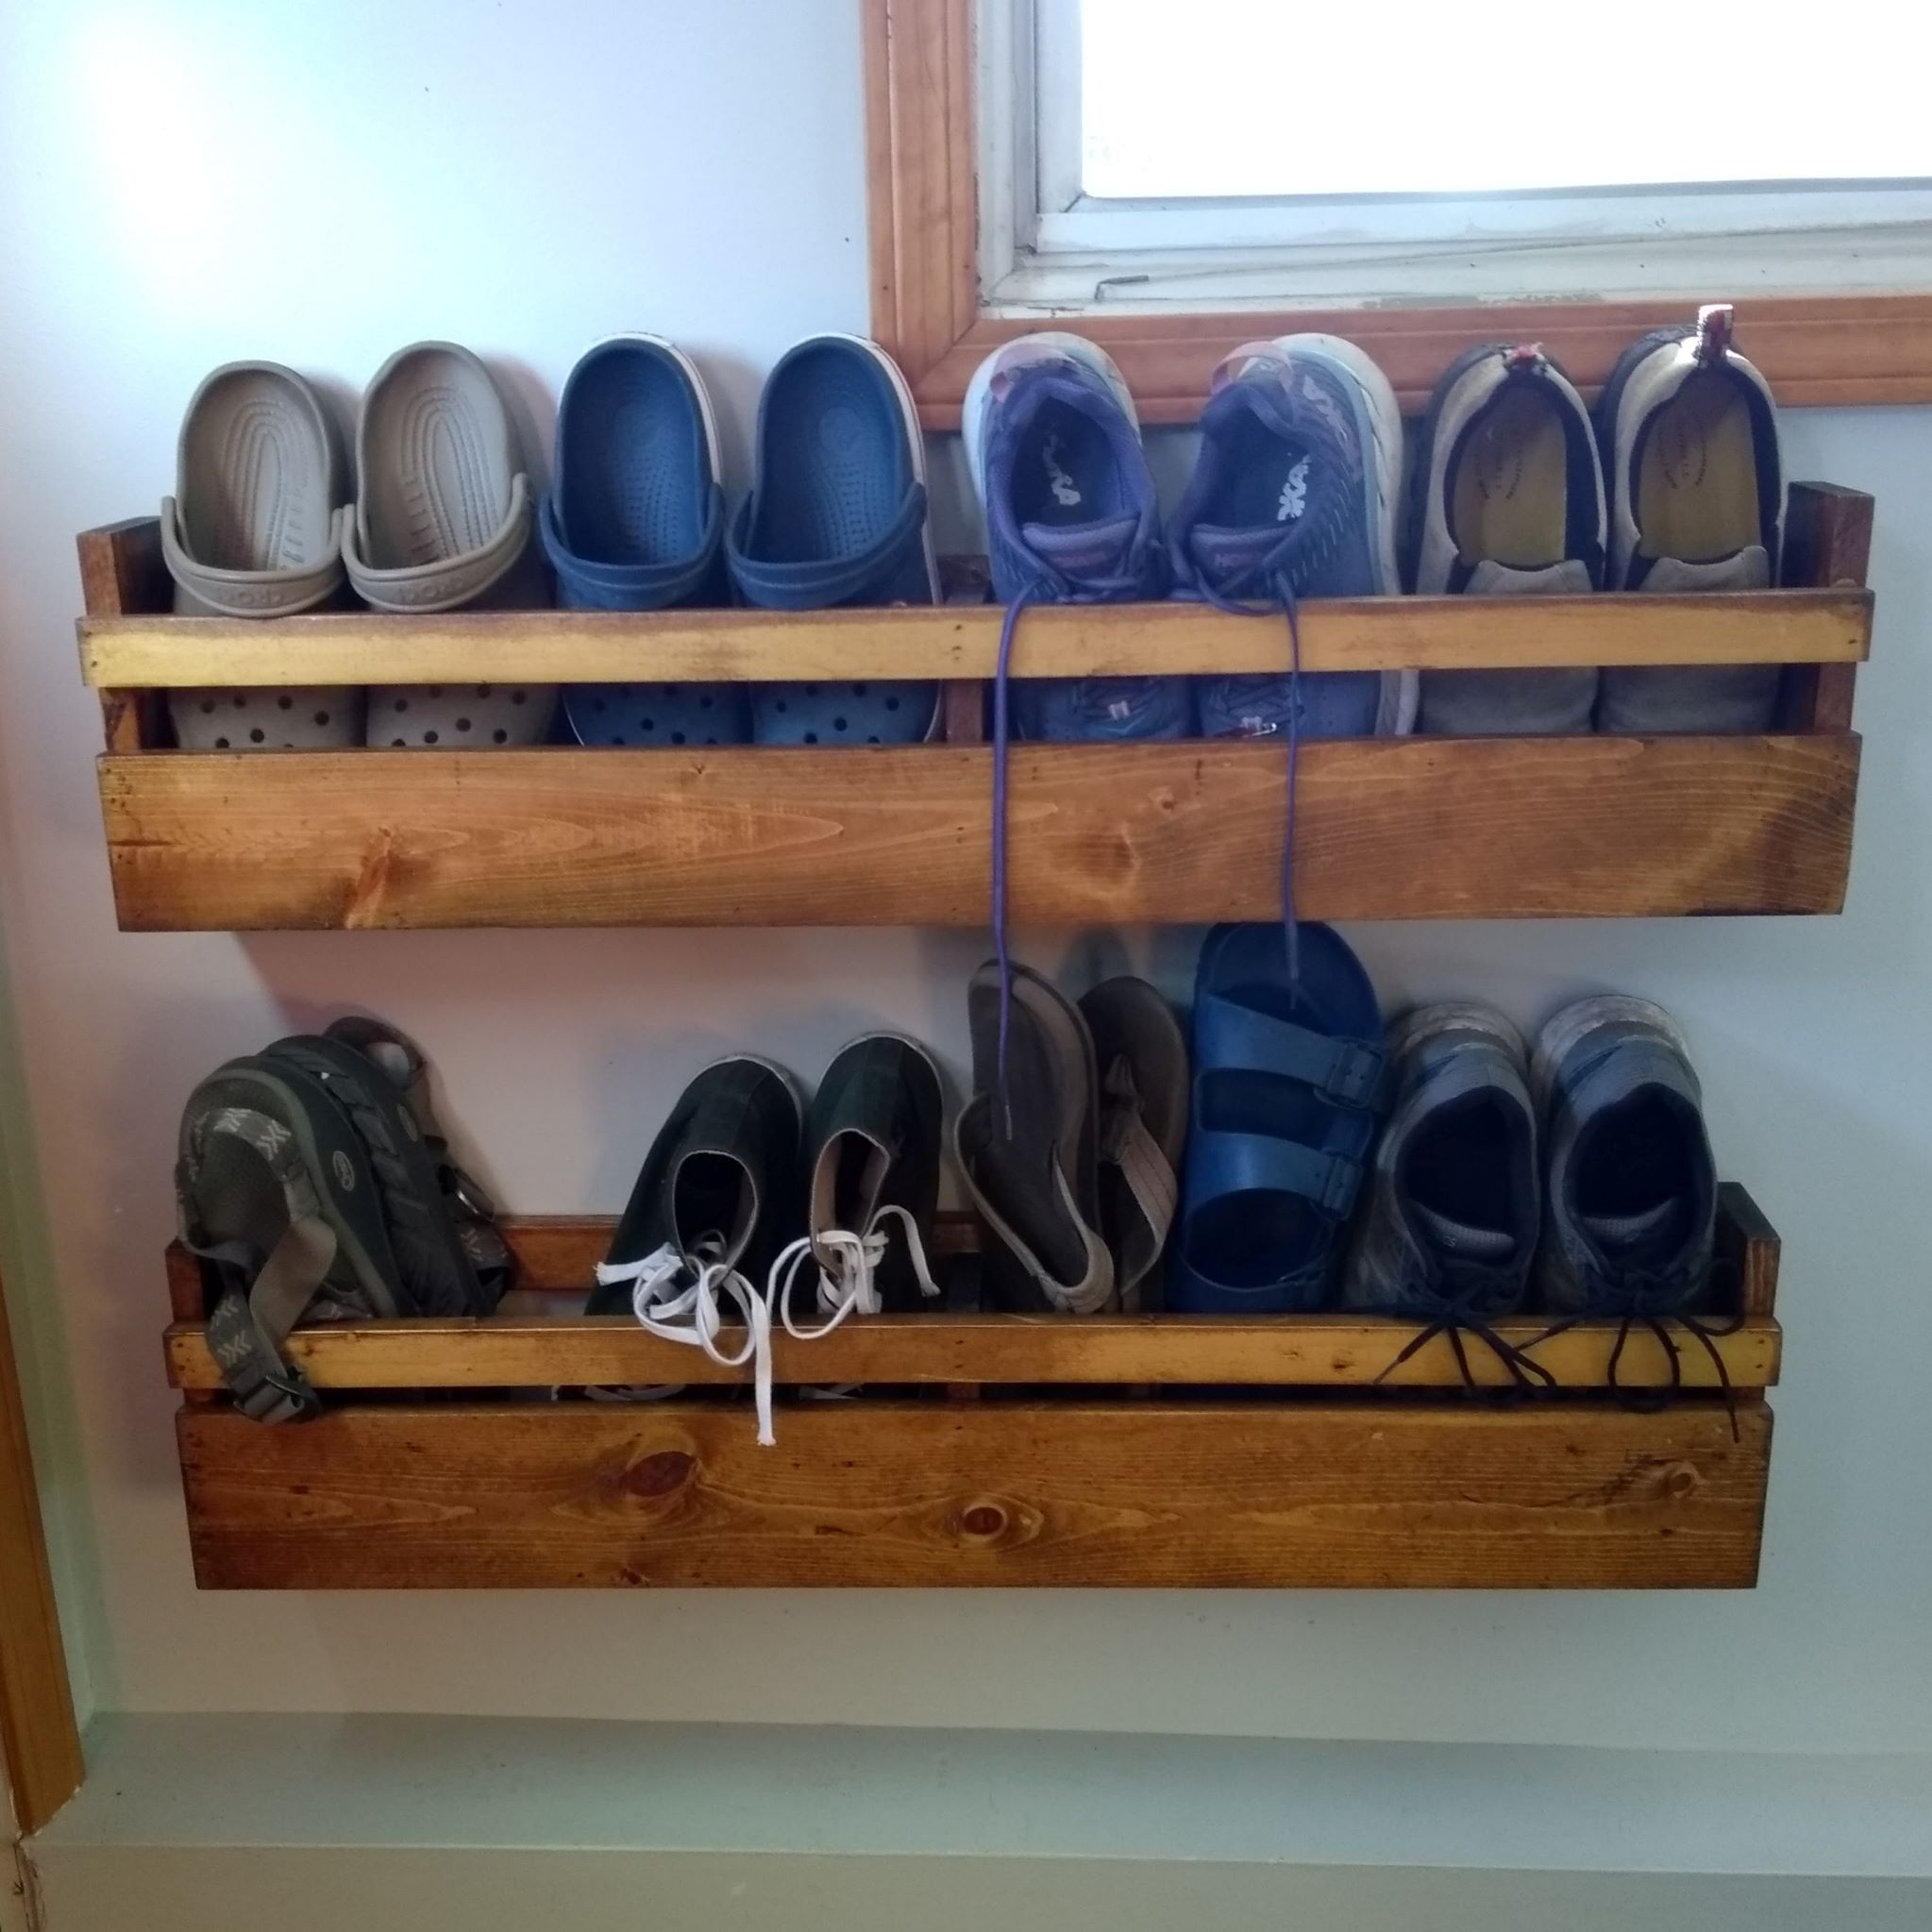
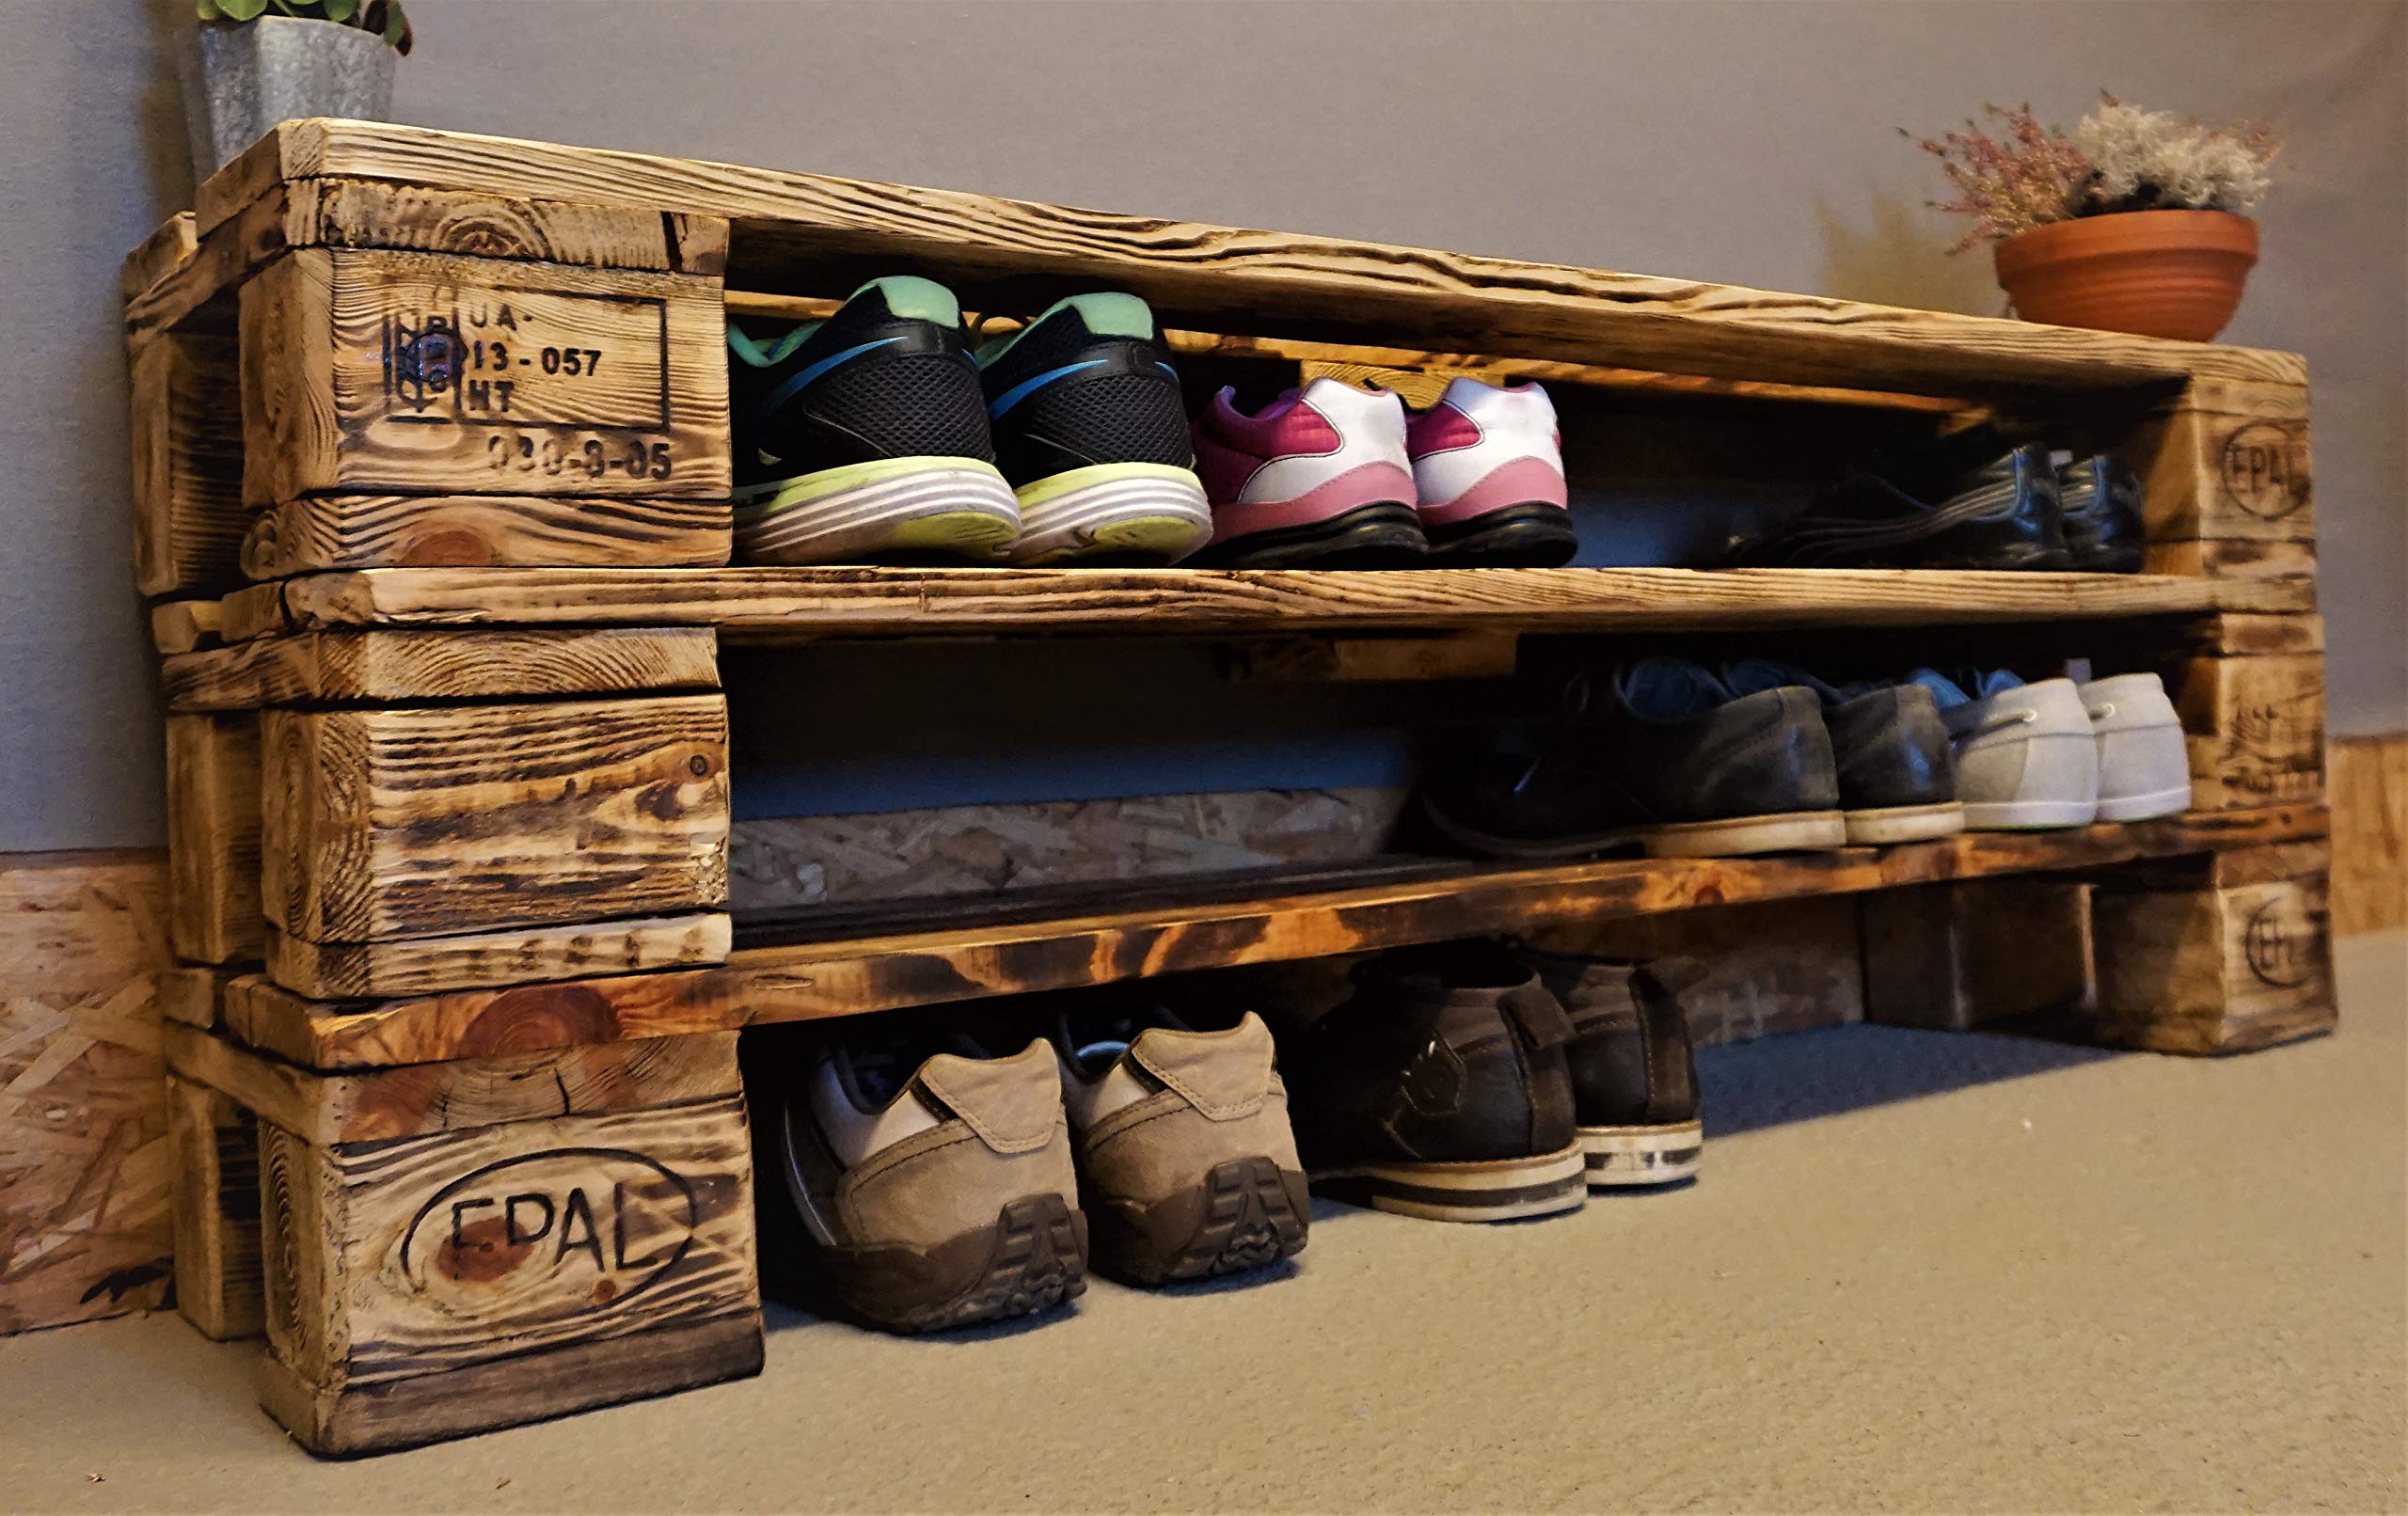
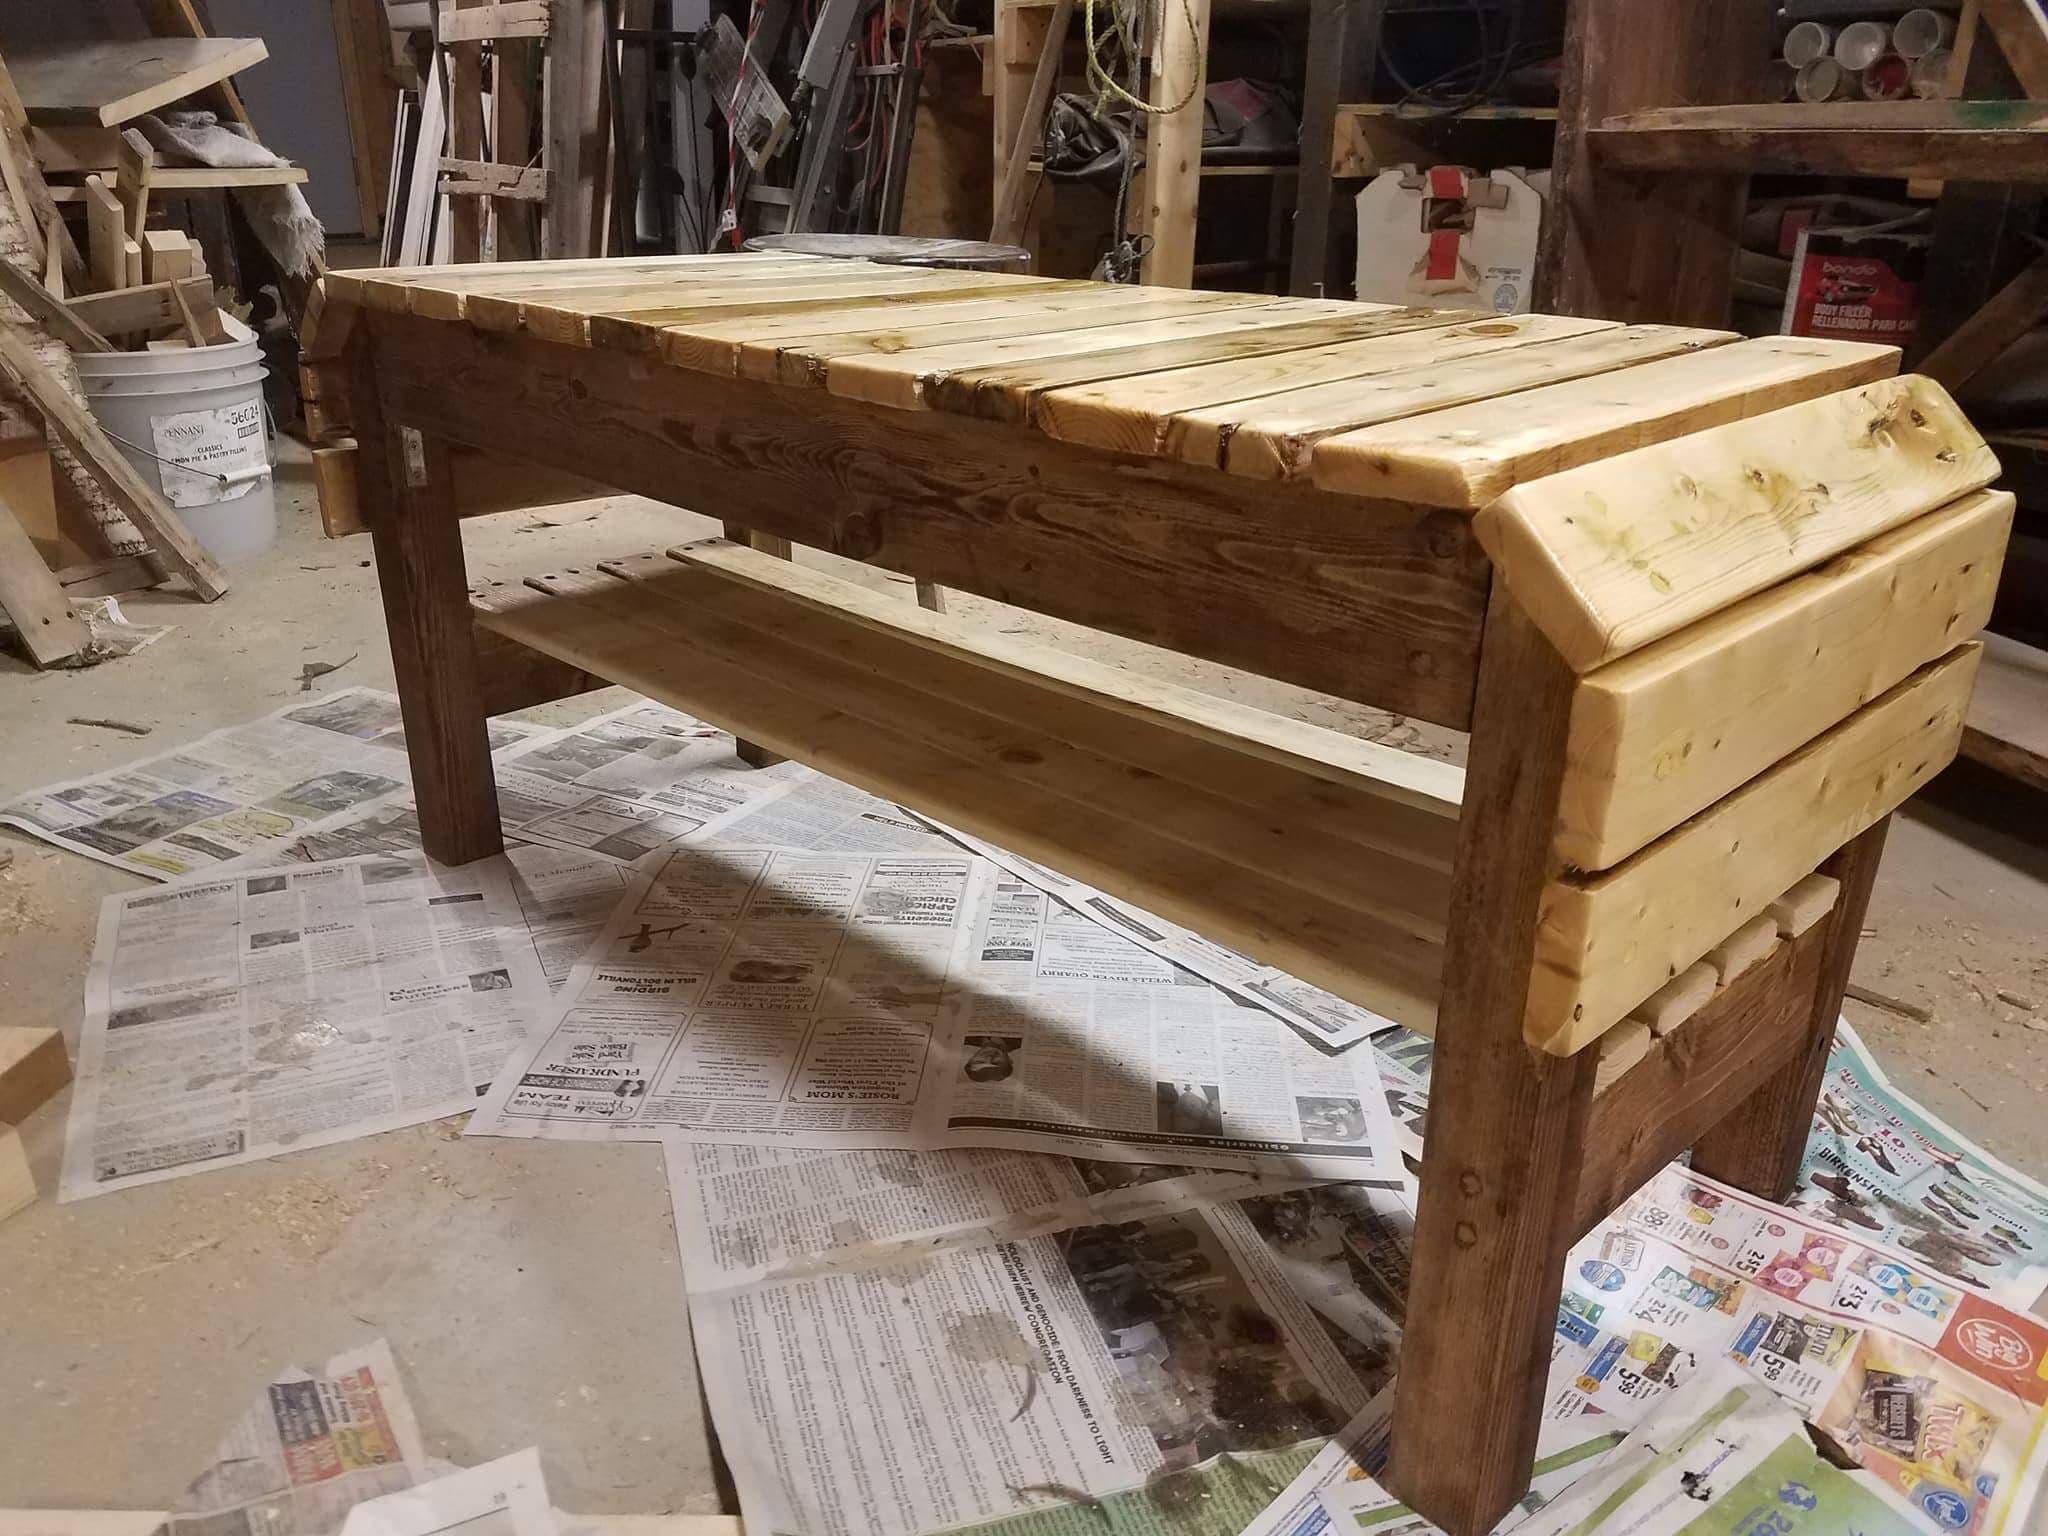
5. Building the Shoe Rack Frame
With your pallet planks prepped and ready, it’s time to assemble the frame of your shoe rack. Begin by laying out the planks to form the base and sides of the rack, ensuring that they are evenly spaced and aligned. Use a saw to trim the planks to the desired length if necessary, then secure them together using nails or screws to create a sturdy frame.
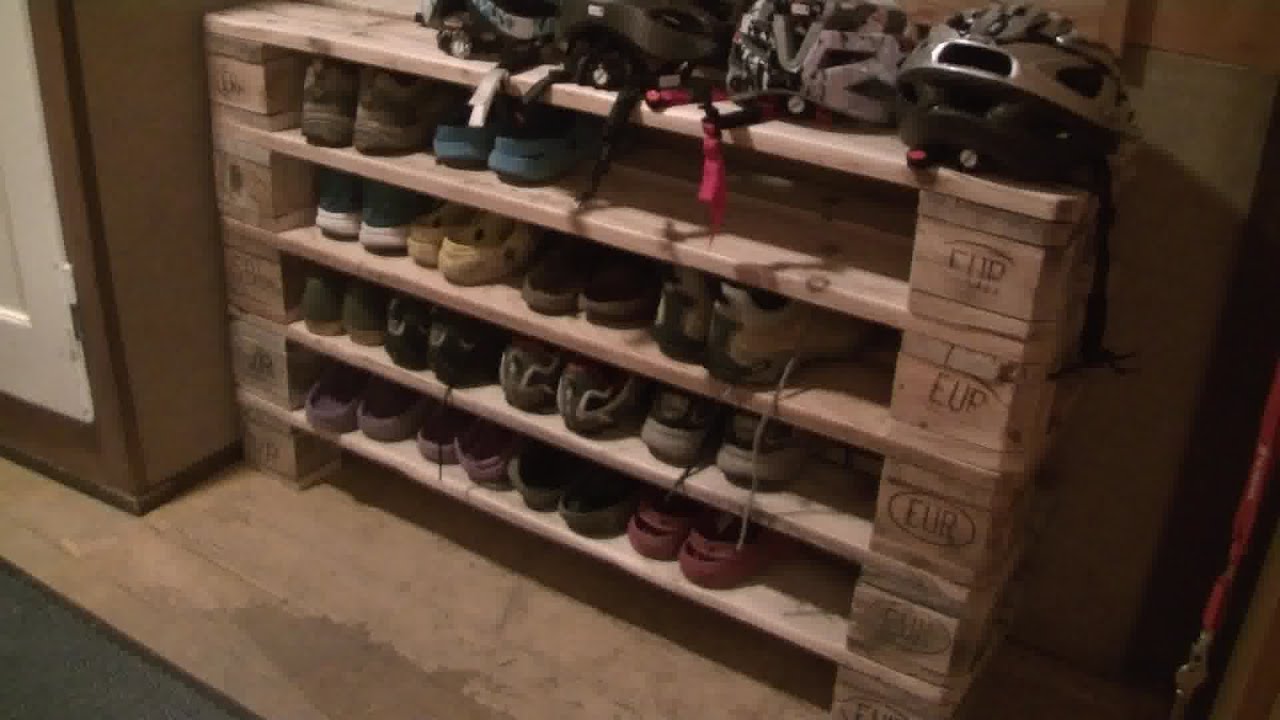
6. Adding Shelves and Dividers
Once the frame is assembled, you can customize your shoe rack further by adding shelves and dividers to organize your footwear. Measure the height of your shoes to determine the spacing between shelves, keeping in mind that taller boots may require more vertical space. Use additional pallet planks or pieces of wood to create shelves and dividers, securing them in place with nails or screws.
7. Finishing Touches: Staining or Painting
With the basic structure of your pallet shoe rack complete, it’s time to add the finishing touches. Consider staining or painting the wood to enhance its appearance and protect it from moisture and wear. Choose a stain or paint color that complements your existing decor and allows the natural beauty of the wood to shine through.
8. Mounting or Positioning Your Shoe Rack
Once your pallet shoe rack is fully assembled and finished, decide on the best location for it in your home. Depending on your space constraints and personal preferences, you may choose to mount the shoe rack on a wall, place it in a closet, or position it near the entryway for easy access. Secure the shoe rack in place using wall anchors or brackets if necessary to ensure stability and safety.
9. Organizing Your Footwear
With your pallet shoe rack in place, it’s time to organize your footwear in a way that maximizes space and accessibility. Consider grouping shoes by type or season, using bins or baskets to corral smaller items like sandals or slippers, and rotating your shoe selection periodically to keep things fresh. By keeping your shoes neatly organized, you’ll not only maintain a clutter-free home but also prolong the life of your footwear.
10. Maintenance and Care
Once your pallet shoe rack is in use, it’s important to maintain it to ensure its longevity and continued functionality. Regularly inspect the rack for any signs of wear or damage, such as loose nails or warped wood, and make any necessary repairs promptly. Additionally, periodically clean the rack with a damp cloth to remove dust and debris, and consider applying a fresh coat of sealant or protective finish to keep the wood looking its best.
11. Sharing Your Upcycling Journey
As you embark on your pallet shoe rack project, consider sharing your journey with others. Whether through social media posts, blog updates, or DIY forums, sharing your upcycling experience can inspire others to embark on their own creative projects and contribute to the growing movement towards sustainability. Plus, you may even pick up some valuable tips and tricks from fellow DIY enthusiasts along the way!
12. Exploring Further Upcycling Opportunities
Once you’ve mastered the art of upcycling with wooden pallets, why stop there? The world of DIY upcycling is vast and diverse, with endless opportunities to repurpose materials and unleash your creativity. From furniture and decor to clothing and accessories, there’s no limit to what you can create with a little imagination and ingenuity. So keep exploring, experimenting, and pushing the boundaries of what’s possible with upcycling!
13. Conclusion: Embracing Sustainability Through Upcycling
In conclusion, upcycling wooden pallets into a stylish and functional shoe rack is not only a practical solution for storage but also a meaningful way to embrace sustainability and reduce waste. By repurposing materials that would otherwise end up in landfills, you not only minimize your environmental impact but also add beauty and character to your home. So why not embrace the challenge of upcycling and embark on your own creative journey today? Your shoes – and the planet – will thank you for it.
14. Get Started Today!
Ready to dive into your pallet shoe rack project? Gather your tools, round up some pallets, and let your creativity soar! With a little time, effort, and imagination, you can transform ordinary materials into something extraordinary – all while making a positive impact on the environment. So roll up your sleeves and get started on your upcycling adventure today!
15. Conclusion: A Sustainable Solution for Shoe Storage
In conclusion, repurposing wooden pallets to create a shoe rack is not only a practical storage solution but also a creative way to upcycle materials and reduce waste. By following these simple steps, you can transform ordinary pallets into a stylish and organized storage solution that adds character and charm to your home while keeping your footwear neatly organized. So why wait? Roll up your sleeves, grab some pallets, and start upcycling today!