In the quest for a clutter-free home, efficient storage solutions play a crucial role. One area that often becomes disorganized is the entryway, where shoes tend to accumulate. Building a built-in shoe rack offers a practical and aesthetically pleasing solution to maximize space and maintain organization in this high-traffic area.
1. Understanding the Importance of Shoe Organization
Maintaining an organized shoe collection is not just about aesthetics; it also enhances functionality and efficiency in daily routines. A cluttered entryway can create unnecessary stress and frustration when searching for the right pair of shoes, especially during busy mornings or when rushing out the door.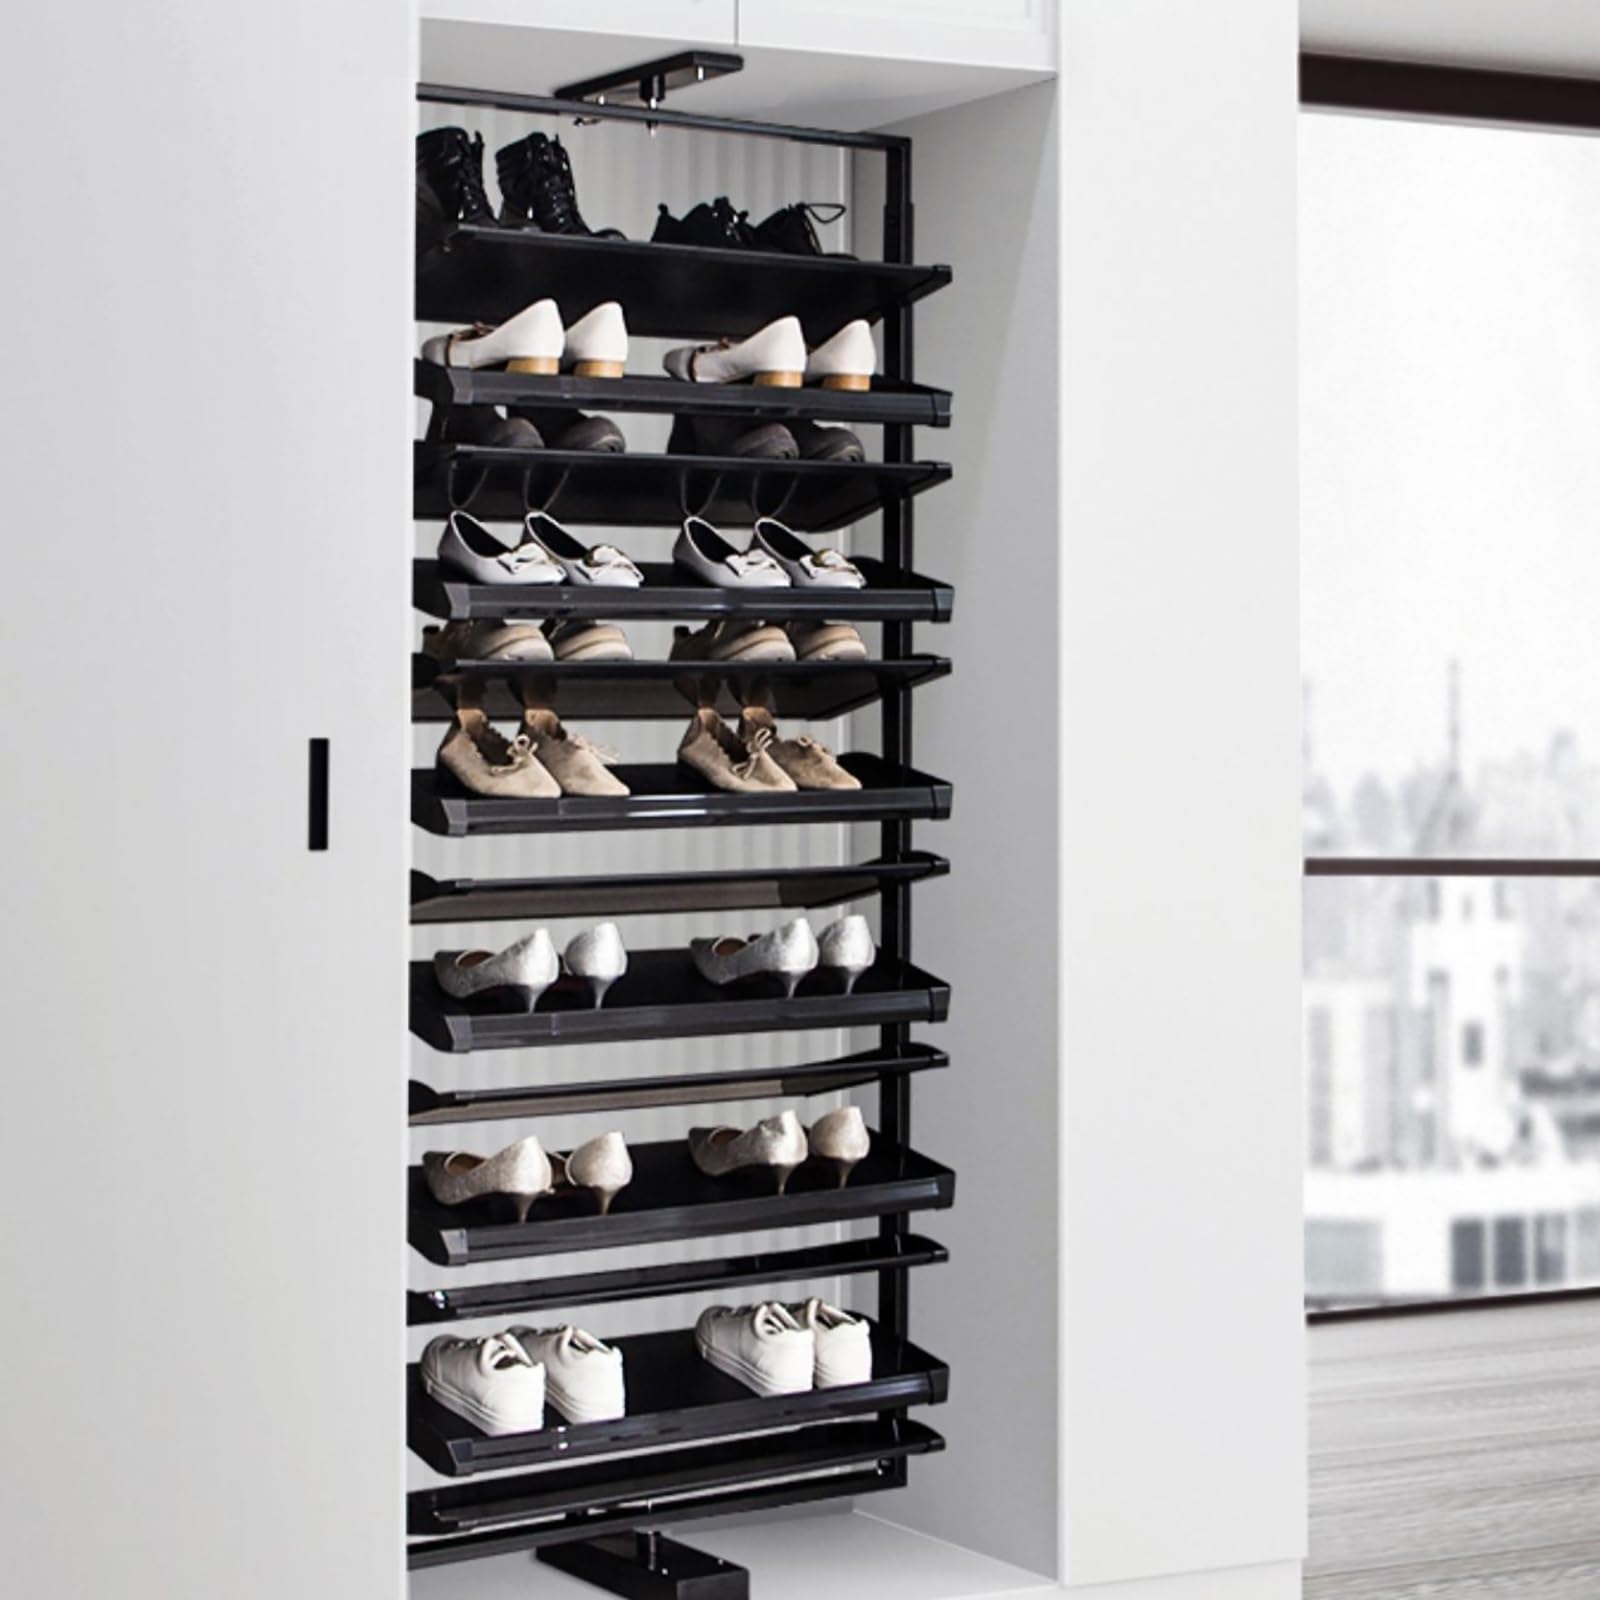
2. Assessing Available Space and Design Considerations
Before diving into the construction process, assess the available space in your entryway and consider the overall design aesthetic of your home. Determine the dimensions and layout of the built-in shoe rack to ensure it complements the existing decor and does not obstruct pathways or doorways.
3. Choosing the Right Materials and Tools
Selecting the appropriate materials and tools is essential for building a sturdy and durable shoe rack. Opt for high-quality wood or composite materials that can withstand daily wear and tear. Essential tools may include a saw, drill, screws, and a level to ensure precision during assembly.
4. Designing a Functional Layout
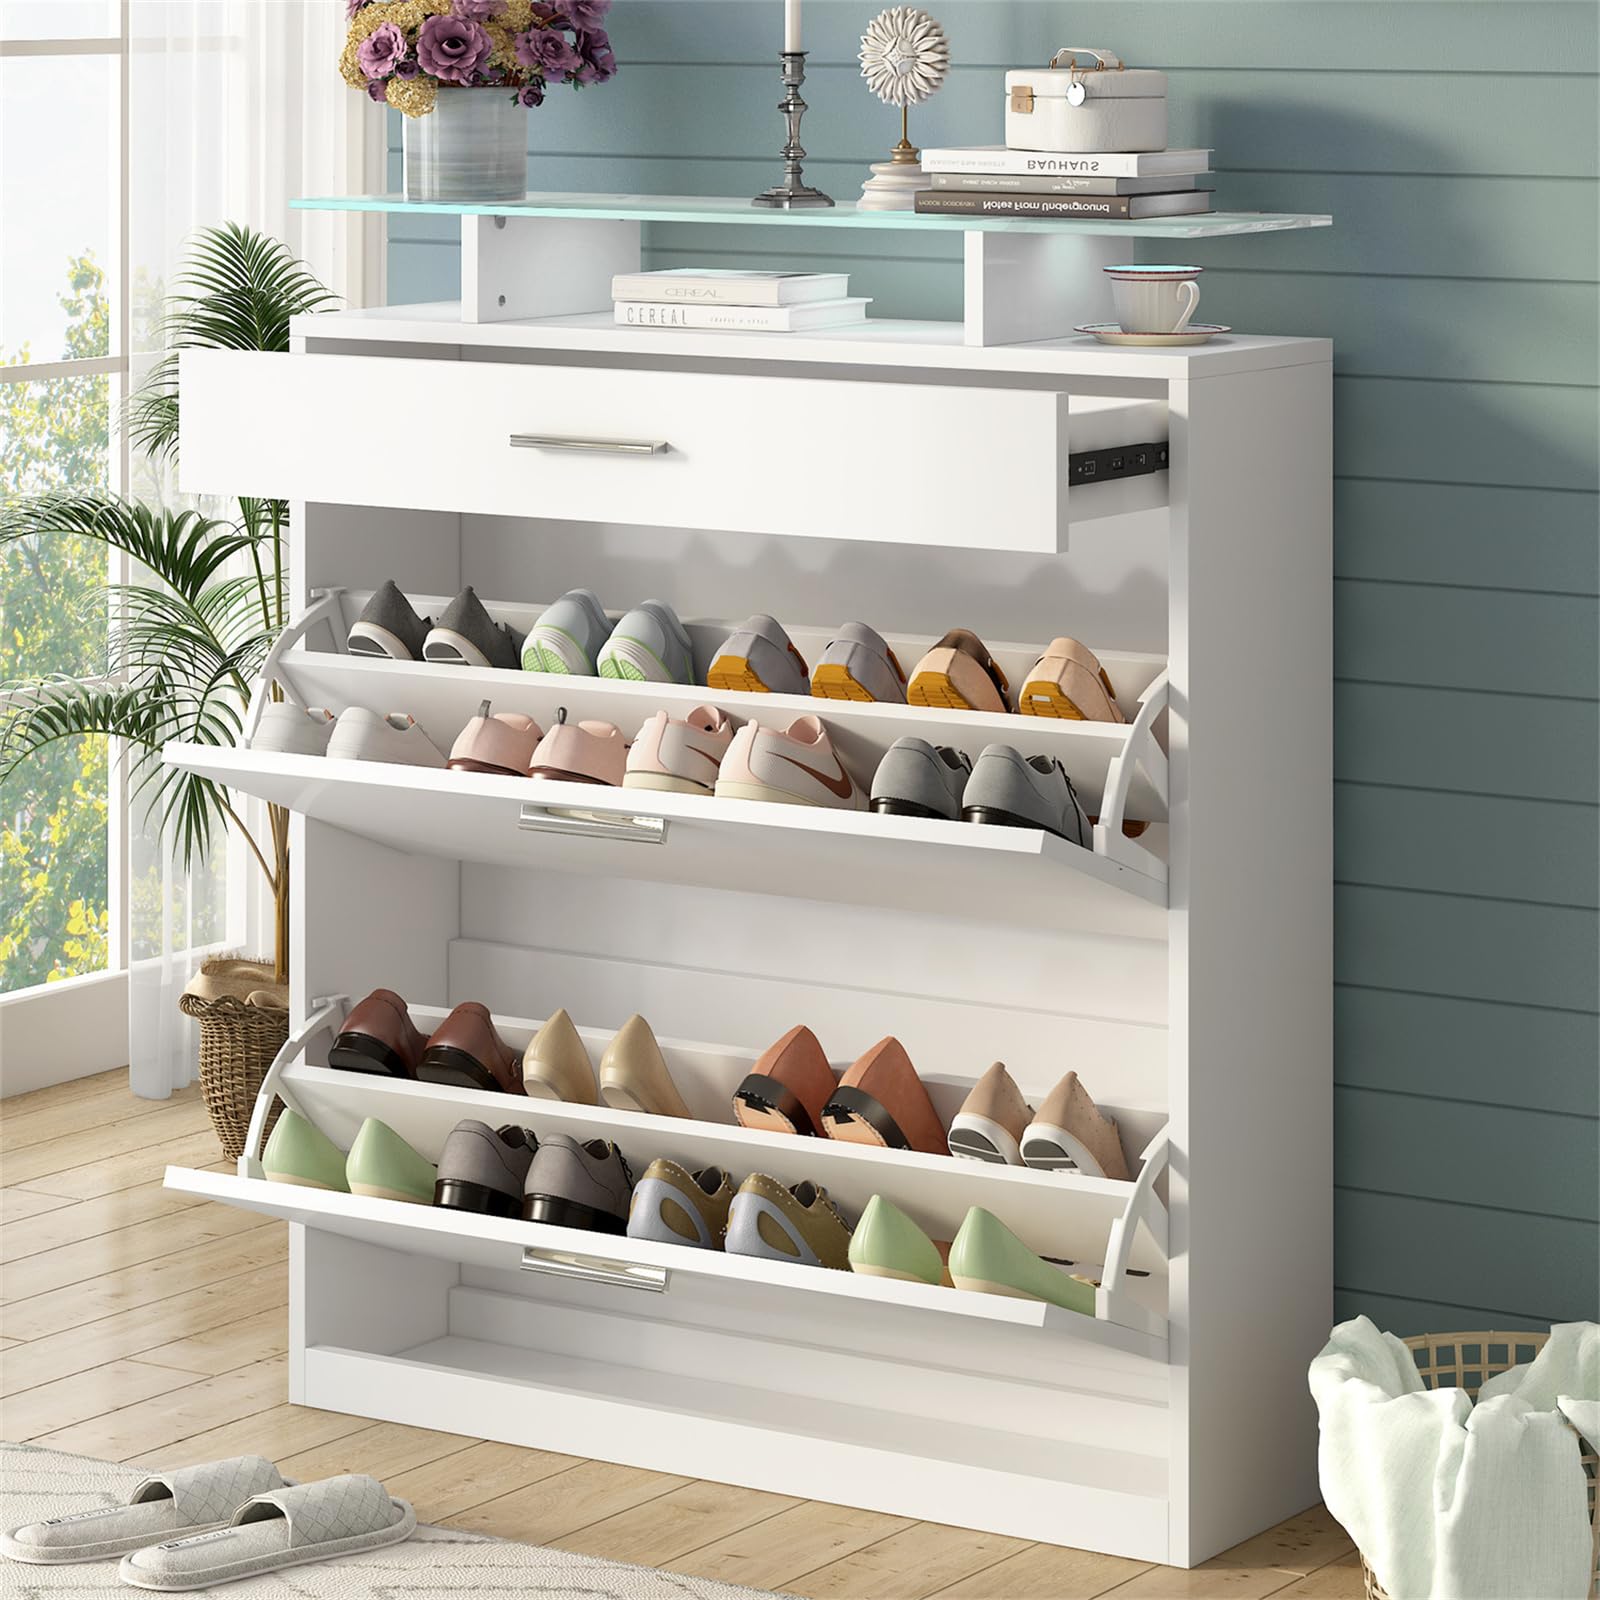
When designing the layout of the built-in shoe rack, prioritize functionality and accessibility. Consider incorporating adjustable shelves or cubbies of varying heights to accommodate different types of footwear, from boots to flats. Additionally, leave space for taller boots or shoe storage baskets at the bottom for added versatility.
5. Incorporating Additional Features for Organization
To further enhance organization, consider incorporating additional features into the built-in shoe rack design. Install hooks or pegs along the sides or bottom of the rack for hanging keys, umbrellas, or bags. You can also integrate a bench or seating area for added convenience when putting on or removing shoes.
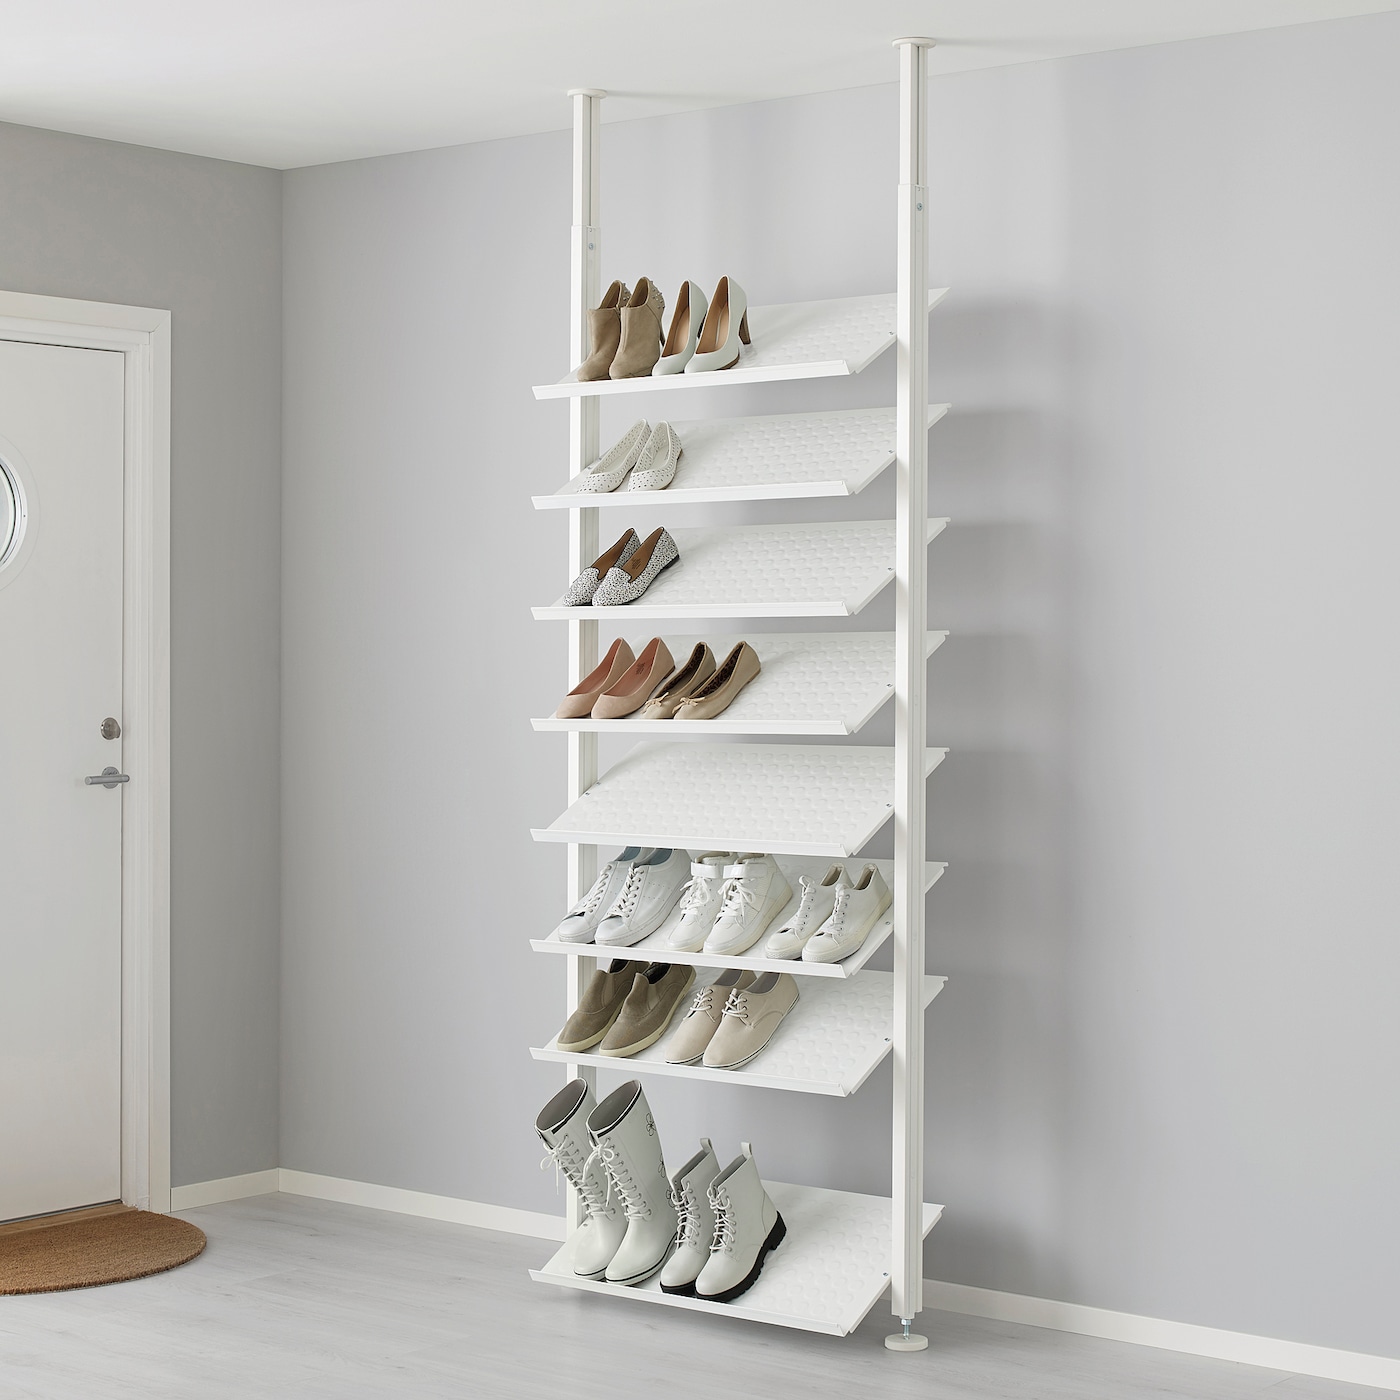
6. Implementing Space-Saving Solutions
In smaller entryways or apartments with limited space, maximizing vertical storage is key. Utilize wall-mounted shoe racks or over-the-door organizers to make the most of vertical space without sacrificing valuable floor space. These space-saving solutions can be easily incorporated alongside the built-in shoe rack for enhanced organization.
7. Customizing the Finish and Aesthetic
Personalize the built-in shoe rack to match your home’s decor and design aesthetic. Choose a finish that complements existing woodwork or furniture, whether it’s staining to enhance the natural grain of the wood or painting to add a pop of color. Consider decorative elements such as molding or trim to elevate the overall look.
8. Ensuring Proper Installation and Stability
Proper installation is crucial to ensure the stability and durability of the built-in shoe rack. Follow the manufacturer’s instructions carefully and use sturdy hardware to secure the rack to the wall or floor. Use a level to ensure that the shelves are installed evenly and securely, preventing any potential accidents or mishaps.
9. Maintaining and Organizing the Shoe Rack
Once the built-in shoe rack is installed, establish a routine for maintaining organization and cleanliness. Regularly declutter and remove any shoes that are no longer worn or needed. Consider implementing a shoe rotation system to prevent overcrowding and ensure that frequently worn pairs are easily accessible.
10. Enjoying the Benefits of a Well-Organized Entryway
With the built-in shoe rack in place, enjoy the benefits of a well-organized entryway that welcomes you home with style and functionality. Say goodbye to clutter and hello to a stress-free morning routine, knowing that your shoes are neatly stored and easily accessible whenever you need them.
Building a built-in shoe rack is a rewarding DIY project that not only enhances the organization of your home but also adds value and charm to your entryway. By following these steps and incorporating thoughtful design considerations, you can create a functional and stylish storage solution that maximizes space and minimizes clutter.
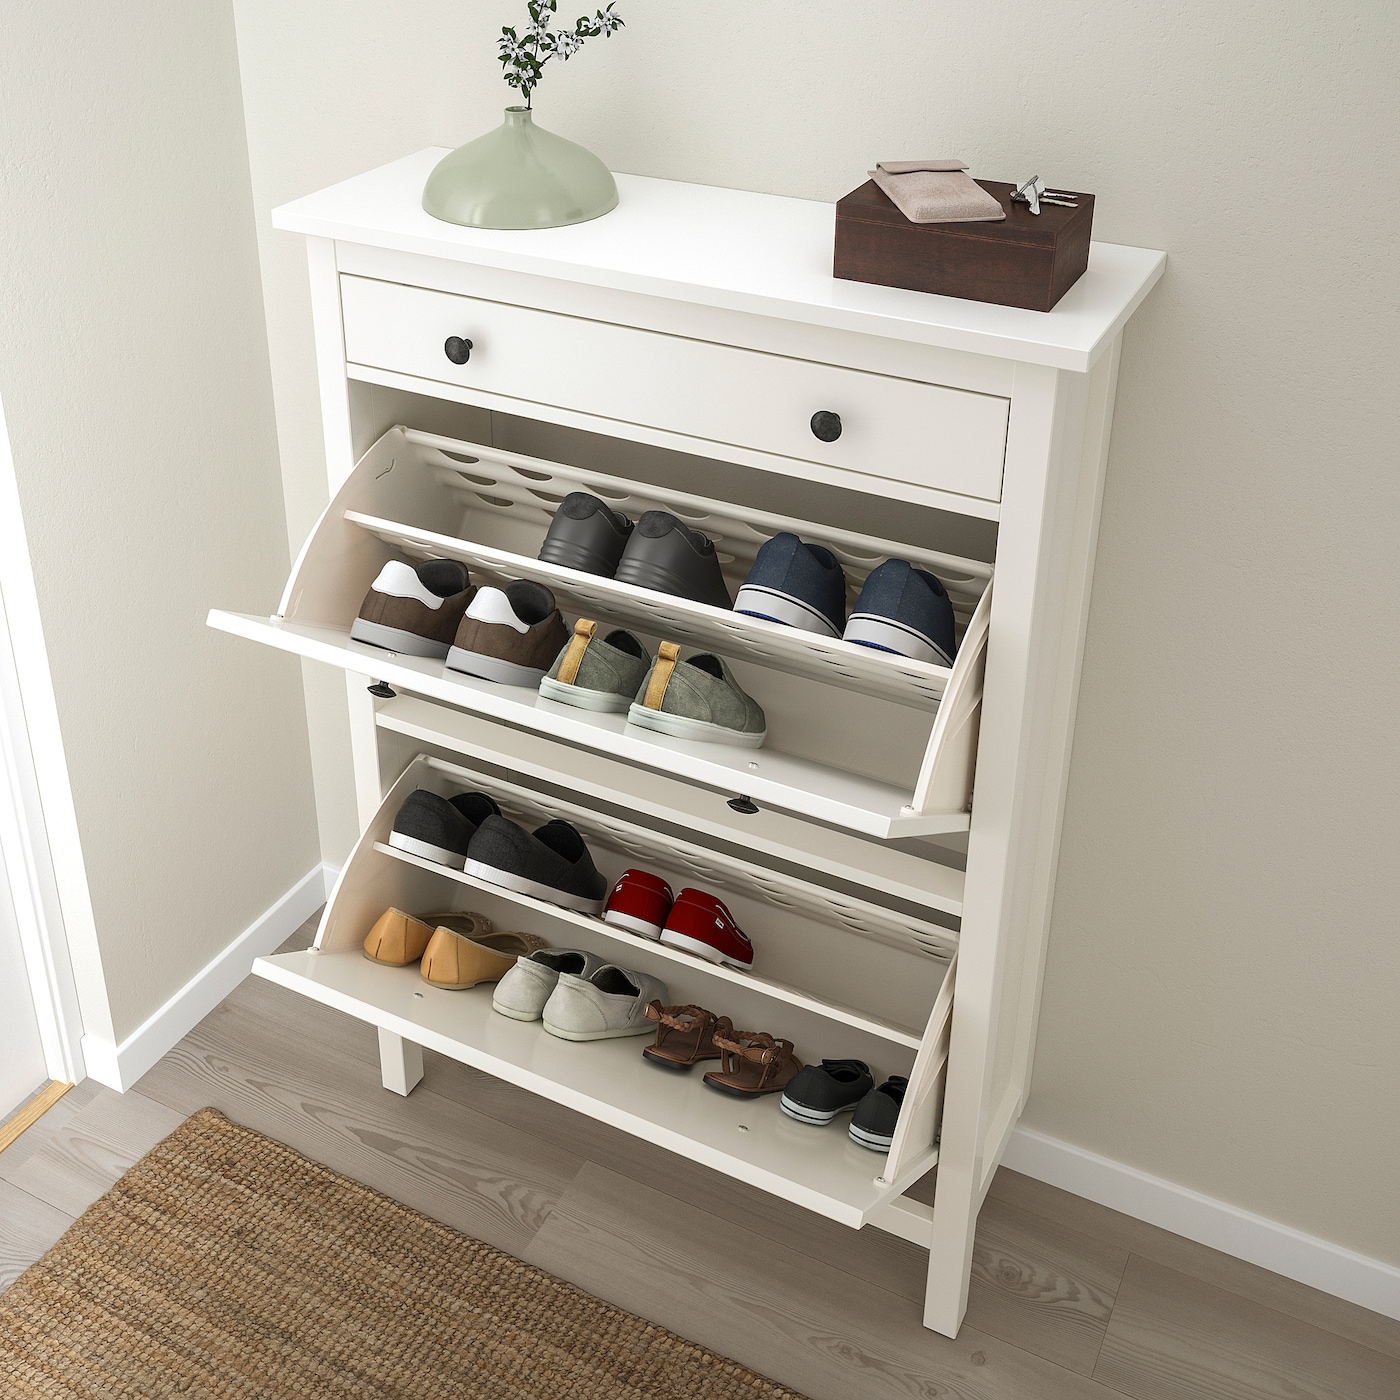
11. Incorporating Hidden Storage Solutions
For added versatility and functionality, consider incorporating hidden storage solutions into the design of the built-in shoe rack. Install pull-out drawers or compartments beneath the seating bench to discreetly store seasonal accessories such as gloves, scarves, or hats. This hidden storage not only maximizes space but also helps keep clutter out of sight for a cleaner and more organized entryway.
12. Enhancing Visibility with Lighting
To enhance visibility and create a welcoming ambiance, consider adding lighting elements to the built-in shoe rack. Install LED strip lights along the underside of shelves or within recessed alcoves to illuminate the contents of the rack and guide you during nighttime use. This subtle lighting not only adds a touch of sophistication but also improves safety and functionality.
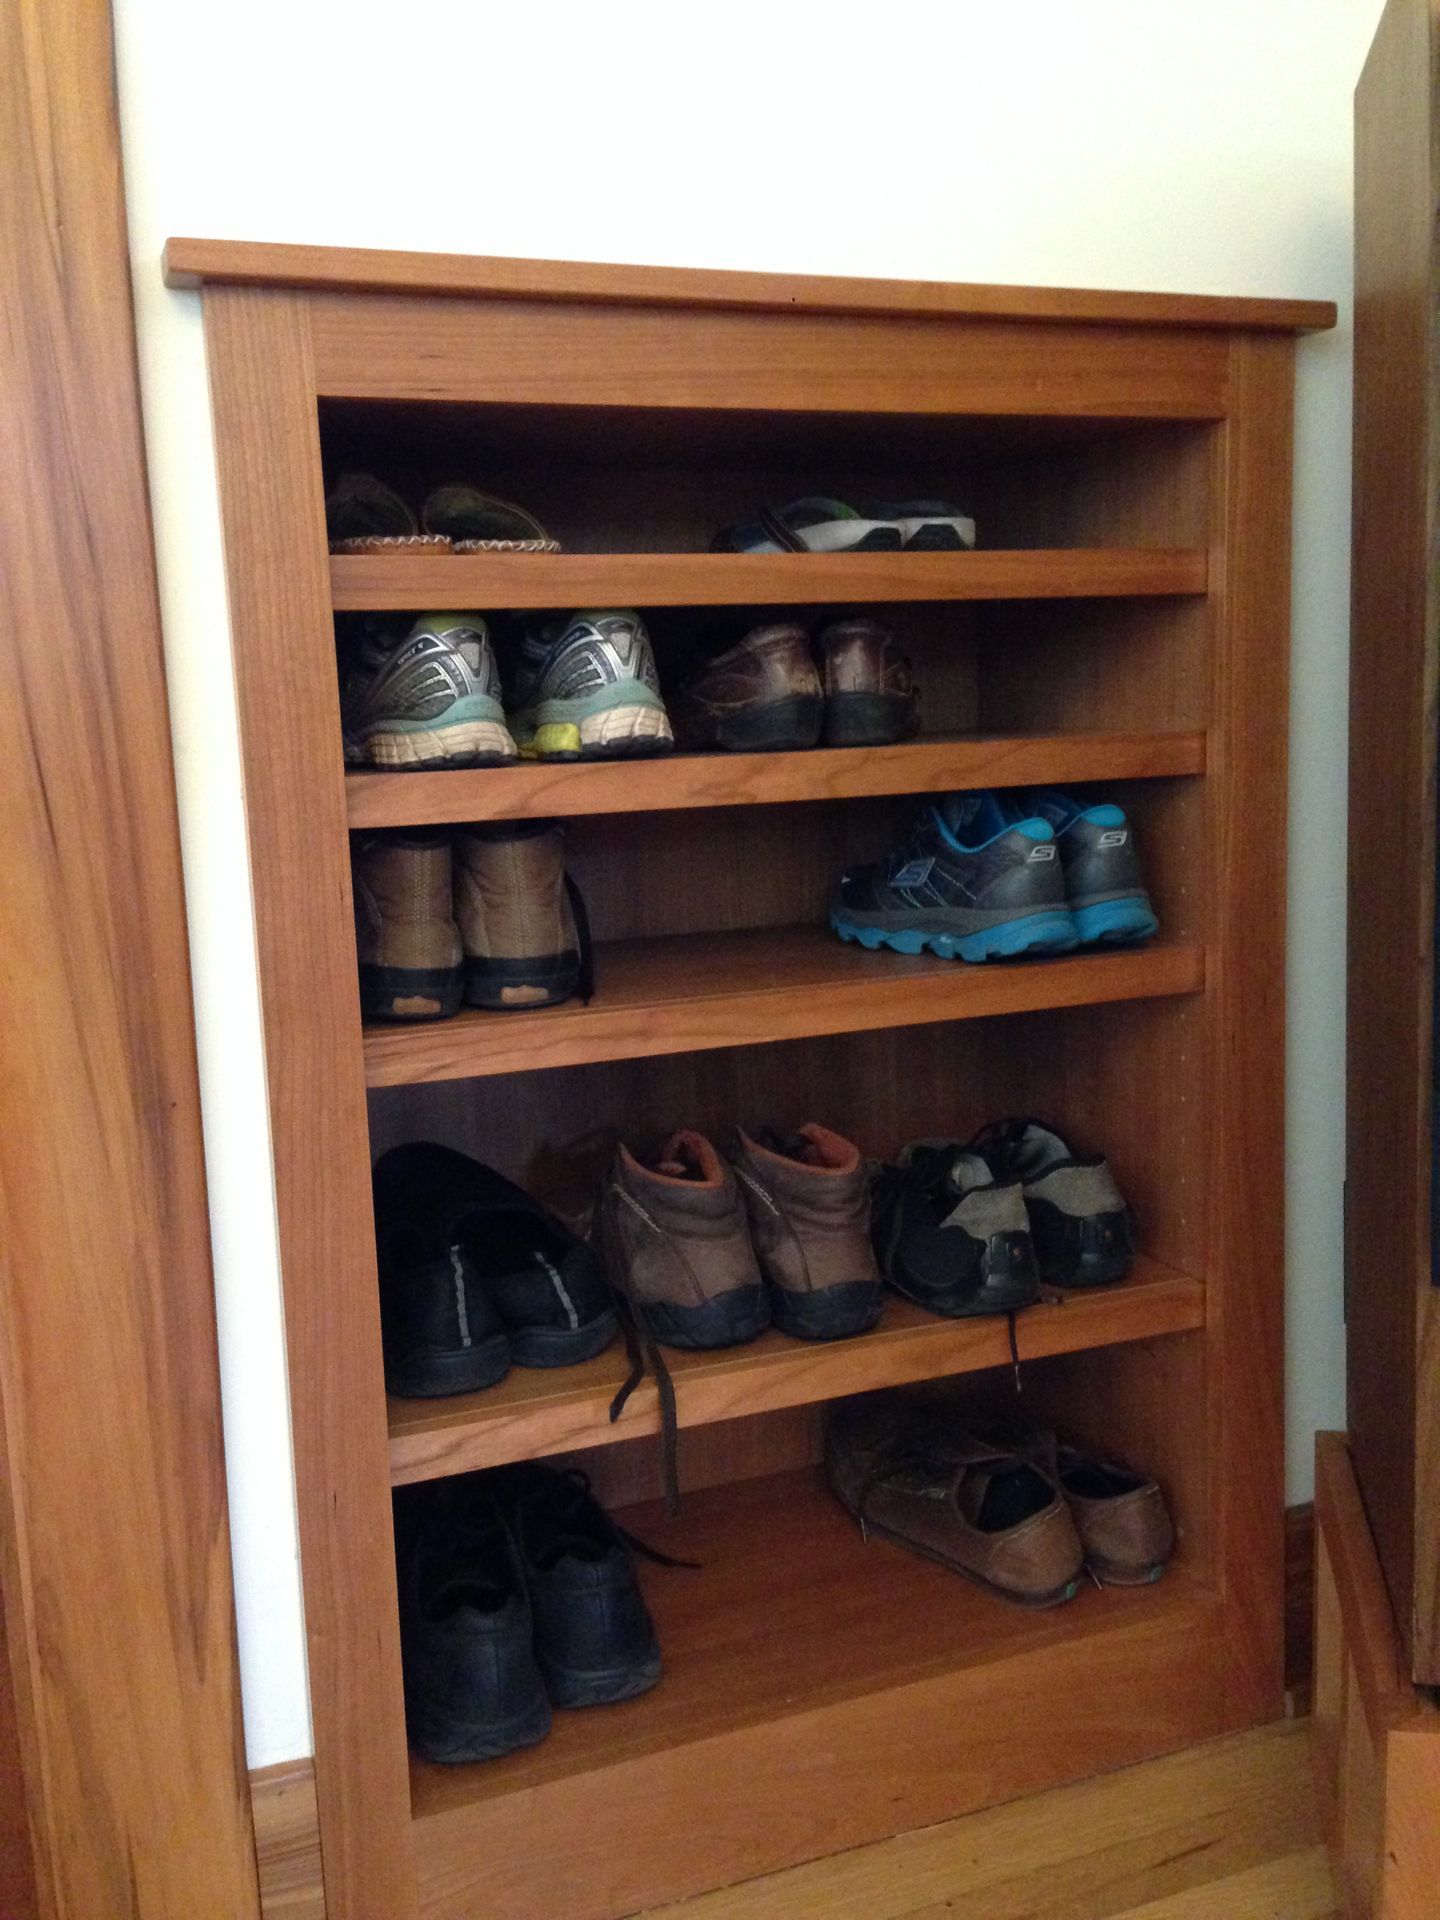
13. Creating a Customized Shoe Storage System
Every shoe collection is unique, and a one-size-fits-all approach may not always suffice. Consider customizing the built-in shoe rack to accommodate specific shoe styles or storage preferences. Incorporate adjustable shelving or removable dividers to accommodate shoes of varying sizes, from dainty flats to bulky boots, ensuring that each pair has its designated space.
14. Expanding Storage Capacity with Overhead Shelves
For homes with high ceilings or ample vertical space, consider expanding the storage capacity of the built-in shoe rack with overhead shelves. Install additional shelves above the main rack to store less frequently worn shoes or seasonal items, such as sandals or flip-flops. This vertical storage solution maximizes space while keeping frequently used footwear within easy reach.
15. Incorporating Eco-Friendly Materials and Practices
In addition to functionality and aesthetics, consider incorporating eco-friendly materials and practices into the construction of the built-in shoe rack. Opt for sustainable wood sources or reclaimed materials to minimize environmental impact and promote responsible consumption. Additionally, use low-VOC finishes and adhesives to ensure a healthier indoor environment for you and your family.
16. Maintaining Versatility with Modular Design
To adapt to changing needs and preferences, consider incorporating a modular design into the built-in shoe rack. Use modular shelving units or interchangeable components that can be easily reconfigured or expanded as your shoe collection grows or your storage requirements change. This flexibility ensures that your storage solution remains versatile and functional for years to come.