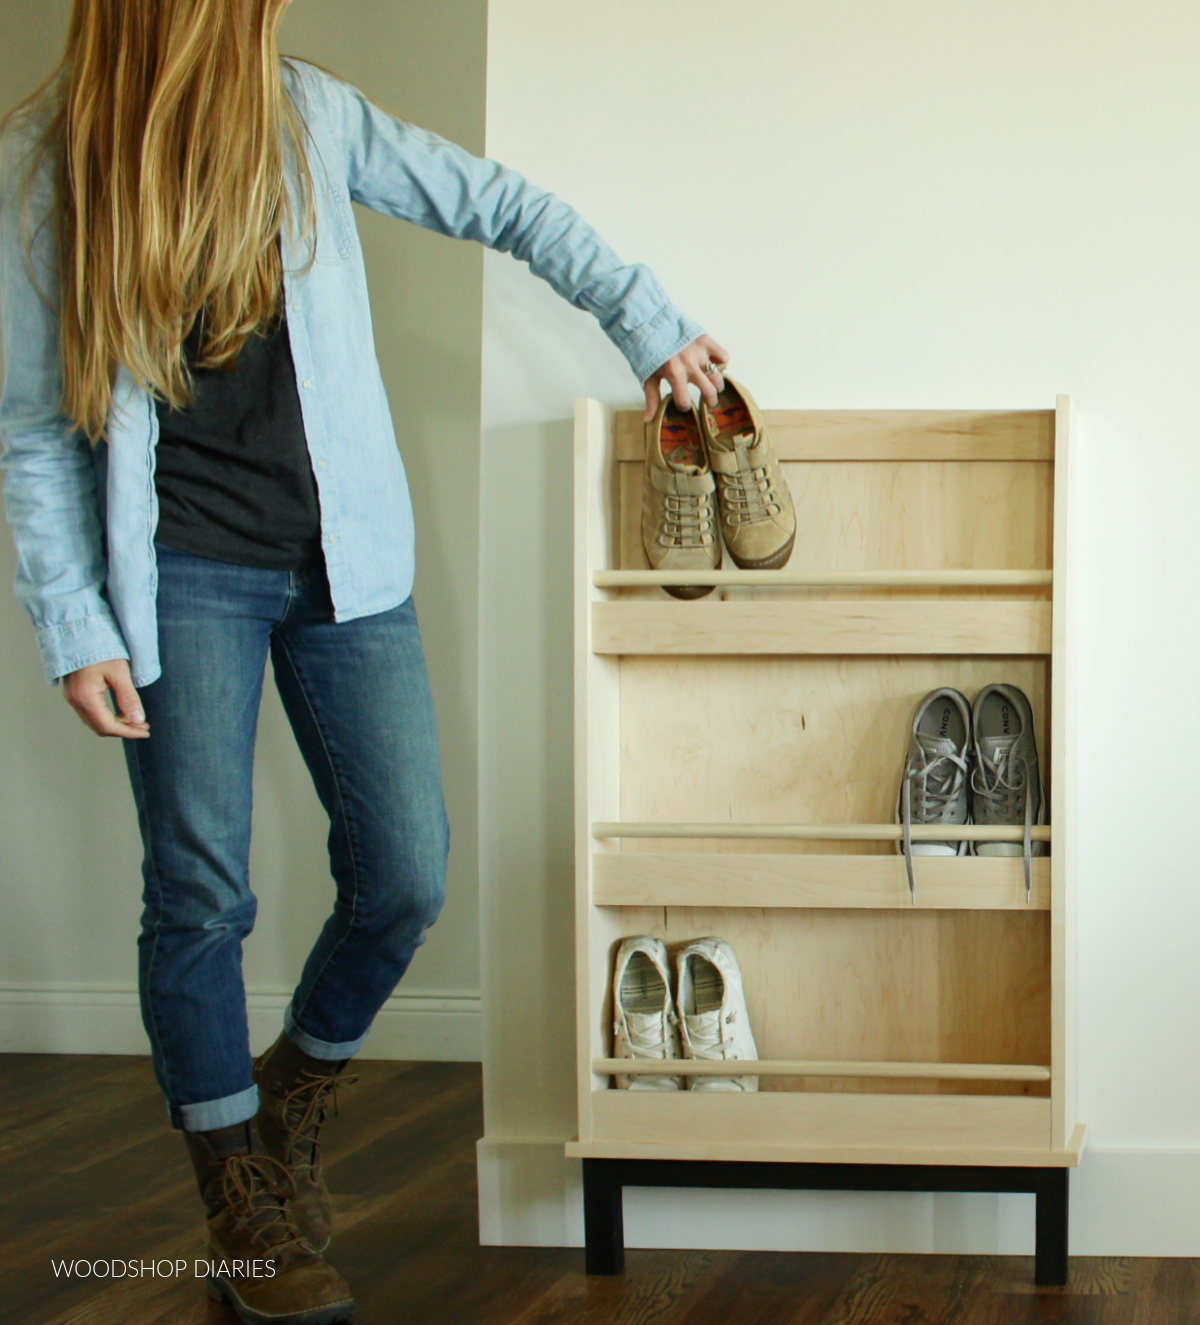
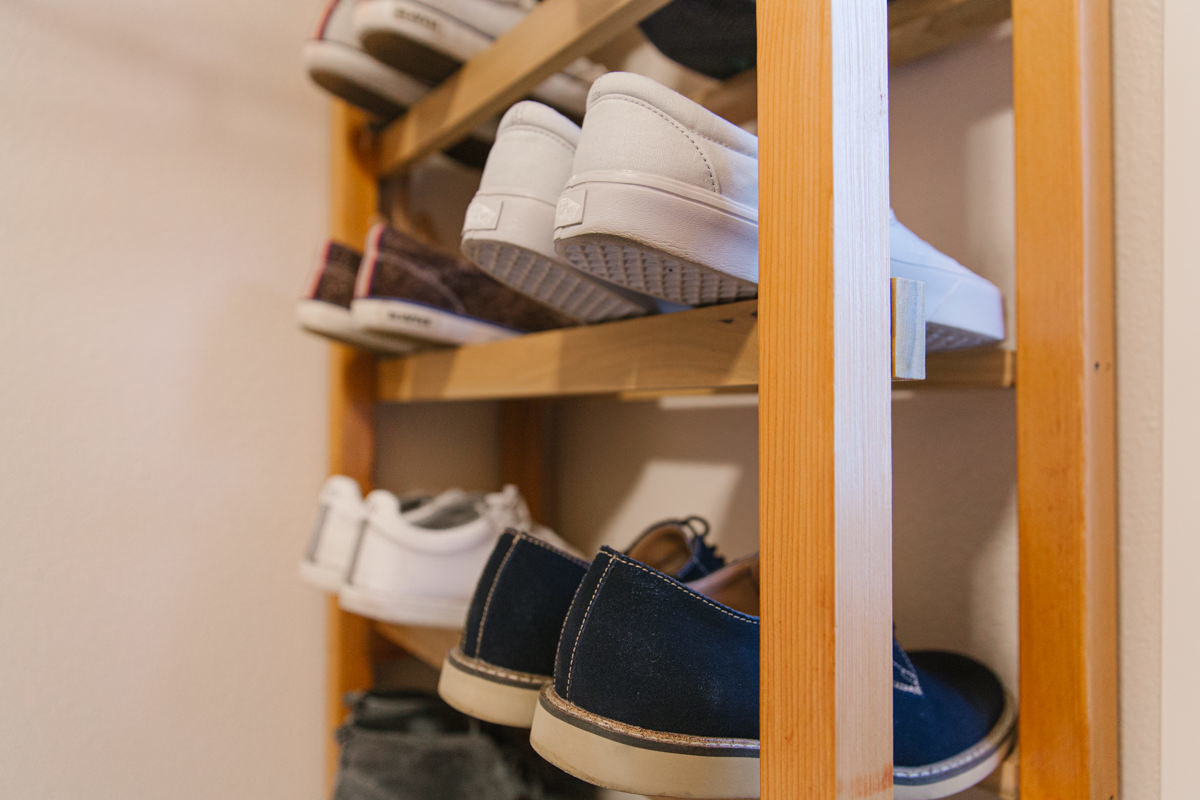
Introduction: A Home for Your Shoes
In many households, shoes can quickly become a source of clutter and chaos. From mud-tracked sneakers to elegant heels, they pile up at entryways, under beds, and in closets, creating a mess that can be difficult to manage. A well-designed shoe rack not only brings order to this chaos but also adds an element of style to your home. This article will guide you through the process of crafting a simple, yet elegant wooden shoe rack. Not only will it serve a practical purpose, but it will also allow you to add a personal touch to your living space.
Planning Your Shoe Rack: Design and Dimensions
Before you start building your shoe rack, it’s crucial to plan the design and dimensions. Consider where you intend to place it. If it’s for an entryway, measure the space to ensure your shoe rack fits comfortably without obstructing traffic. Think about the number of pairs it should hold, allowing room for future growth in your shoe collection. A typical design might involve multiple tiers to maximize vertical space while keeping the overall footprint compact. Once you have a clear vision, sketch your design with dimensions and decide on the type of wood you’ll use.
Gathering Materials and Tools
With your design in hand, it’s time to gather the materials and tools needed for the project. Choose a durable wood like oak, pine, or maple, depending on your preference and budget. You’ll also need wood screws, a saw, a drill, wood glue, sandpaper, and a finish (such as varnish or paint) to protect and enhance the wood’s appearance. Don’t forget safety equipment like safety goggles and gloves. Having all your materials and tools ready before you start will make the process smoother and more enjoyable.
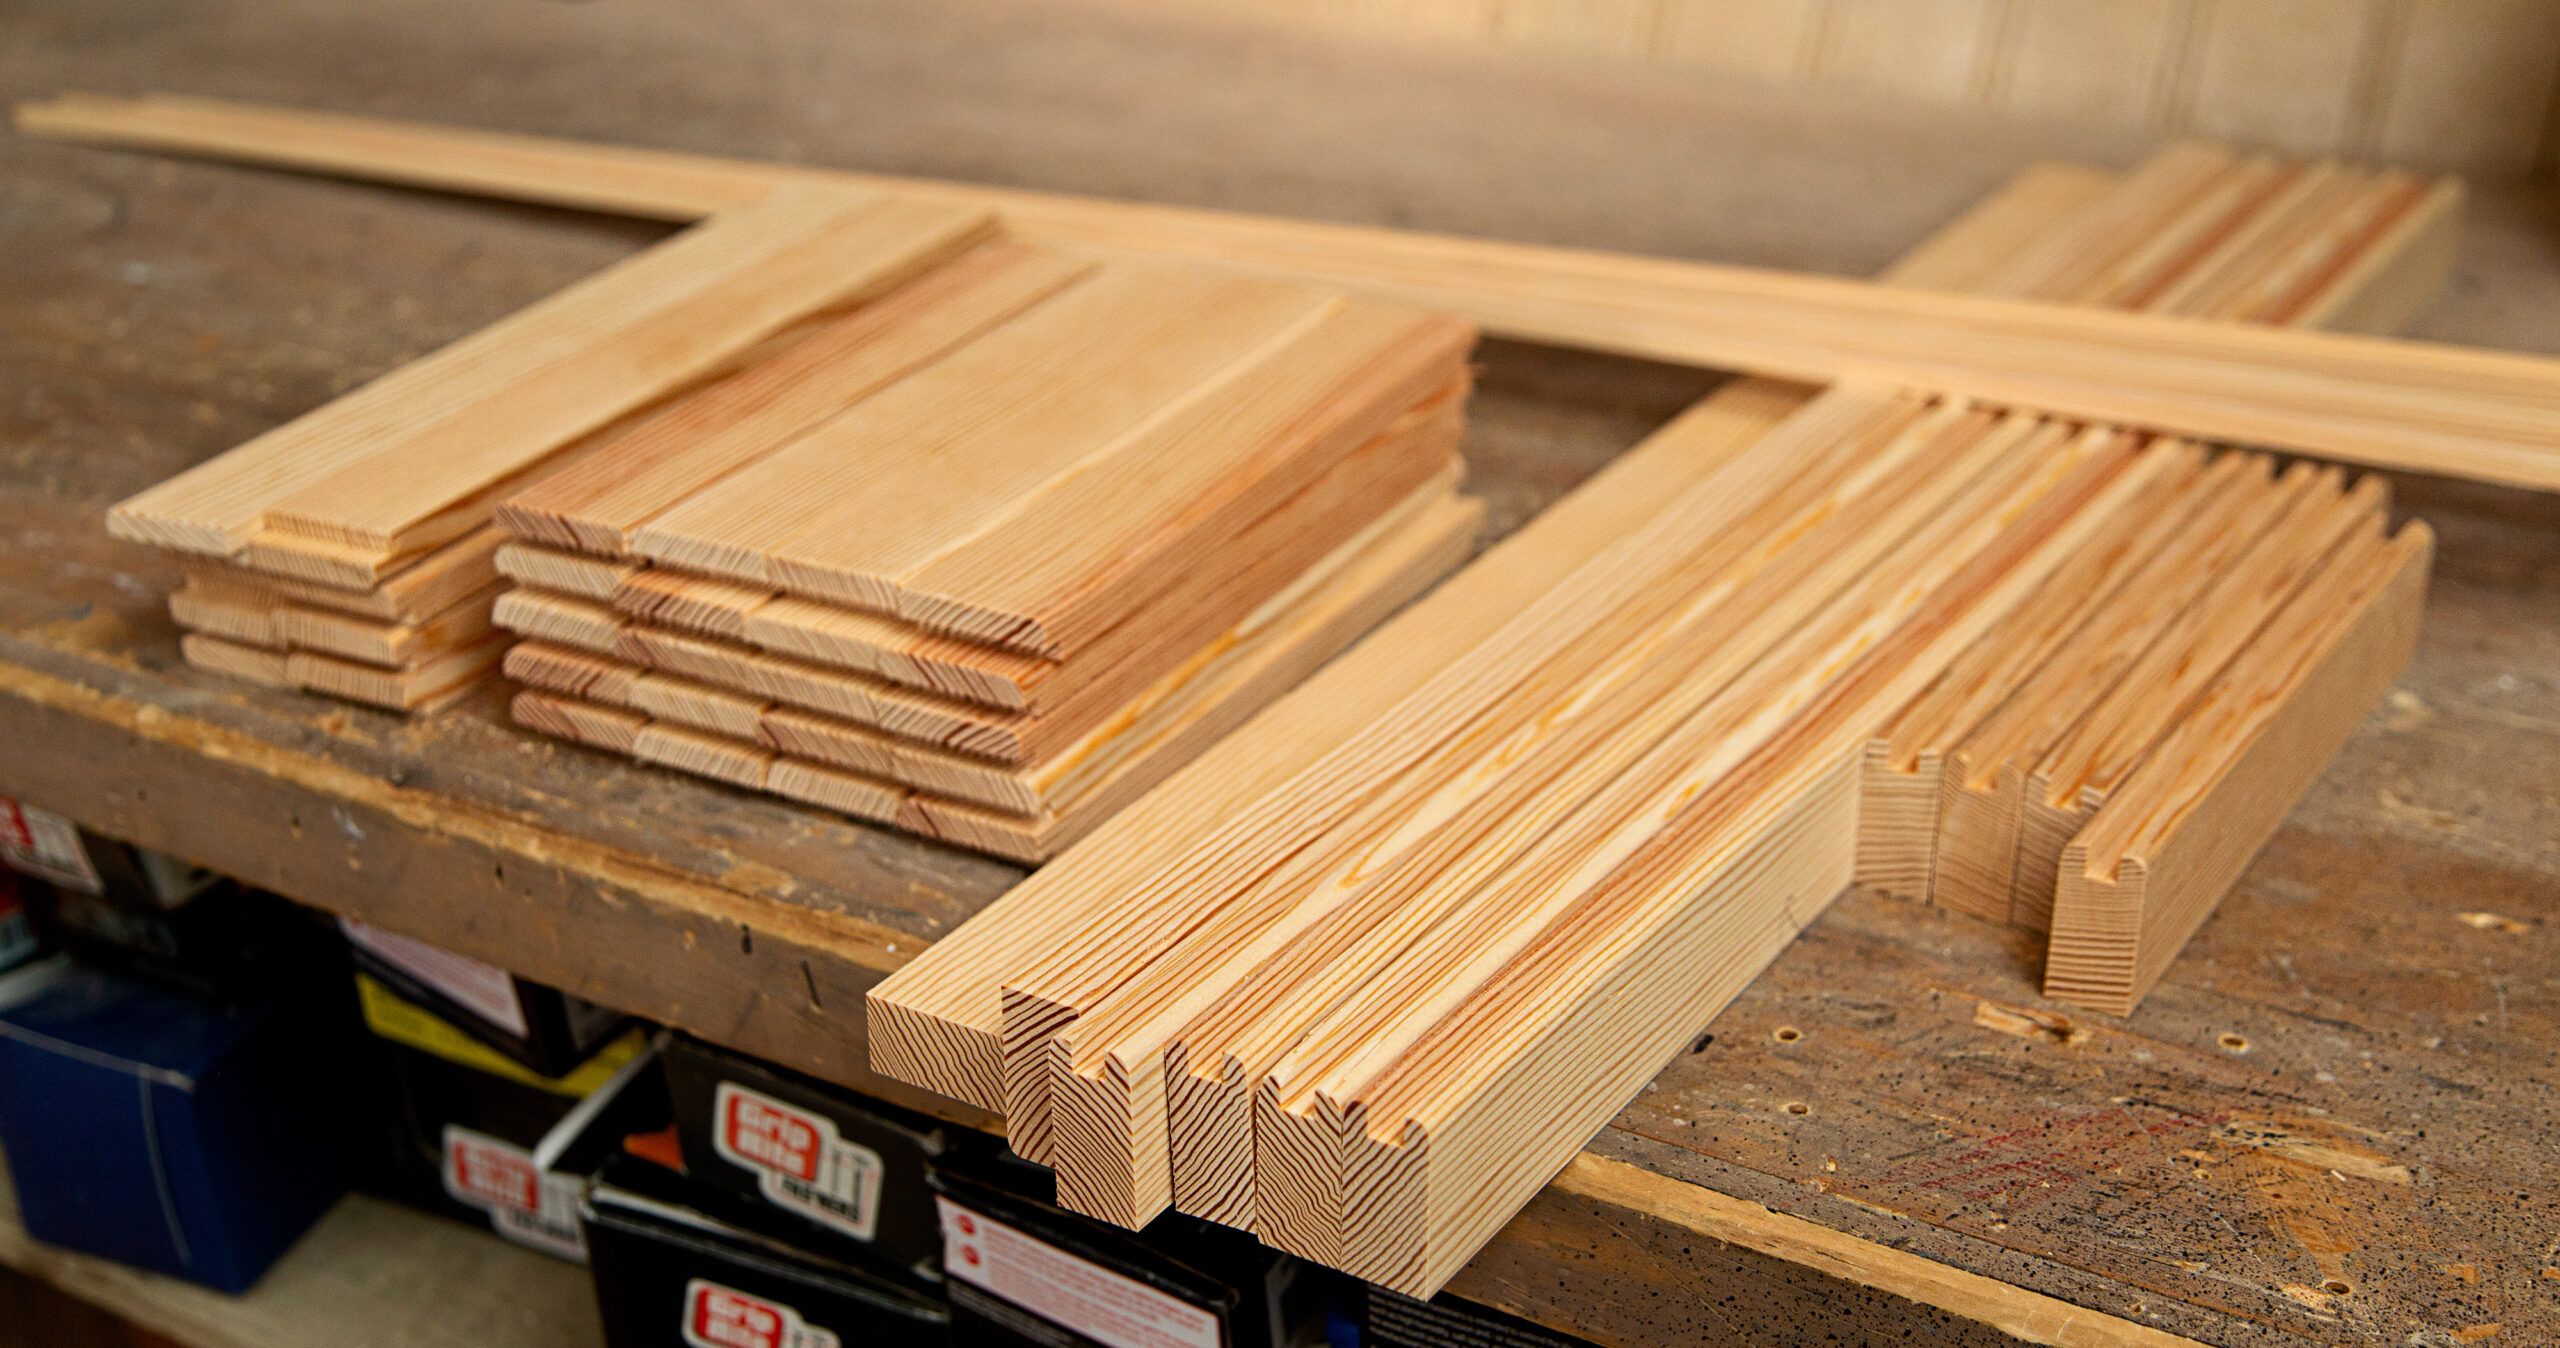
Cutting and Shaping the Wood
With everything prepared, you can start cutting and shaping the wood according to your design. Use a saw to cut the pieces for the sides, shelves, and base. Ensure your cuts are straight and accurate to avoid uneven assembly. After cutting, use sandpaper to smooth the edges and surfaces, removing any splinters or rough spots. This step is crucial for a polished final product and for safety during assembly. Take your time to ensure each piece is properly prepared, as this will affect the sturdiness and appearance of the finished shoe rack.
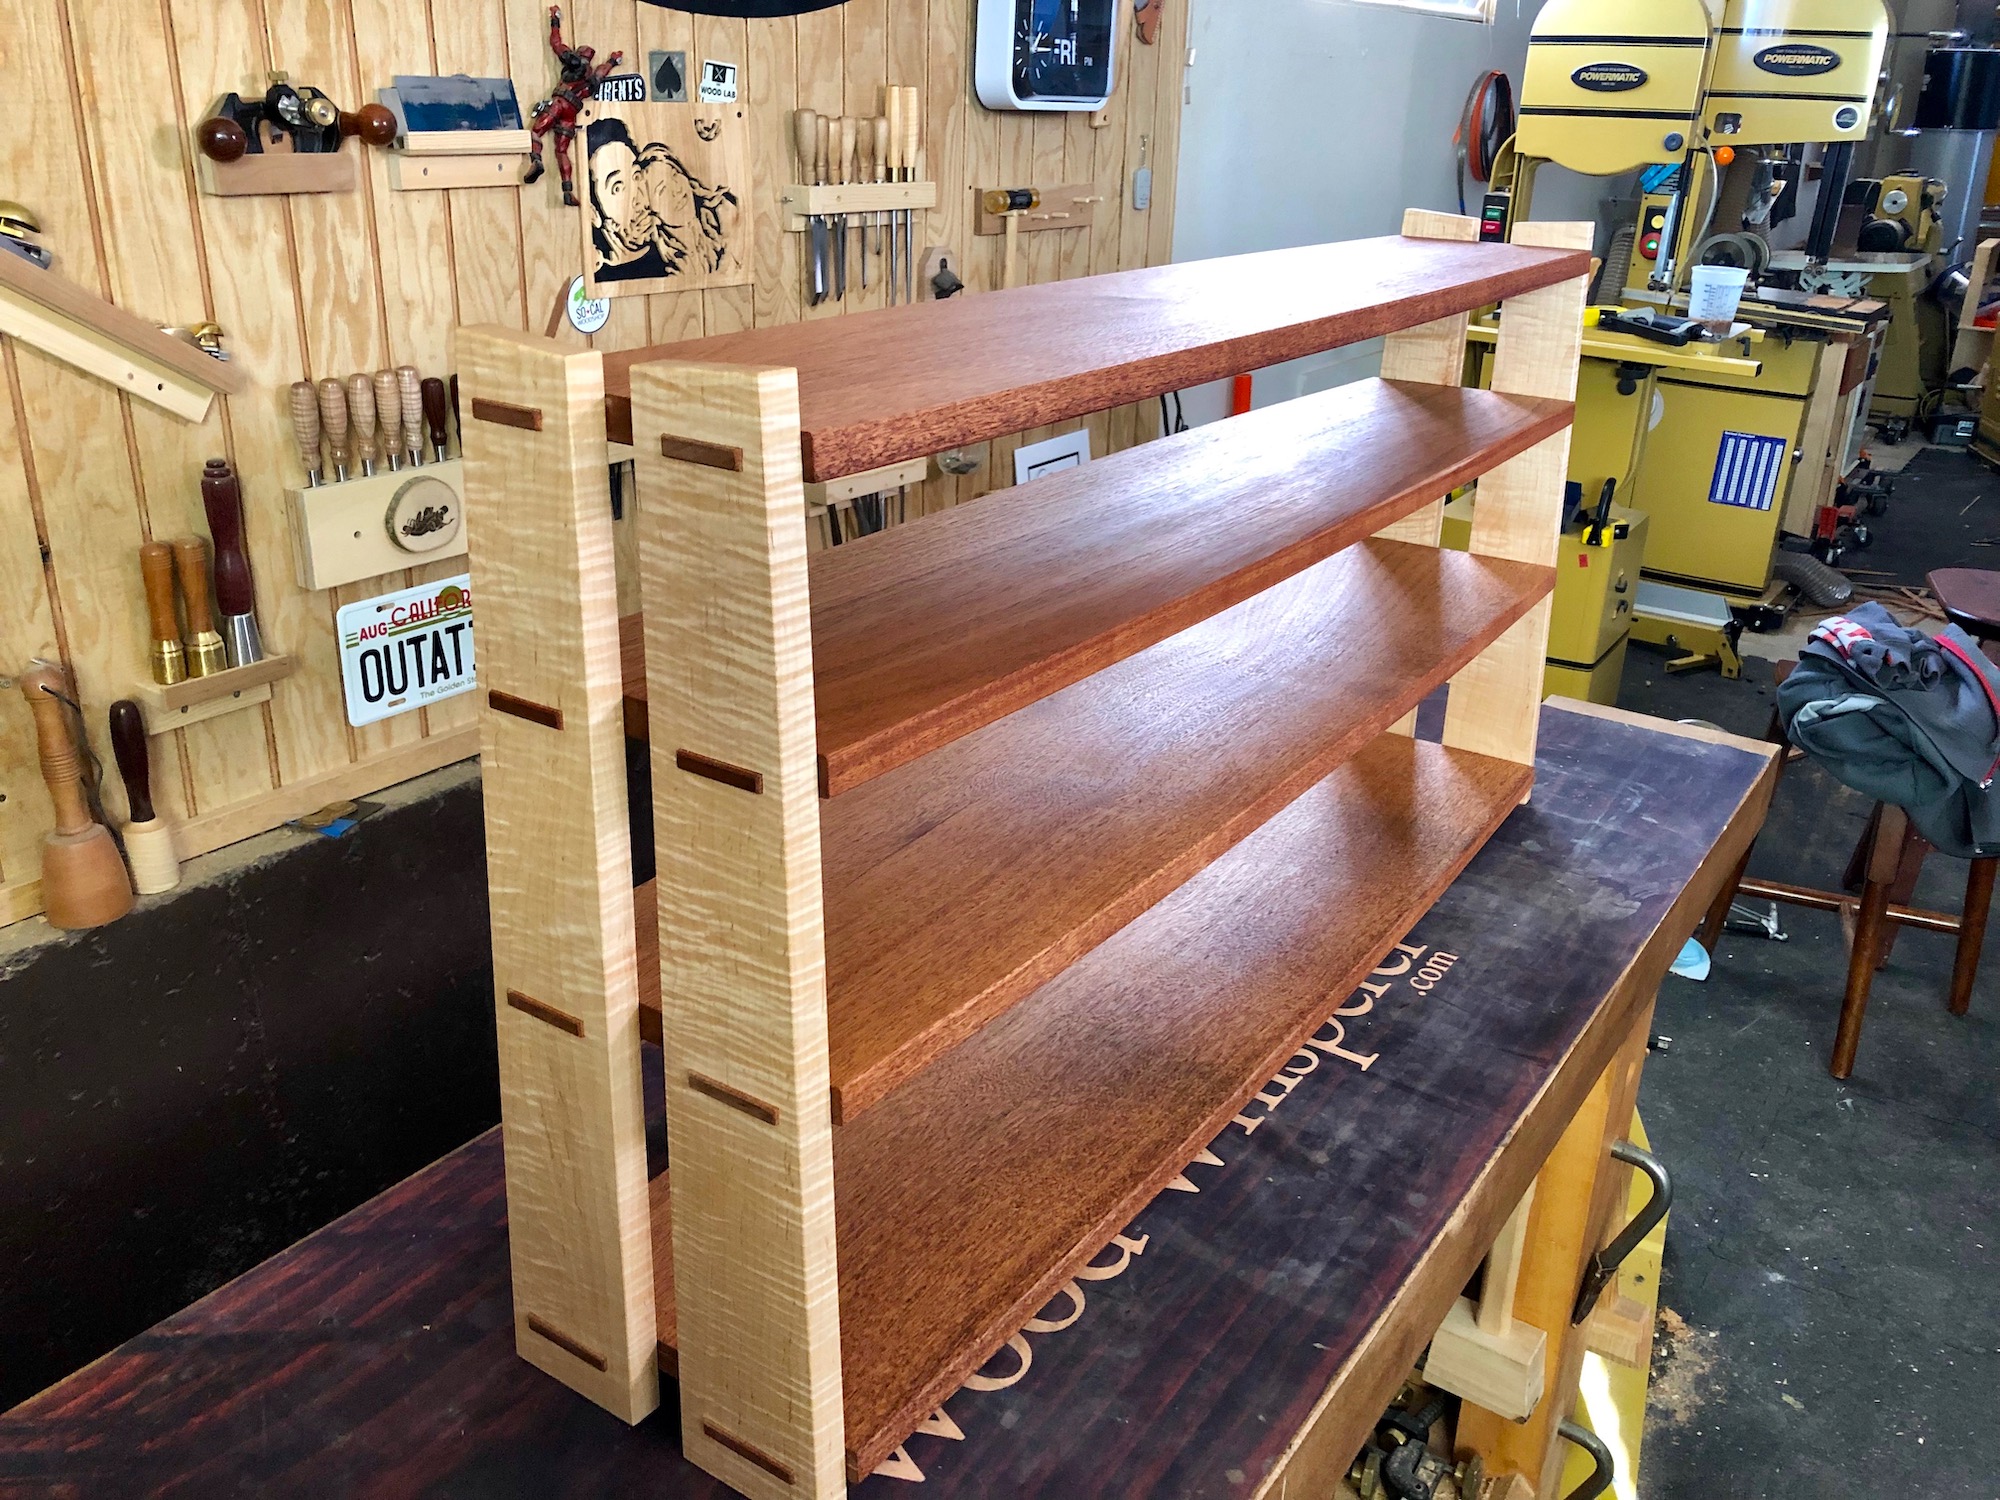
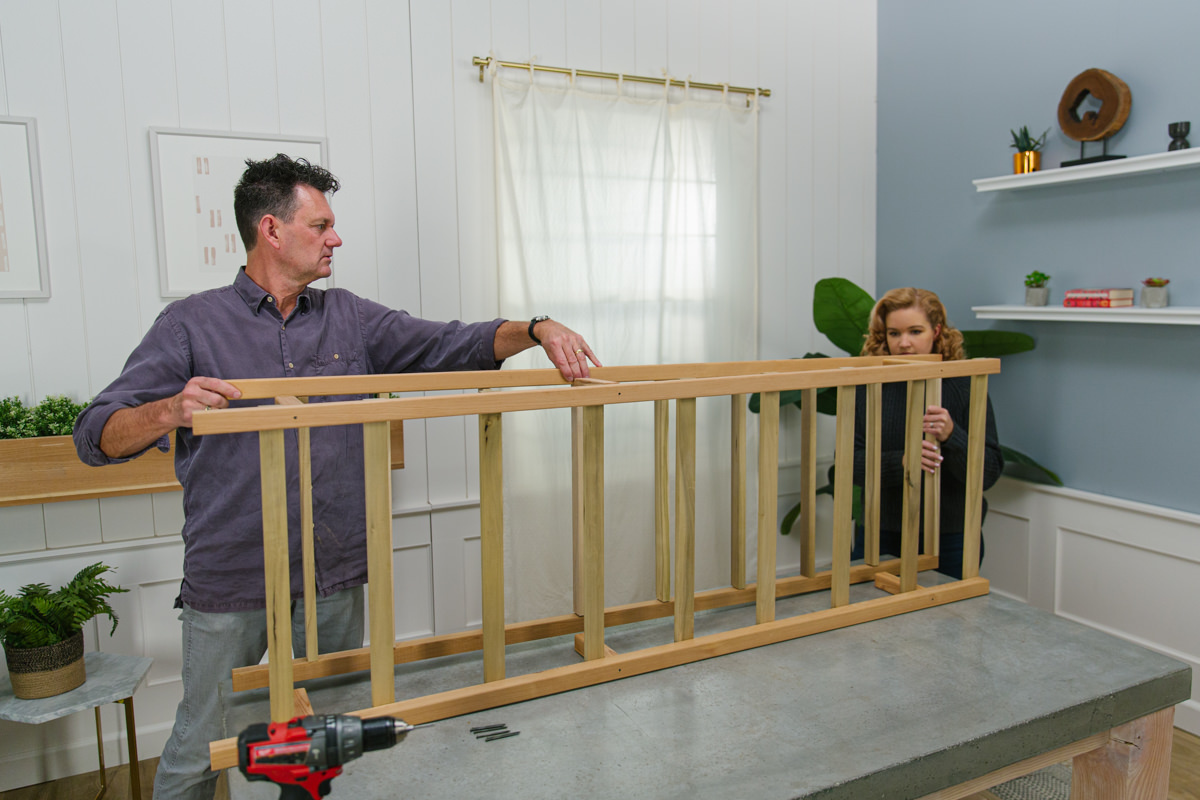
Assembling the Shoe Rack
Assembly is where your design starts to come to life. Begin by attaching the sides to the base, using wood screws and wood glue for extra strength. Ensure the pieces are aligned correctly and use clamps to hold them in place while the glue dries. Next, attach the shelves to the sides, spacing them evenly according to your design. It’s important to check for levelness at each step to ensure the shoe rack stands straight and steady. If you’ve designed additional features like back supports or decorative elements, now is the time to attach them.
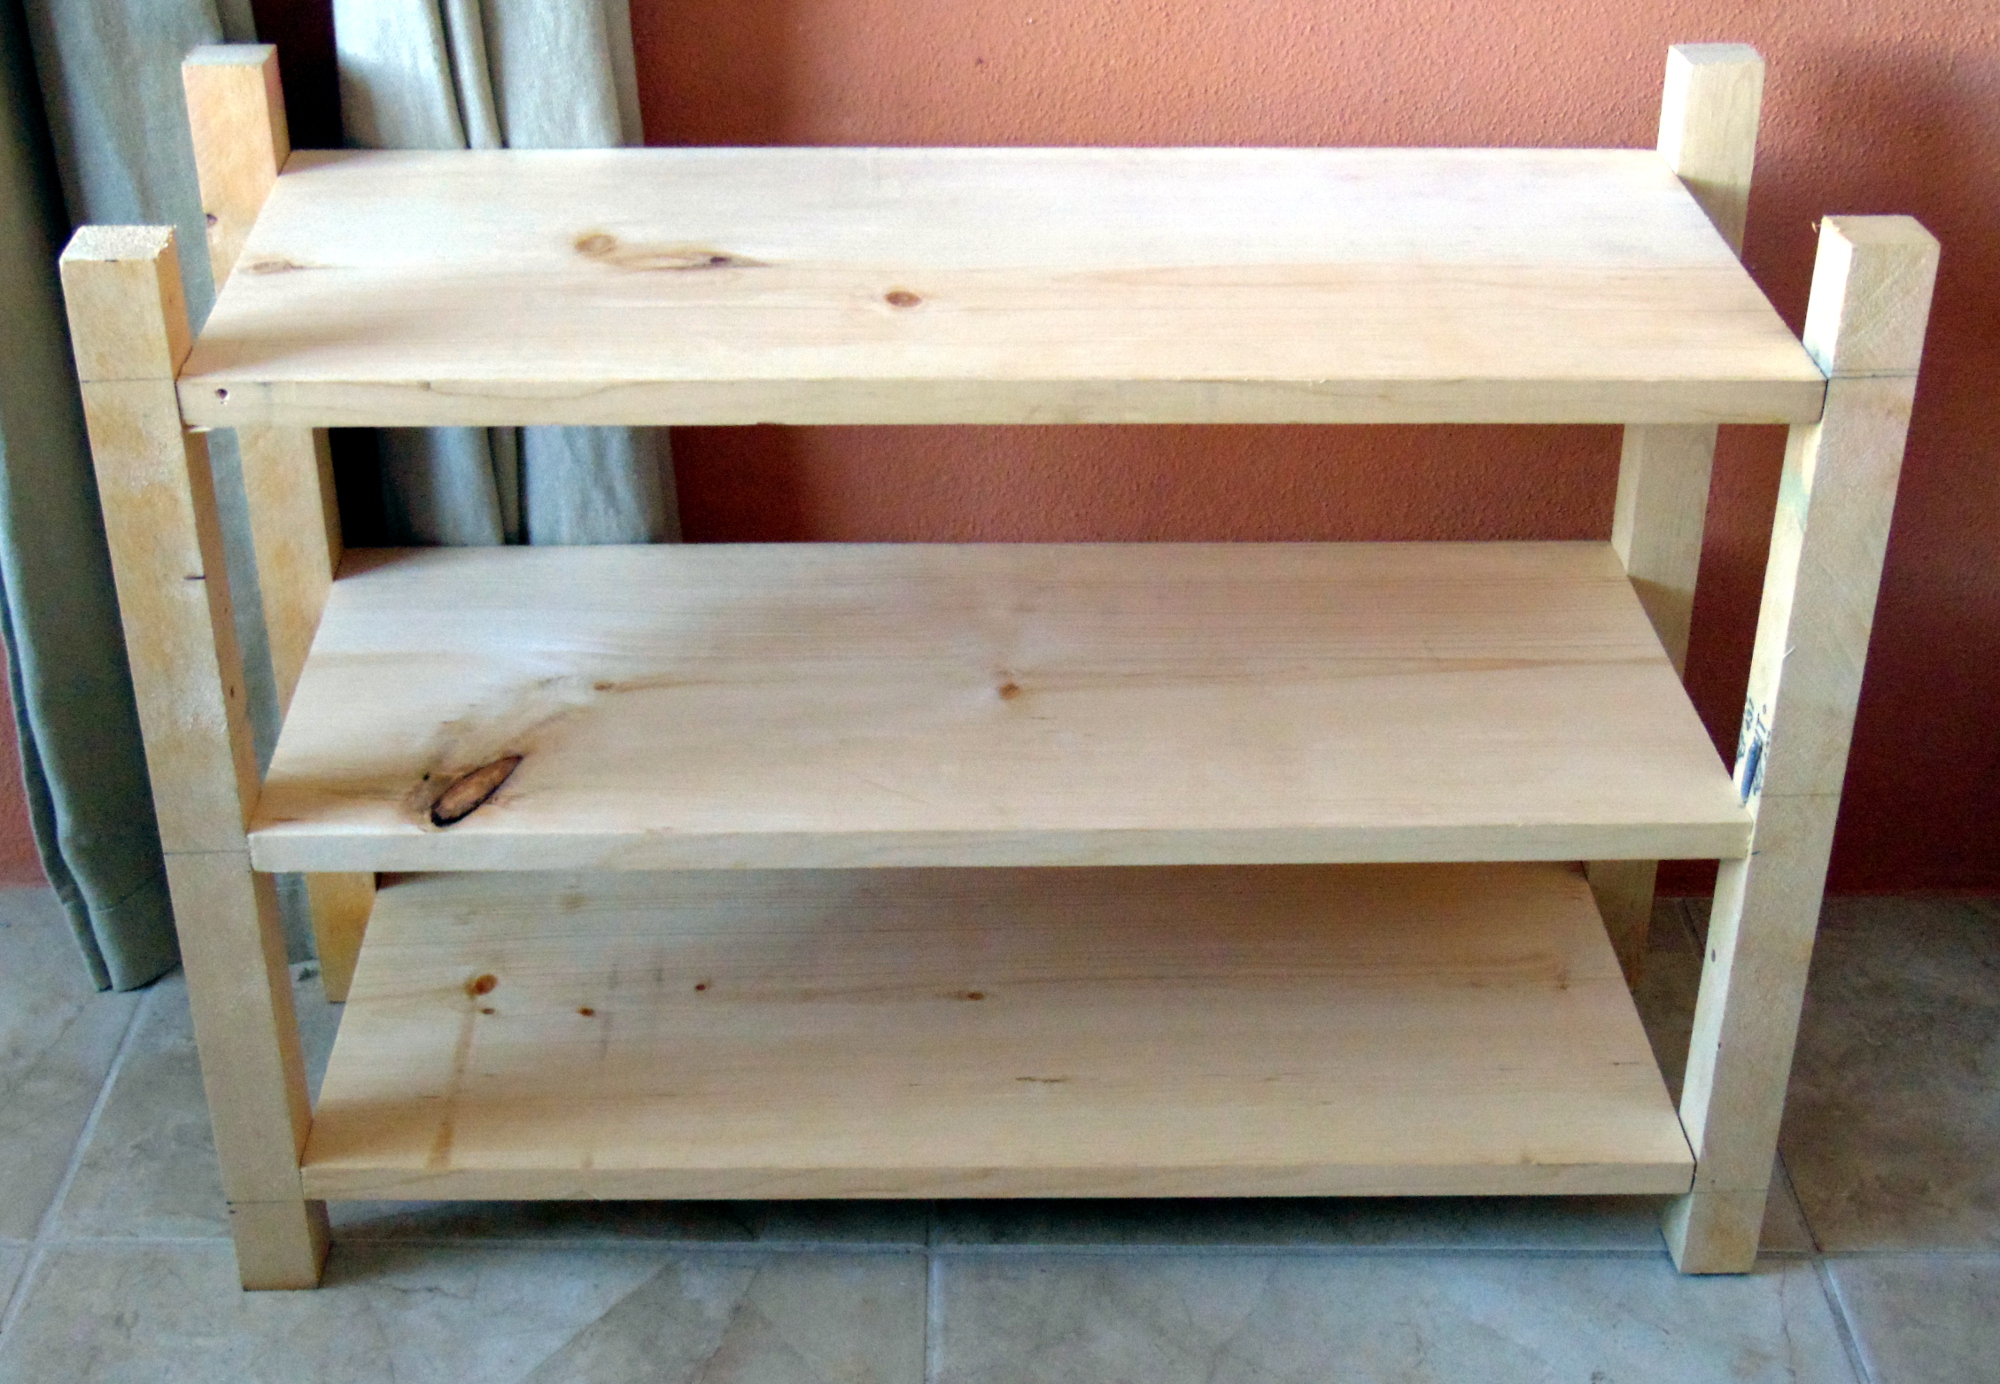
Sanding and Finishing
Once the shoe rack is assembled, it’s time to give it a final sanding to ensure a smooth surface. This step is crucial for a professional-looking finish and to remove any residual roughness from the assembly process. After sanding, choose your preferred finish. A clear varnish can enhance the natural beauty of the wood, while paint can add a pop of color and personality. Apply your finish evenly, allowing it to dry completely between coats. This step not only adds aesthetic value but also protects the wood from moisture and wear.
Testing and Adjusting
Before placing your shoe rack in its designated spot, test its stability and strength. Place a few pairs of shoes on each shelf to ensure it can handle the weight without wobbling or tipping. If you notice any issues, such as unevenness or instability, make the necessary adjustments. This could involve tightening screws, reinforcing joints, or leveling the base. Taking the time to ensure your shoe rack is sturdy will provide peace of mind and prevent future problems.
Personalizing and Styling
One of the joys of DIY projects is the ability to add personal touches. Consider customizing your shoe rack with decorative elements like stencils, decals, or carvings. You could also add functional features like hooks for keys or small shelves for other accessories. Think about the overall aesthetic of your home and how your shoe rack can complement it. By adding unique details, you transform a simple shoe rack into a statement piece that reflects your style and creativity.
Placing and Using Your New Shoe Rack
With the shoe rack complete, it’s time to place it in your home. Position it in the chosen location and ensure it fits comfortably without obstructing pathways. If you’re placing it near an entryway, consider adding a small mat or tray to catch dirt and debris from shoes. As you start using the shoe rack, encourage family members to keep their shoes organized. This will help maintain a clutter-free space and ensure the shoe rack serves its intended purpose effectively.
Planning Your Picture Frames: Size and Style
Before you dive into the crafting process, take some time to plan the size and style of your wooden picture frames. Consider the dimensions of the photos you want to display and whether you prefer a standard size or a custom design. Think about the aesthetic of your home décor—is it rustic and cozy, modern and sleek, or eclectic and bohemian? Your picture frames should complement the overall style while adding a unique touch. Sketch out your design ideas, noting the dimensions and any decorative elements you want to incorporate.
Gathering Materials and Tools
Once you have a clear vision for your picture frames, gather the materials and tools you’ll need for the project. You’ll require wood of your choice (such as reclaimed barn wood, pine, or cedar), a saw, wood glue, clamps, sandpaper, a ruler or measuring tape, picture frame hardware (like sawtooth hangers or D-rings), and a finish (such as wax or polyurethane) to protect and enhance the wood. Choose materials that align with your desired aesthetic and ensure they’re of good quality for a professional-looking finish.
Cutting and Assembling the Frames
With your materials and tools at the ready, it’s time to start cutting and assembling the wooden frames. Measure and mark the dimensions for each frame according to your design, ensuring precise cuts for a seamless fit. Use a saw to cut the wood into individual pieces for the frame sides, ensuring clean and straight edges. Once you have all the pieces cut, apply wood glue to the joints and use clamps to hold them together while the glue dries. Double-check that the corners are square and adjust if necessary for a snug fit.
Conclusion: The Satisfaction of DIY
Crafting a wooden shoe rack for your home is a rewarding DIY project that combines functionality and creativity. By following the steps outlined in this article, you can create a practical storage solution while adding a personalized touch to your living space. Not only will you enjoy the benefits of a tidy and organized area, but you’ll also experience the satisfaction that comes from building something with your own hands. So, grab your tools, choose your design, and start crafting your wooden shoe rack today!