In today’s world, keeping your living space organized is essential. A major aspect of home organization involves storing items efficiently and effectively, especially when it comes to shoes. Traditional shoe storage solutions, such as shelves and closets, can be expensive and may not provide the versatility and customization you need. One innovative and budget-friendly solution is a DIY PVC shoe rack. This guide will explore the advantages of using PVC for shoe storage, walk you through the steps to build your own PVC shoe rack, and offer tips for customizing it to suit your needs.
Advantages of PVC for Shoe Storage
PVC, or polyvinyl chloride, is a type of plastic known for its durability, affordability, and versatility. These qualities make it an excellent choice for constructing a shoe rack. PVC pipes are lightweight and easy to work with, making DIY projects accessible even for beginners. They are resistant to moisture and wear, ensuring your shoe rack will last for years. Additionally, PVC pipes come in various diameters and lengths, allowing you to customize the size and shape of your shoe rack to fit any space.
Materials and Tools Needed
Before you begin building your PVC shoe rack, gather the necessary materials and tools. You will need PVC pipes of your chosen diameter and length, PVC connectors such as T-joints and elbows, PVC pipe cutter or saw, and a measuring tape. Depending on your design, you may also need glue or fasteners to secure the pipes and connectors. Optional materials include paint or decals for customization.
Designing Your PVC Shoe Rack
Designing your PVC shoe rack is an essential step in the process. Consider the available space, the number of shoes you need to store, and your personal style. You can create a simple shoe rack with just a few rows of PVC pipes stacked vertically, or you can design a more intricate rack with different levels and configurations. Sketch your design on paper, noting the measurements and types of connectors you’ll need.
Building the Base and Structure
Start by constructing the base of your shoe rack. This usually involves assembling a rectangular frame using PVC pipes and connectors. Measure and cut the pipes to the appropriate lengths, and use T-joints and elbows to connect them. Once the base is complete, begin building the vertical structure by adding rows of PVC pipes, secured with connectors. Make sure each level is even and stable.
Adding Shoe Compartments
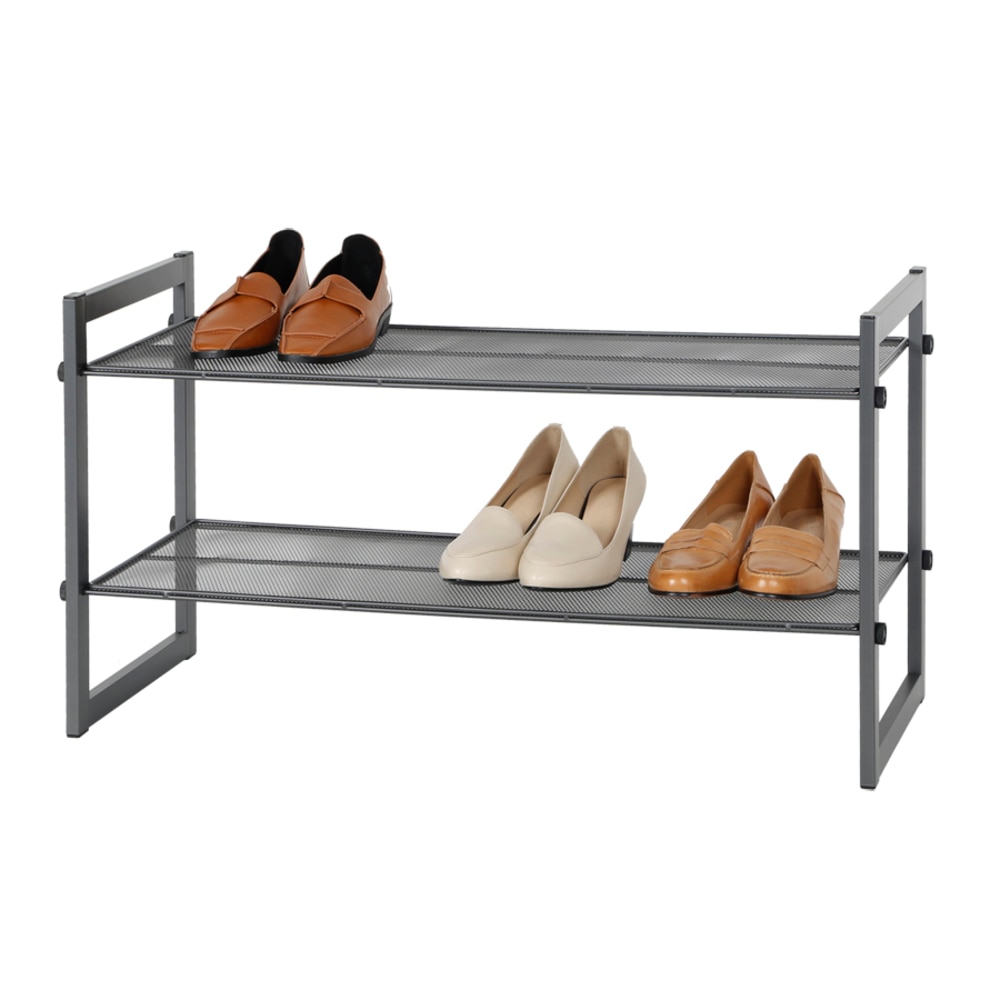
To create shoe compartments, you’ll need to add more PVC pipes between the rows of the structure. These pipes will act as shelves for storing shoes. Measure and cut the pipes to fit the width of your shoe rack, and attach them using connectors. Arrange the compartments according to your design, ensuring they are evenly spaced and securely fastened.
Securing the Structure
To ensure your PVC shoe rack is stable and safe, secure the structure using glue or fasteners at the connections. This step is crucial, especially if your rack will be holding a significant number of shoes. Allow the glue to dry completely before placing any shoes on the rack.
Customizing Your PVC Shoe Rack
One of the best aspects of a DIY PVC shoe rack is the opportunity for customization. You can paint the PVC pipes to match your room’s color scheme or add decals for a personalized touch. Additionally, you can modify the design to include features such as hooks for hanging accessories or a top shelf for extra storage.
Tips for Optimal Shoe Storage
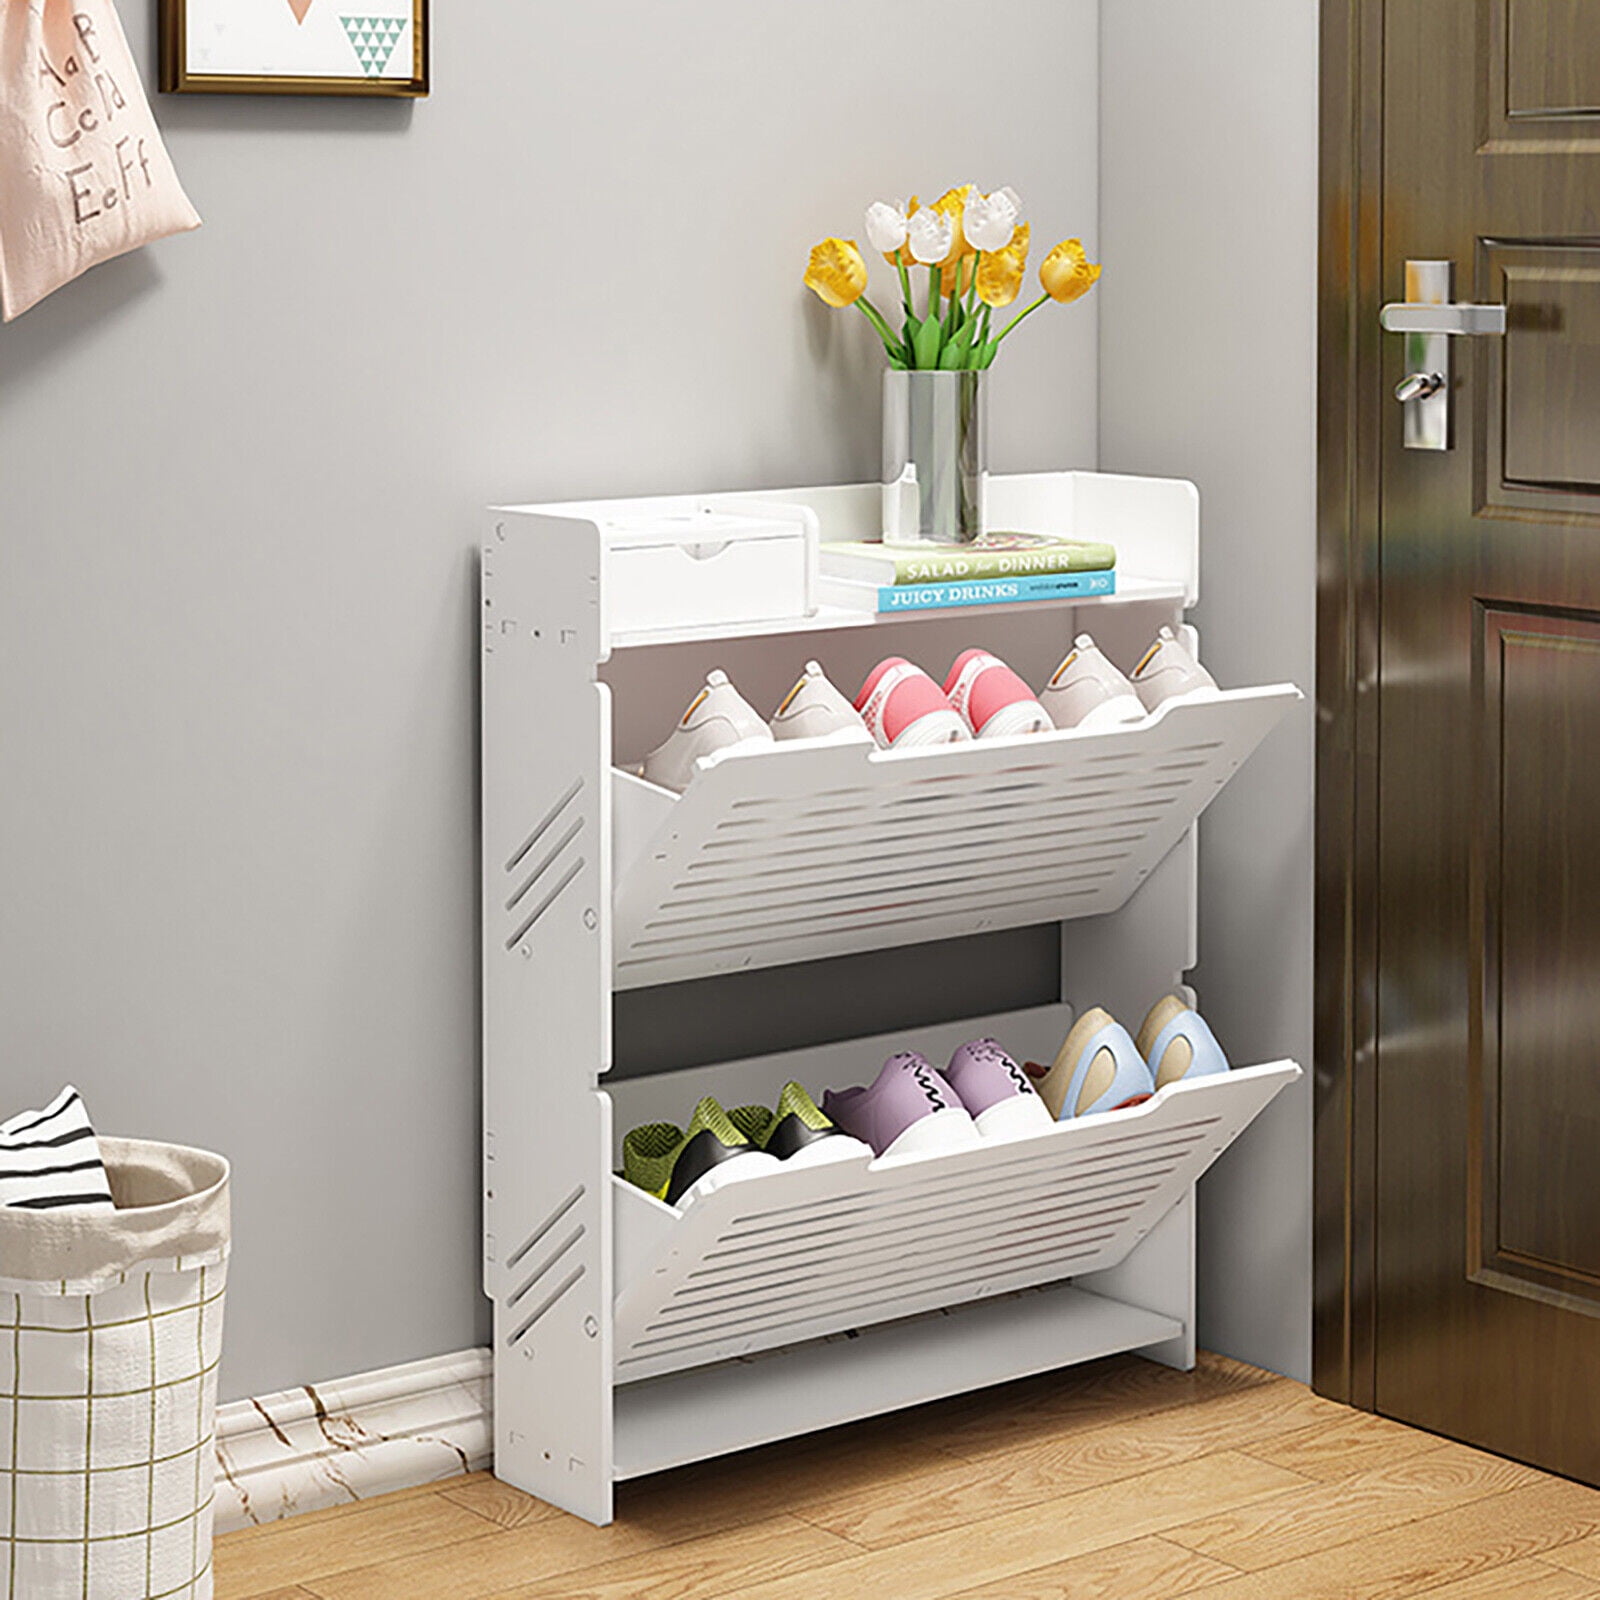
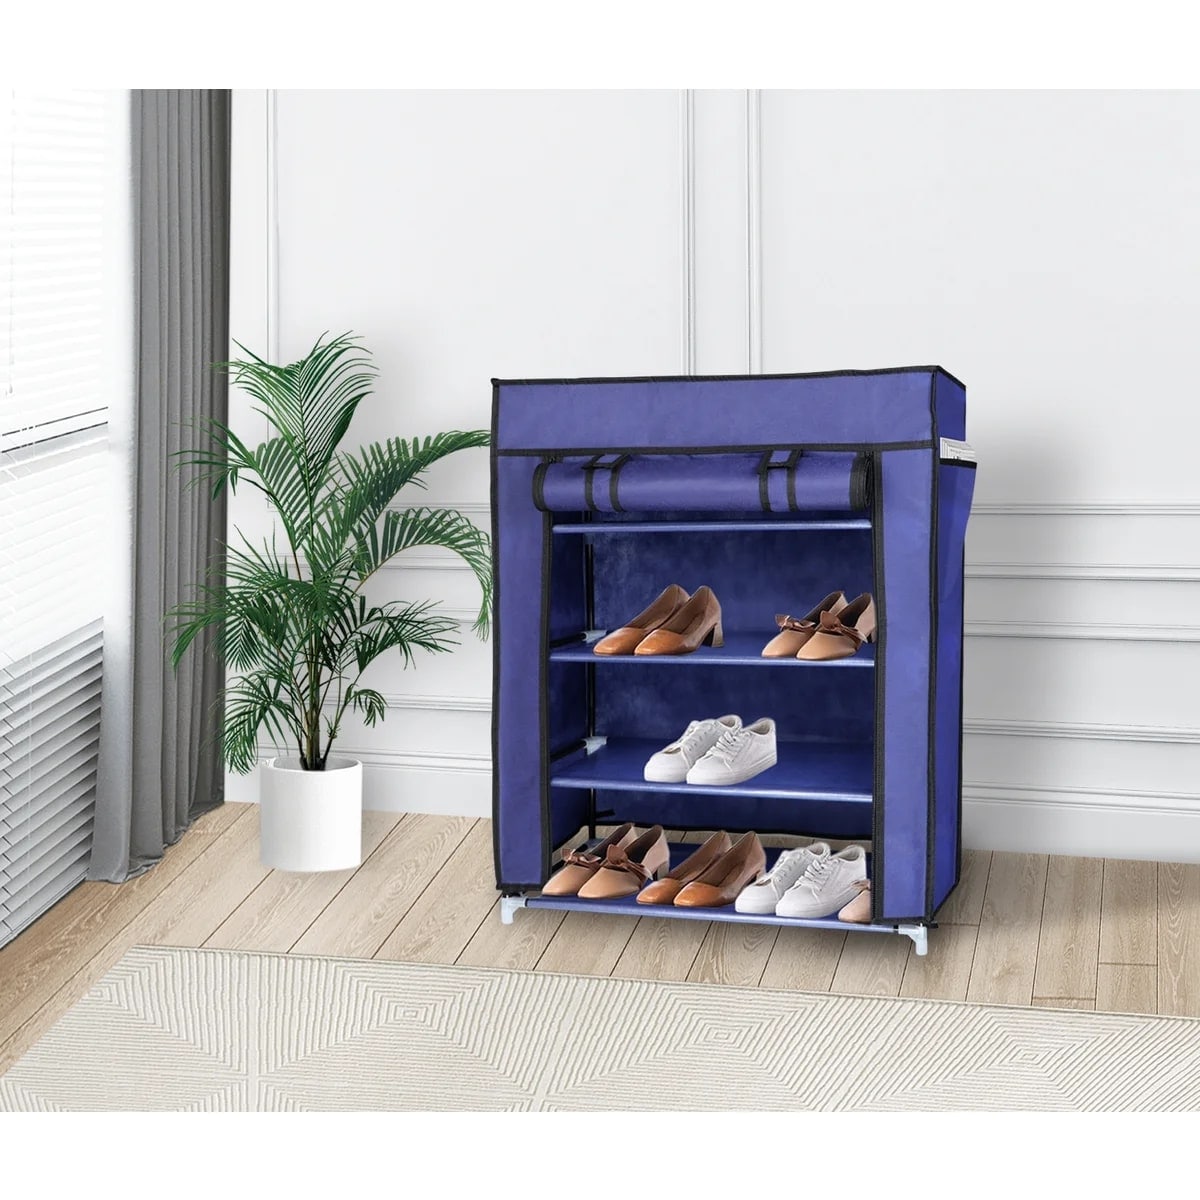
When arranging your shoes on the PVC shoe rack, keep in mind a few tips for optimal storage. Place frequently used shoes on lower shelves for easy access, and reserve higher shelves for less-used pairs. To maintain the integrity of your shoes, alternate the direction they face to avoid crowding. Use shoe trees or inserts to help maintain shoe shape, especially for delicate or high-end footwear.
Maintenance and Care
To keep your PVC shoe rack in excellent condition, perform regular maintenance and care. Dust the rack periodically to prevent buildup, and check for any loose connections that may need to be re-glued. If you’ve painted your PVC pipes, touch up any chips or scratches to keep the rack looking fresh.
Conclusion: A Practical and Affordable Solution
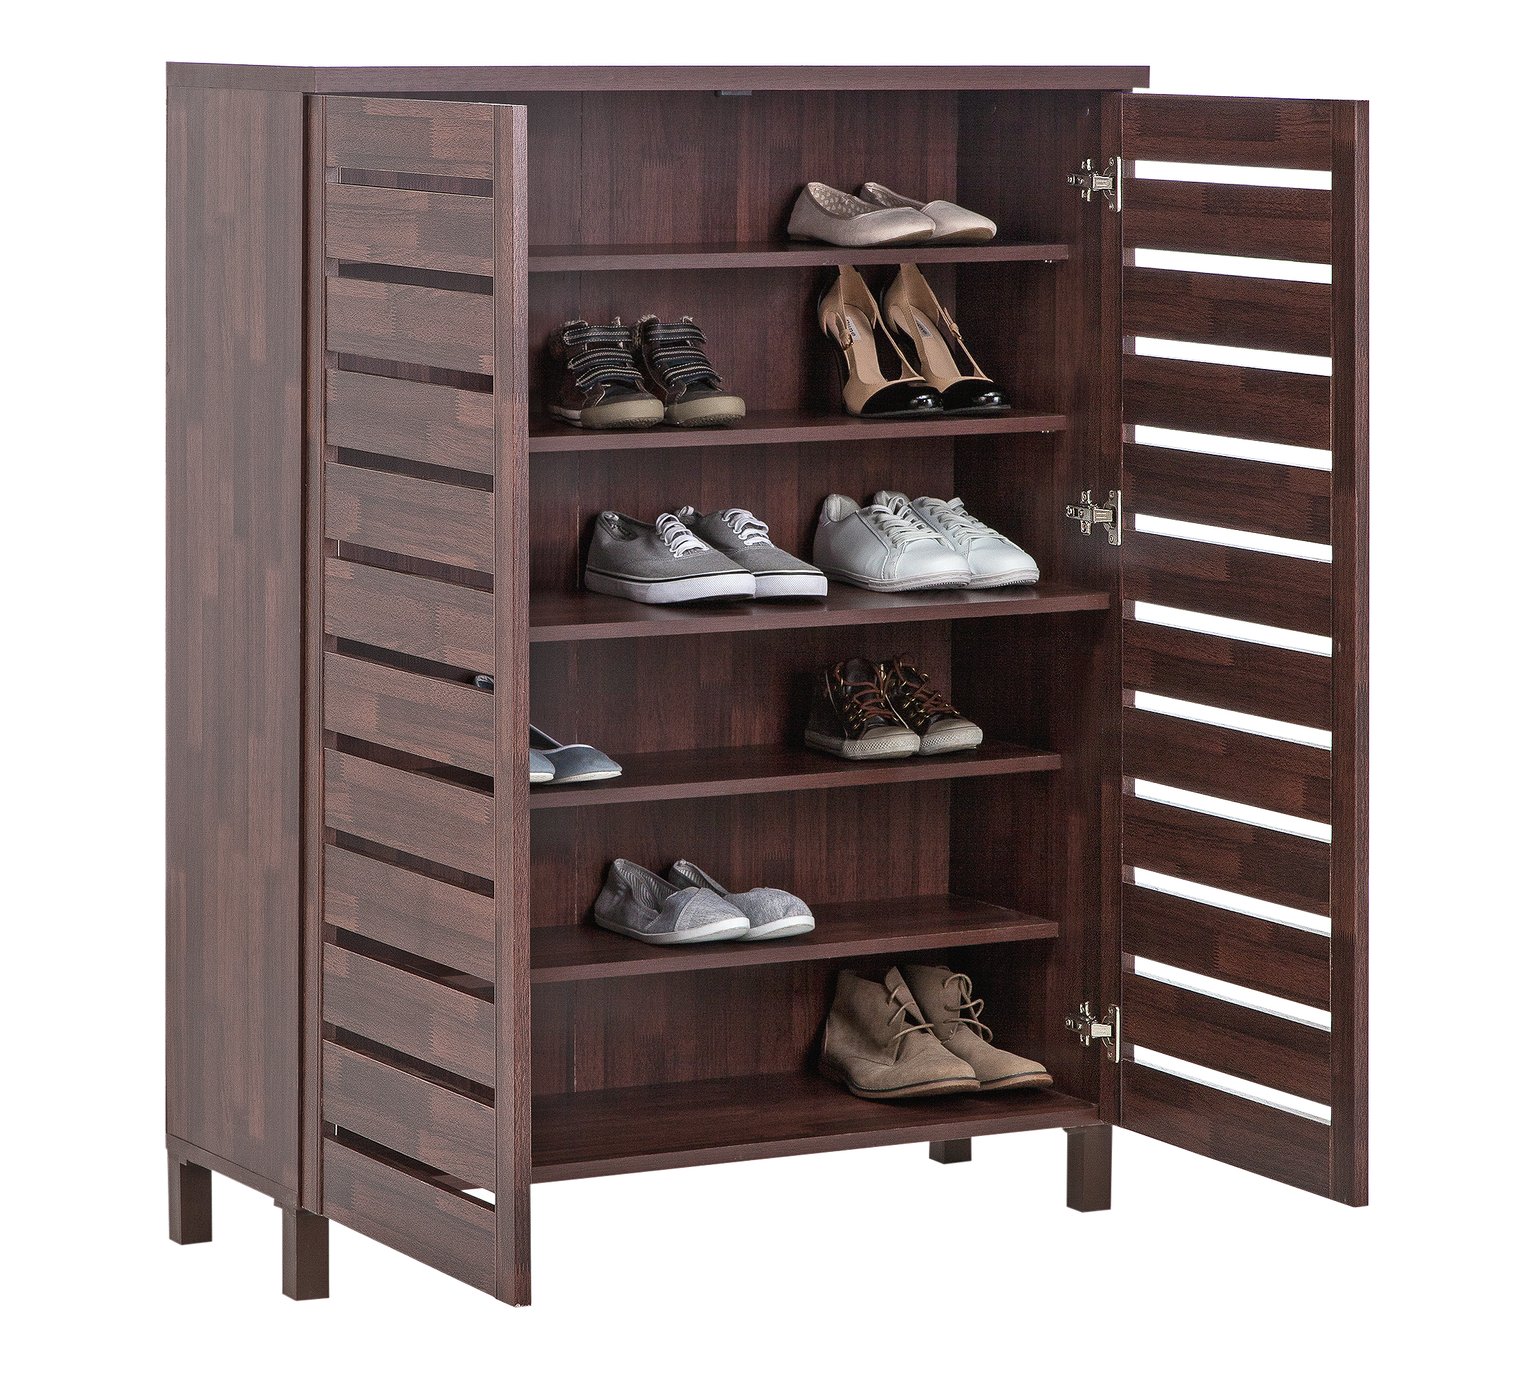
A DIY PVC shoe rack is a practical and affordable solution for organizing your shoes and maximizing storage space in your home. By following the steps outlined in this guide, you can create a customized shoe rack that suits your needs and personal style. Not only will you save money compared to buying a ready-made shoe rack, but you’ll also have the satisfaction of building a functional piece of furniture with your own hands. So, take on this project and enjoy the benefits of a well-organized and stylish shoe storage solution!
A PVC shoe rack is an excellent way to add a touch of creativity to your living space while ensuring your shoes are well-organized. This project not only lets you utilize your DIY skills but also allows you to tailor the storage unit to fit your personal preferences and the available space in your home. By opting for a DIY PVC shoe rack, you gain the freedom to design a shoe storage system that caters to your unique needs and preferences.
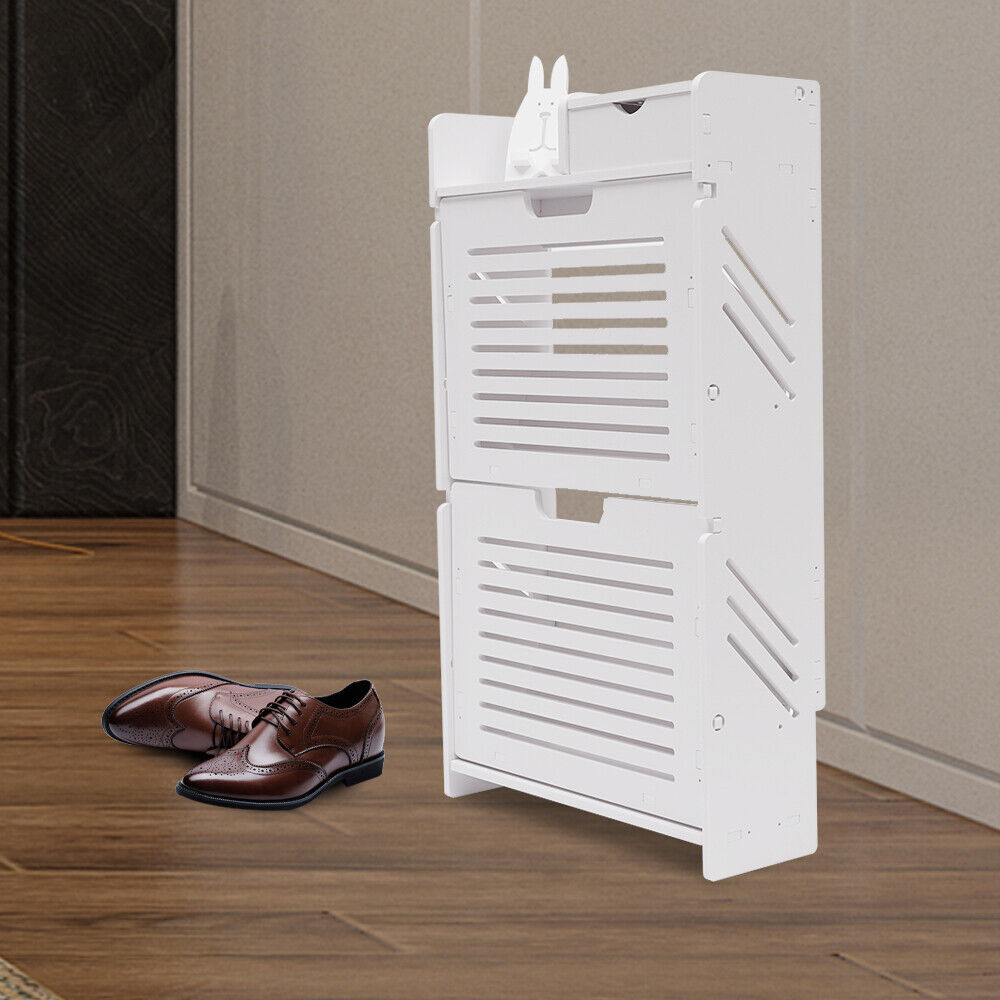
When it comes to maintenance and care, PVC shoe racks are relatively low-maintenance. You should regularly inspect the connections and fittings to ensure they remain secure. If you notice any wobbling or instability, reapply glue or tighten fasteners as needed. Additionally, wipe down the PVC pipes with a damp cloth to remove dust and grime, keeping the shoe rack looking neat and tidy.
Incorporating a DIY PVC shoe rack into your home can significantly improve your overall organization. Not only will you have a designated place to store your shoes, but you can also utilize the rack for other items, such as bags, hats, or scarves. This multipurpose storage solution can free up valuable closet space and keep your entryway or bedroom tidy.
Building a DIY PVC shoe rack is a cost-effective and satisfying project that offers tangible benefits for your home organization. By taking the time to plan and construct your own shoe rack, you can create a customized storage solution that enhances the functionality of your living space. So, gather your materials and tools, follow the steps outlined above, and enjoy the rewards of a well-organized and aesthetically pleasing shoe storage system.

