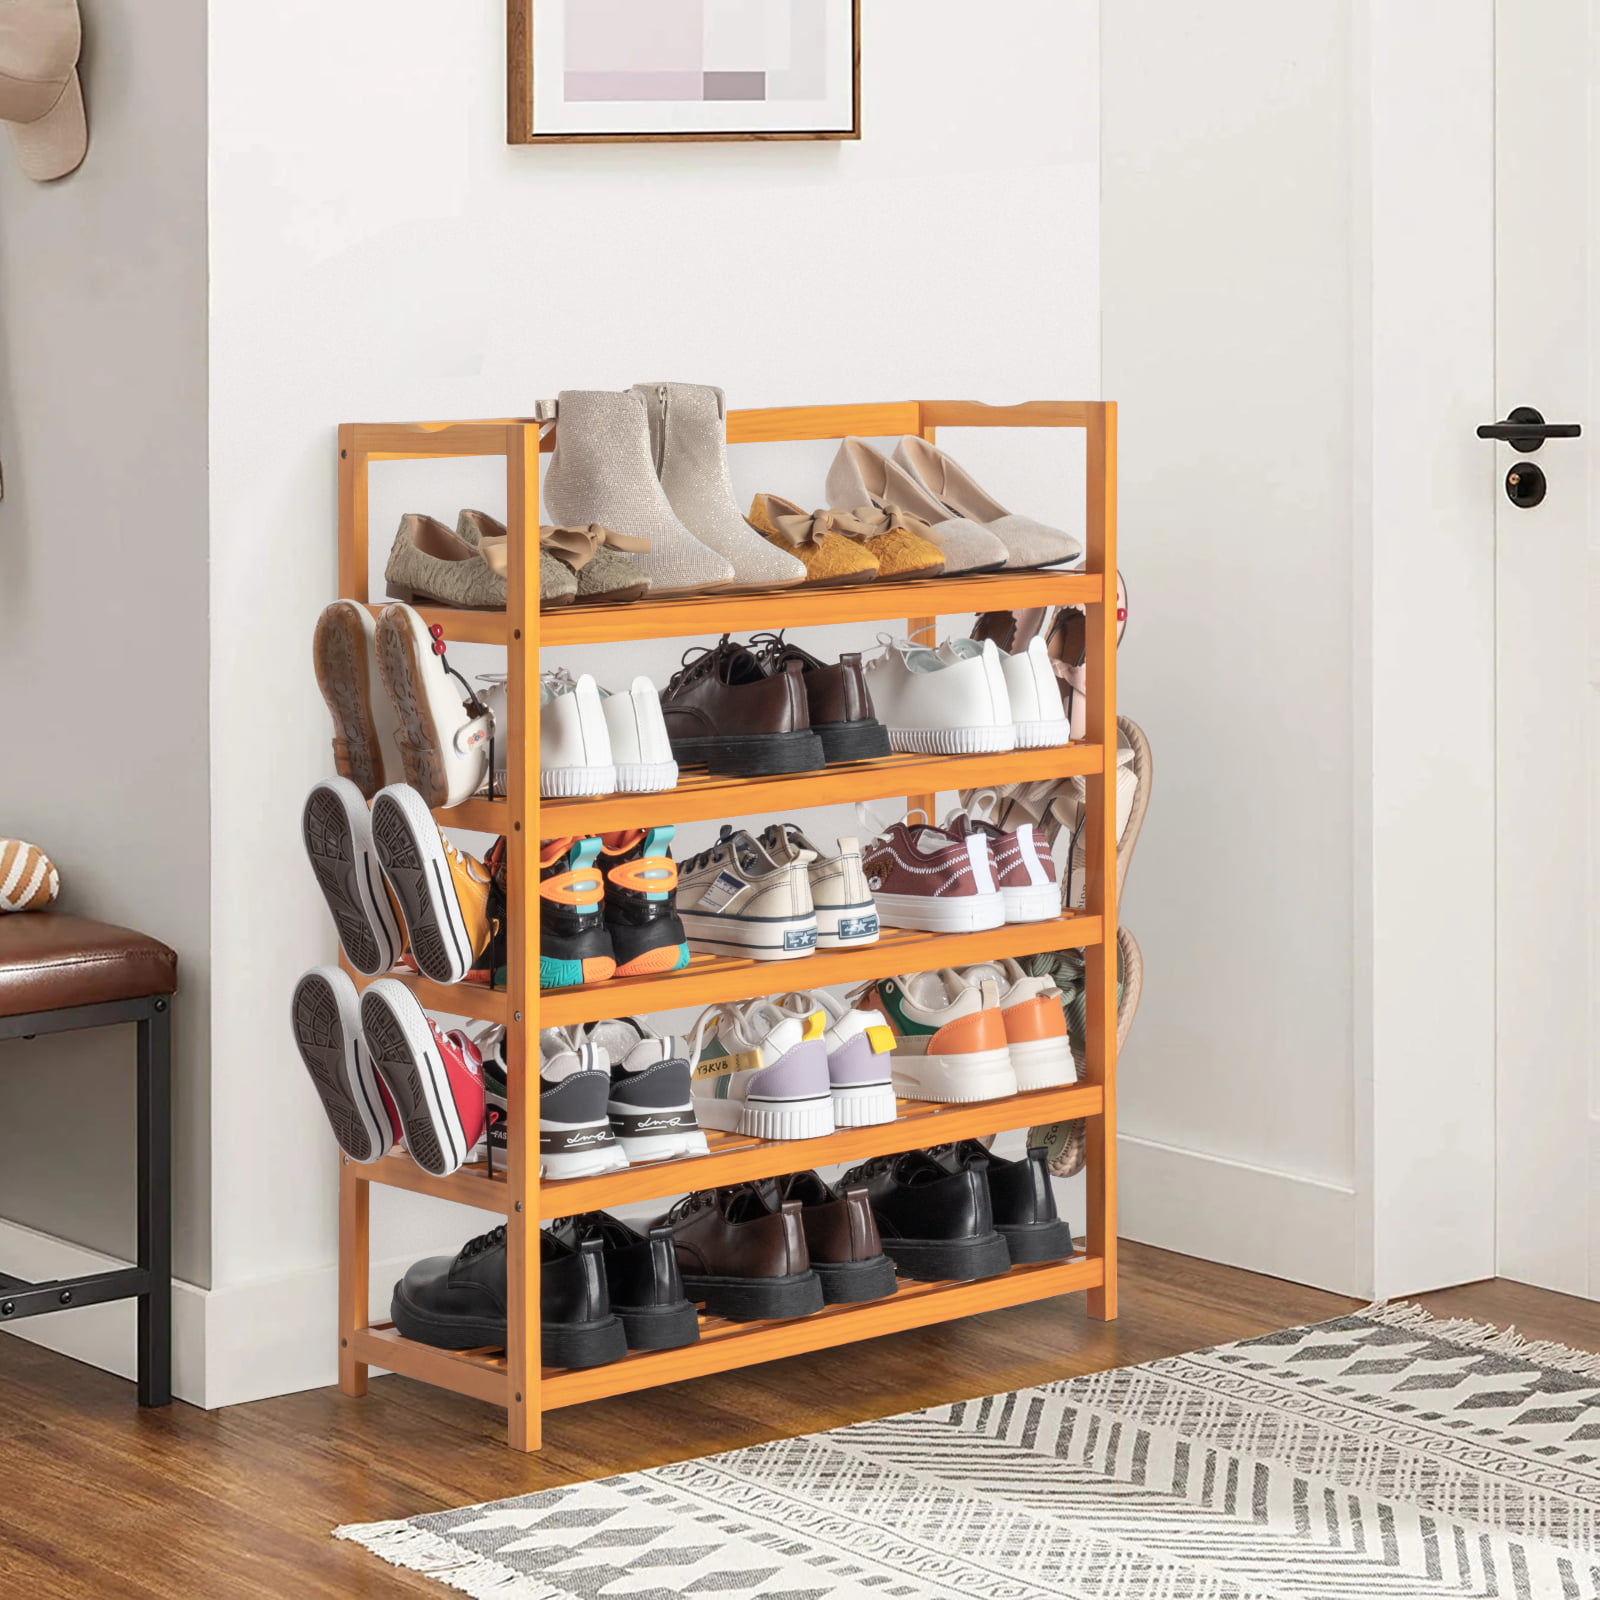
In the hustle and bustle of daily life, the entryway often becomes the catch-all for shoes, coats, bags, and keys. This crucial space deserves both functionality and aesthetics to create a welcoming first impression. A well-designed shoe rack not only keeps your entryway tidy but also adds a touch of personal style. In this guide, we’ll embark on a DIY journey to build a simple yet stylish wooden shoe rack that complements any entryway while efficiently managing the chaos of scattered footwear.
Gathering Materials and Tools
Essential Supplies
Before diving into the project, gather all the necessary materials and tools. For our wooden shoe rack, you will need:
- Wooden Planks: Opt for high-quality pine or oak, measuring 1”x12”x8’ for the shelves and 2”x2”x8’ for the frame, depending on the desired size of your rack.
- Sandpaper (120 and 220 grit): For smoothing surfaces before staining or painting.
- Wood Stain or Paint: Choose a color that complements your entryway decor.
- Wood Glue: To reinforce joints.
- Finishing Nails or Screws: For a sturdy structure.
- Hammer or Drill: Depending on your choice of fasteners.
- Measuring Tape and Square: For precise measurements and right angles.
- Saw: Preferably a circular saw for clean cuts.
- Safety Gear: Don’t forget safety goggles and gloves.
Designing Your Shoe Rack
Customizing to Space and Needs
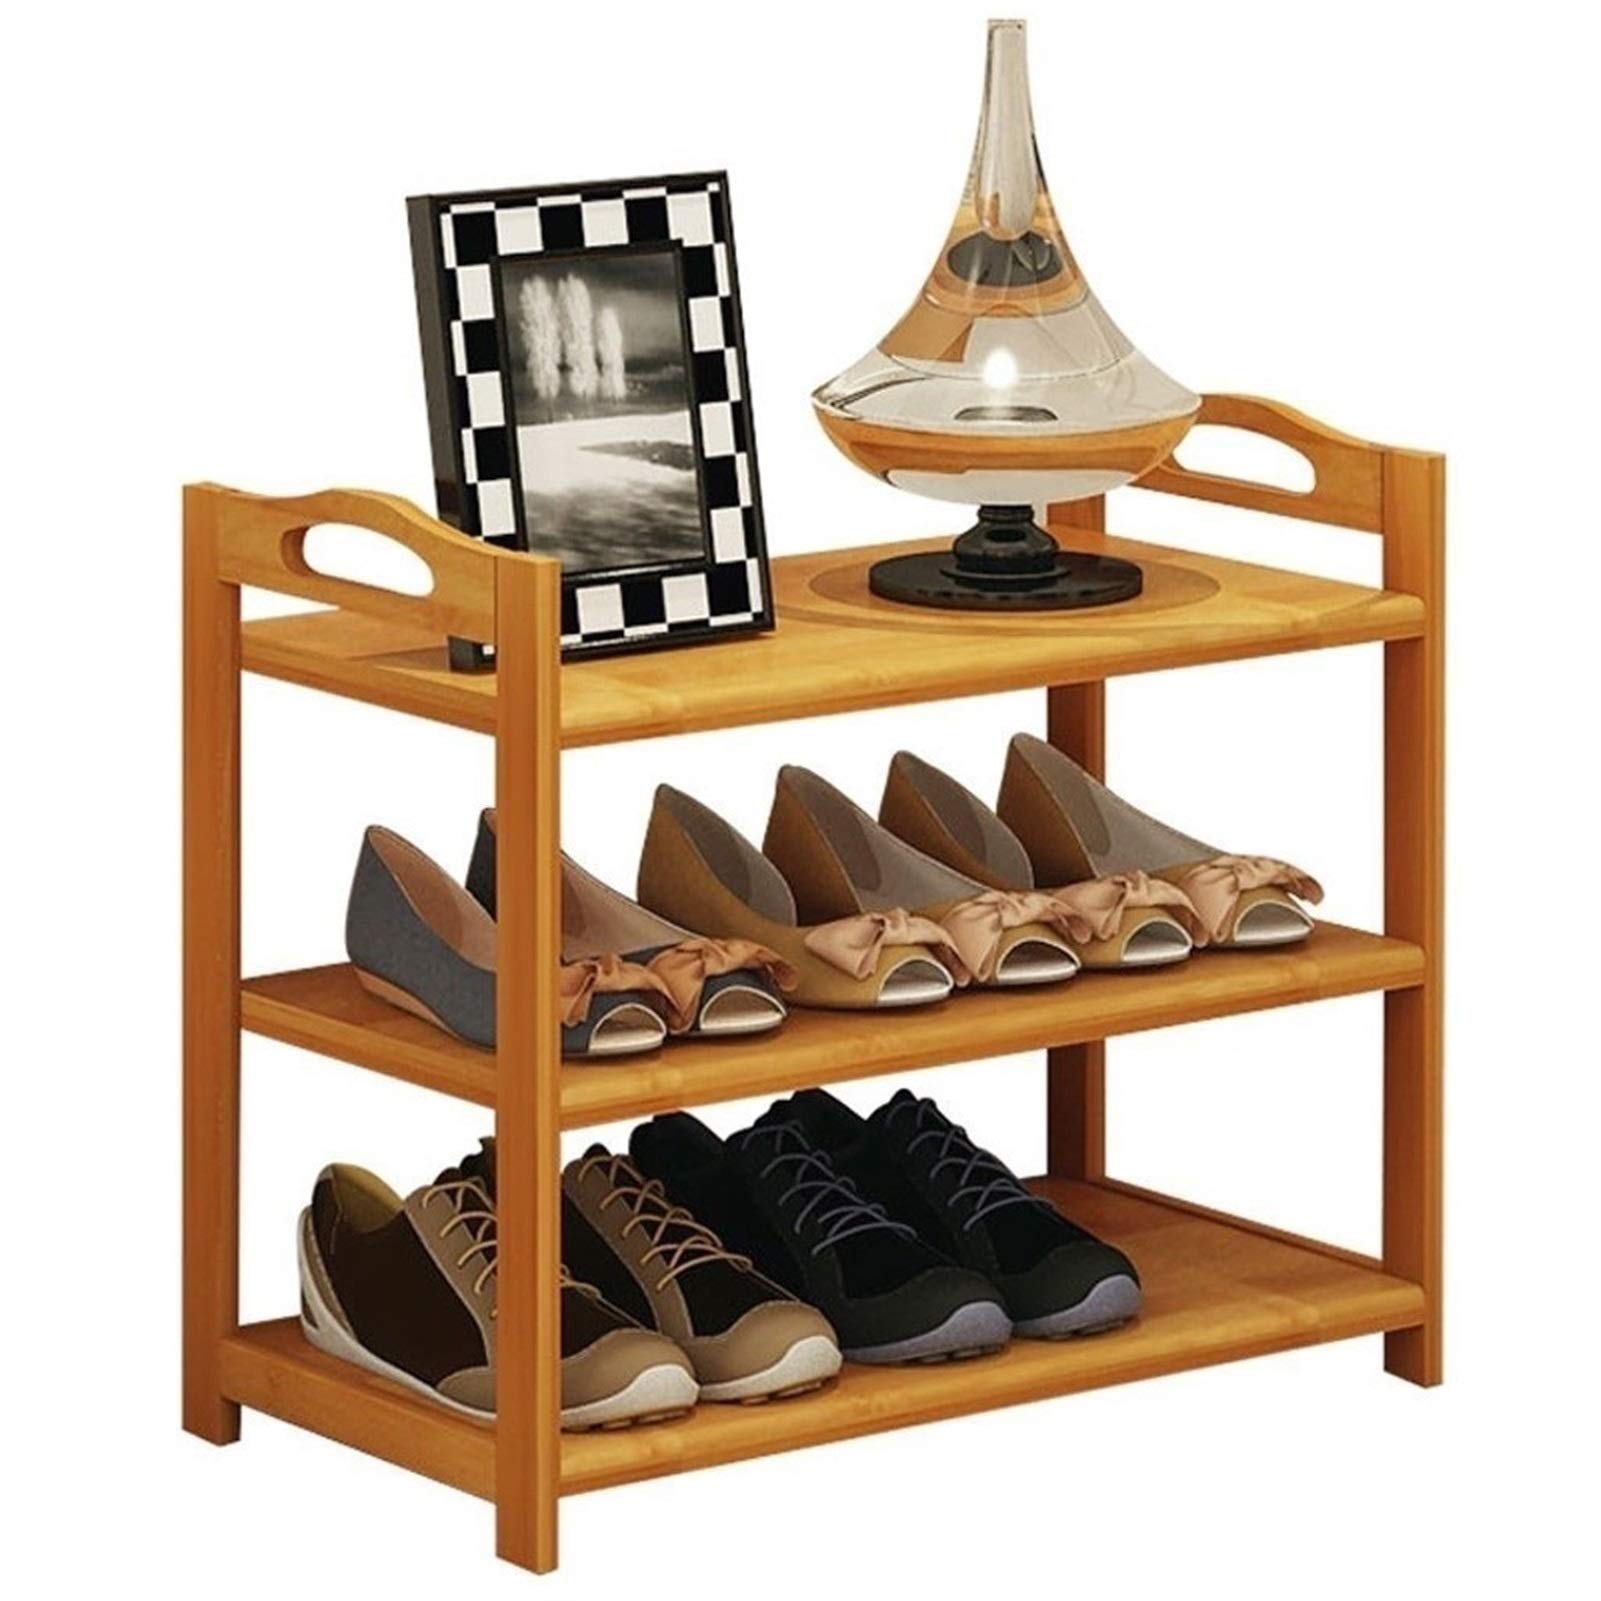
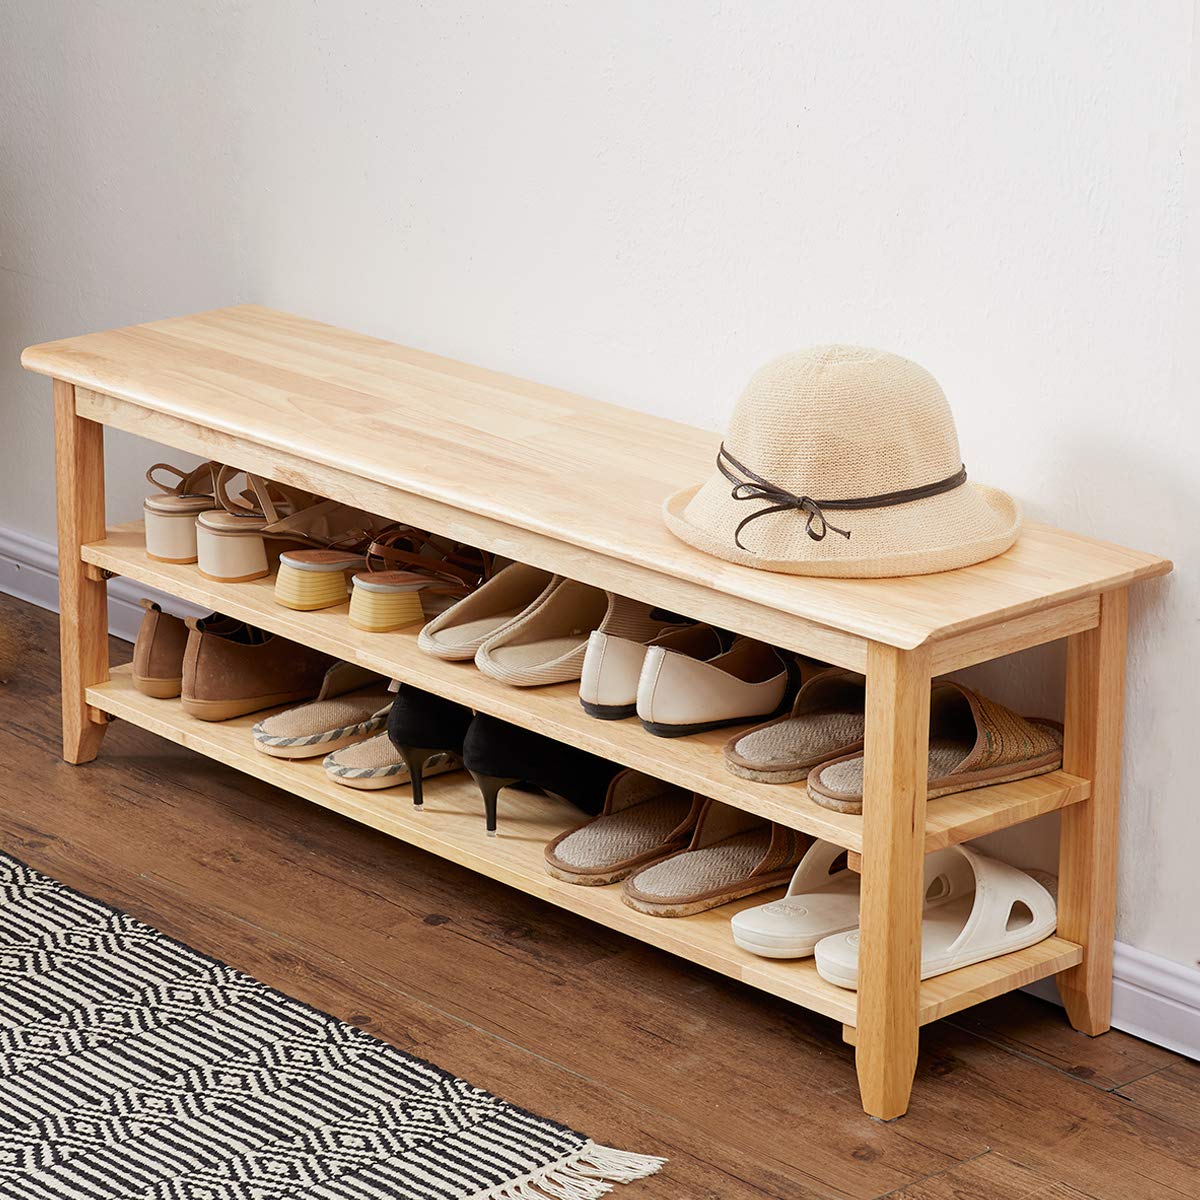
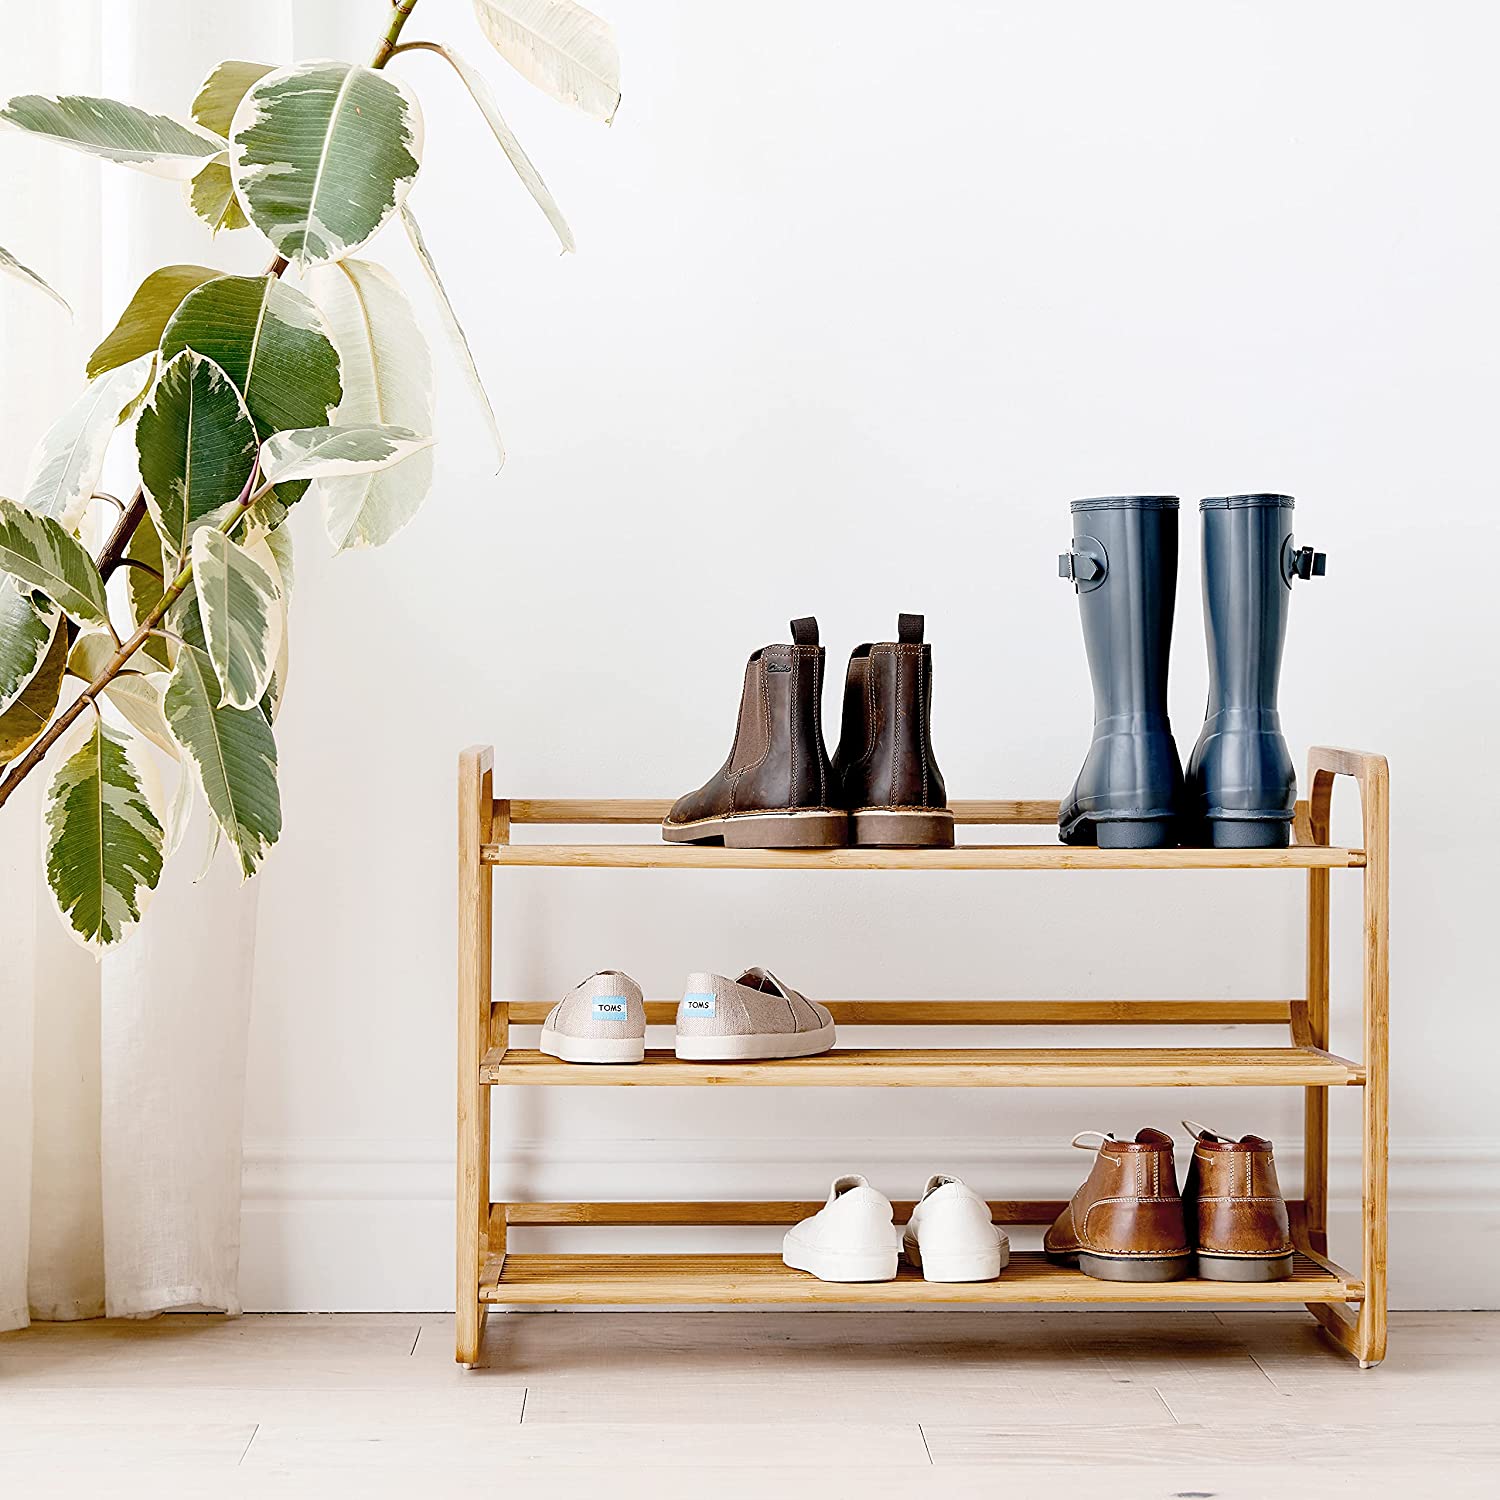
Begin by measuring the dimensions of your entryway and determining how many shoes you aim to store. Consider the height, width, and depth that would suit your space without overwhelming it. Sketch a simple plan, deciding on the number of tiers and overall design. A three-tiered design is common and practical, accommodating various shoe sizes while keeping the structure compact.
Cutting and Preparing the Wood
Precision Cuts for a Flawless Finish
With your plan in hand, measure and mark the wooden planks according to your design. Use a square to ensure straight lines before cutting with a saw. For a three-tiered shoe rack, you’ll typically need:
- 4 Pieces of 2”x2” for the legs, cut to your desired height minus twice the thickness of the shelf plank (for the top and bottom supports).
- 3 Pieces of 1”x12” for the shelves, cut to the desired width of your shoe rack.
- 4 Pieces of 2”x2” for the horizontal supports (2 for the top and bottom, 2 for the middle tier).
Remember to sand all cut edges with 120-grit sandpaper, followed by 220-grit for a smooth finish.
Assembling the Frame
Building a Solid Foundation
Lay out the 2”x2” legs parallel to each other, ensuring they are perfectly squared at the corners. Attach the horizontal supports using wood glue and finishing nails or screws. Start with the bottom support, then the middle, and finally the top, creating a rigid rectangular frame. Reinforce each joint with additional nails or screws for added stability.
Attaching the Shelves
Balancing Form and Function
Position the 1”x12” shelves onto the horizontal supports, ensuring equal spacing between each tier. Apply a bead of wood glue along the edges that will rest on the supports. Secure the shelves in place using nails or screws from the top of the supports down into the shelves. Double-check for level before driving in the fasteners to prevent any wobbling.
Finishing Touches
Adding Personal Flair
Once the structure is assembled, it’s time to add the finishing touches. Sand any rough spots or excess glue, then wipe clean with a damp cloth. Apply your chosen stain or paint, following the manufacturer’s instructions for best results. Multiple thin coats are better than one thick coat for an even finish. Allow adequate drying time between coats.
For an extra touch of style, consider adding decorative moldings to the edges of the shelves or painting the legs in a contrasting color. Personalize your shoe rack to reflect your home’s interior design.
Installation and Placement
Completing the Entryway Transformation
Before placing your new shoe rack in the entryway, ensure the floor is clean and level. If desired, attach felt pads to the bottom of the legs to protect your flooring from scratches. Position the rack in a spot that doesn’t obstruct traffic flow but remains easily accessible for taking off and putting on shoes.
Preserving Your Handiwork To ensure your DIY shoe rack stands the test of time, it’s essential to practice regular maintenance. Dust the shelves periodically with a soft cloth to prevent the accumulation of dirt and grime. For wood stains, consider applying a layer of polyurethane sealant to enhance durability and protect against moisture and scratches. Should you notice any signs of wear over time, touch up the affected areas promptly to maintain its appearance.
Adapting to Changing Needs
Flexibility for the Future As your family grows or your shoe collection evolves, your shoe rack may need adjustments. The beauty of a DIY project lies in its adaptability. You can easily modify the design by adding or removing tiers, adjusting shelf heights, or even expanding its width if space allows. This flexibility ensures that your shoe rack continues to serve its purpose effectively, reflecting the dynamic nature of your lifestyle.
Encouraging Sustainable Practices An Eco-Friendly Choice By choosing to build your shoe rack rather than purchasing a ready-made one, you’re already contributing to a more sustainable lifestyle. You can take this a step further by sourcing wood from responsibly managed forests, using eco-friendly stains and finishes, and repurposing or recycling materials whenever possible. Your project not only enhances your home but also aligns with environmentally conscious choices, making it a win-win situation.
Enjoying the Fruits of Your Labor
A Welcoming Entryway Awaits
With your stylish wooden shoe rack in place, your entryway instantly transforms from cluttered to chic. Not only does it provide a designated spot for every pair of shoes, but it also sets the tone for an organized home. This simple DIY project not only enhances functionality but also showcases your craftsmanship and personal style. Welcome guests into a tidier, more inviting space, all thanks to your own hands’ work.
By following this step-by-step guide, you’ve not only built a practical solution but also infused warmth and character into an often-overlooked part of your home. Your entryway now stands as a testament to your creativity and attention to detail, making every return home a pleasant experience.