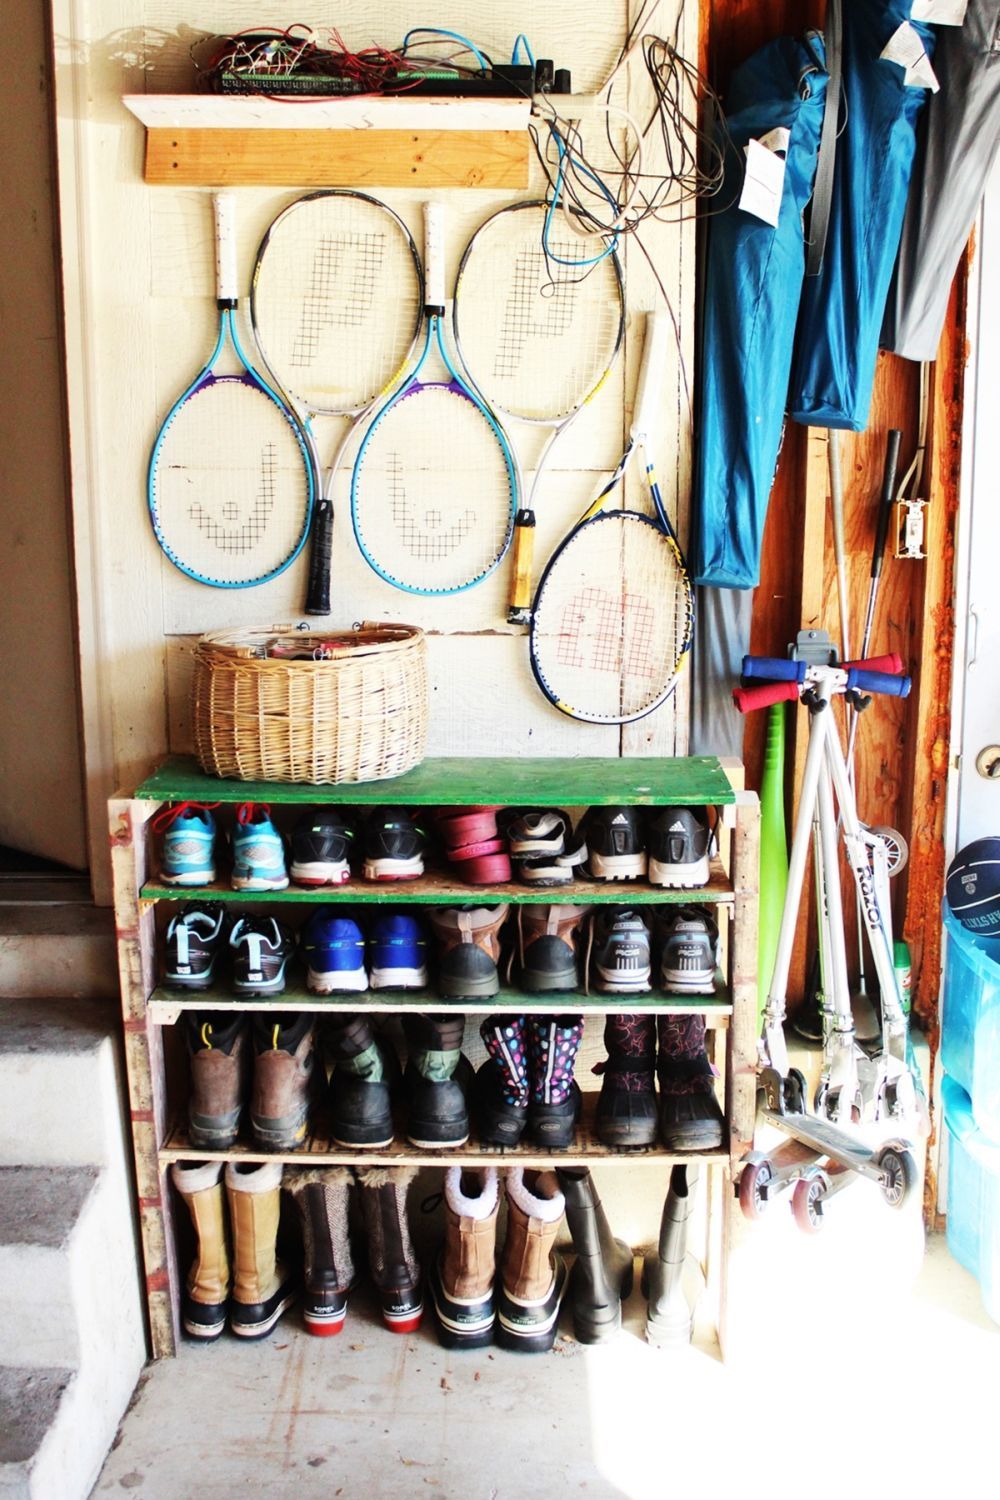
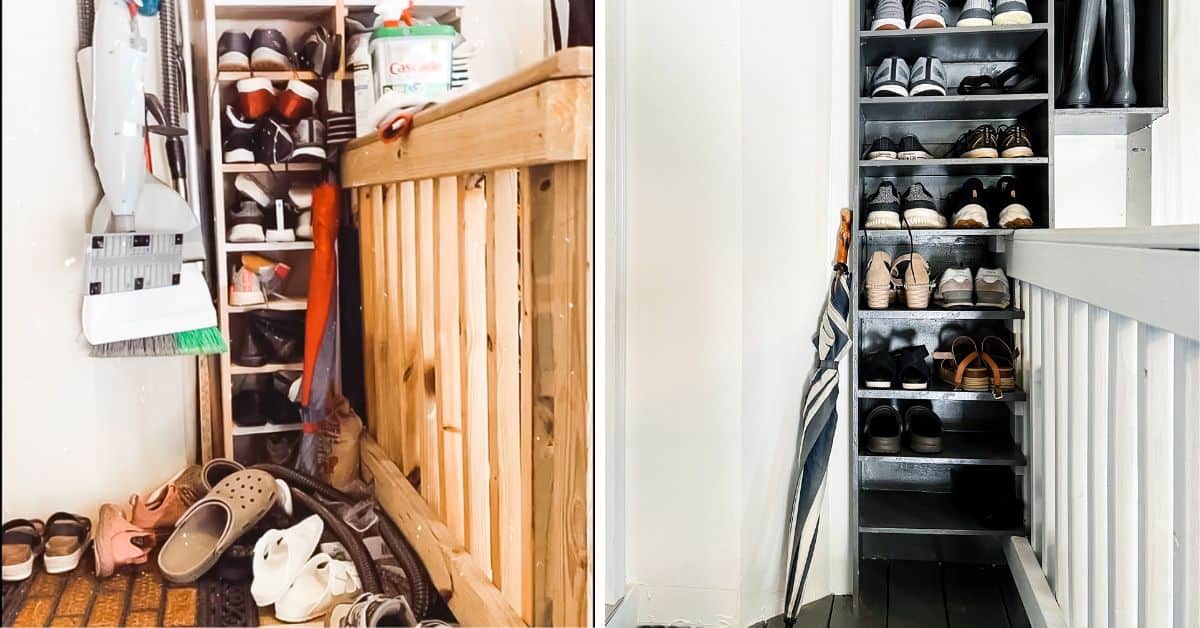
If you’re tired of tripping over shoes in your garage, a shoe rack is a simple solution to keep them organized. Building a DIY shoe rack can be a fun and rewarding project, and the best part is that it doesn’t require any fancy tools or woodworking skills. In this article, we’ll show you how to build a simple and practical shoe rack for your garage in just one weekend.
Planning Your Shoe Rack: What Do You Need?
Before starting your DIY shoe rack project, you’ll need to gather some materials and tools. Here’s what you’ll need:
Materials:
- 2×4 lumber (8ft long)
- 1×12 lumber (8ft long)
- 2-inch screws
- Wood glue
Tools:
- Drill
- Circular saw
- Measuring tape
- Square
- Pencil
- Sandpaper
Designing Your Shoe Rack: Sketching Out a Plan
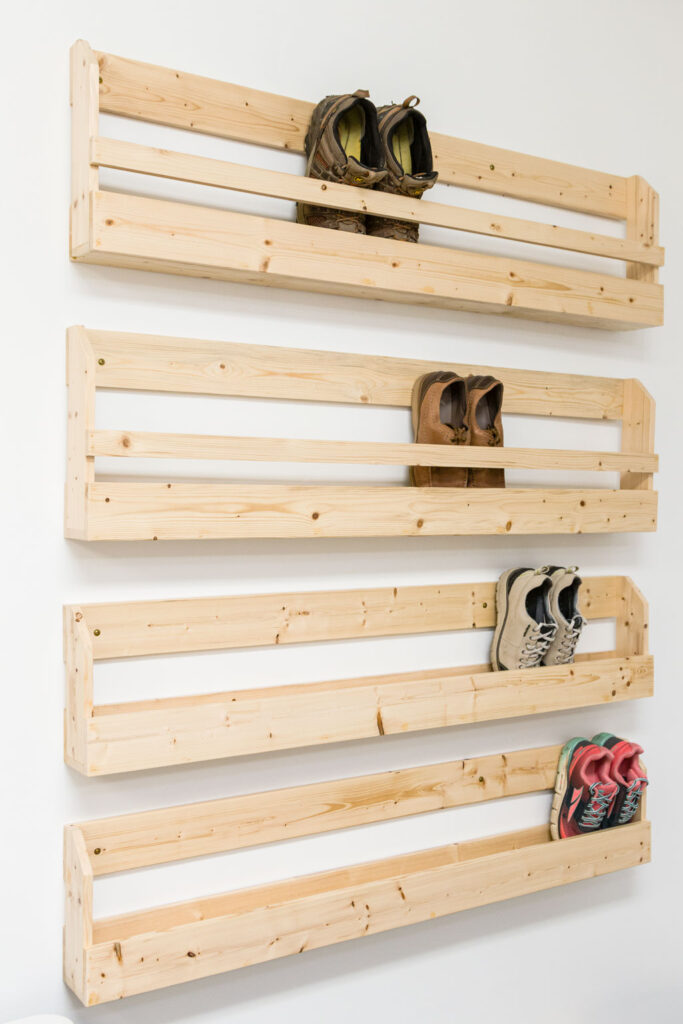
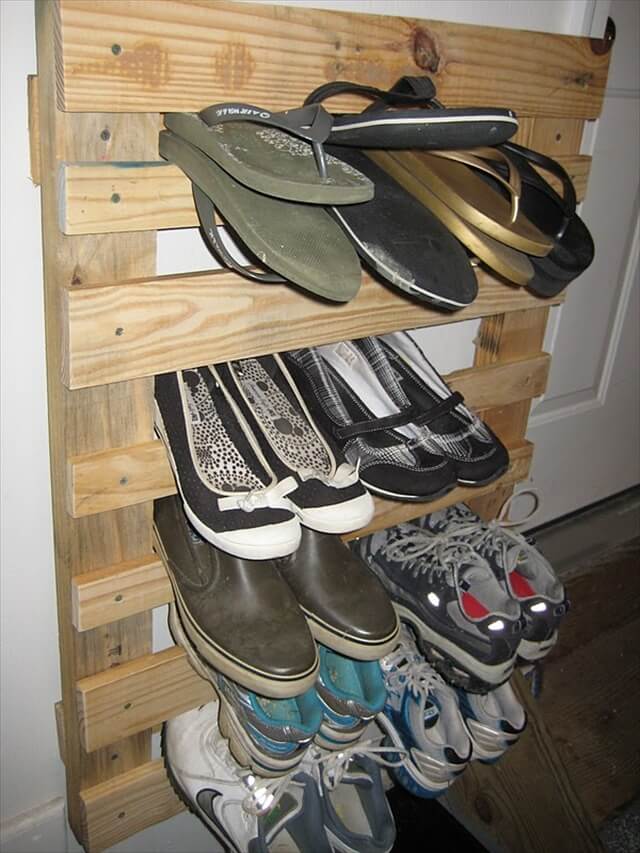
The first step in building your shoe rack is to sketch out a plan. Think about how many shoes you have and how much space you have available in your garage. A simple design for a shoe rack is a rectangular box with shelves. The height of the shelves depends on the size of your shoes, but 6-8 inches is a good range to start.
Cutting the Lumber: Preparing Your Materials
Once you have a rough plan, it’s time to start cutting your lumber. Cut two 2×4 pieces to the desired length for the sides of your shoe rack. Then, cut two more pieces to the desired width for the top and bottom of your shoe rack. Cut your 1×12 lumber into pieces equal to the width of your shoe rack for the shelves. You will need enough shelves to accommodate all of your shoes.
Assembling Your Shoe Rack: Putting It All Together
Now that you have all of your pieces cut to size, it’s time to assemble your shoe rack. Start by laying out the four pieces of 2×4 lumber to form a rectangle. Use wood glue and screws to attach the top and bottom pieces to the sides. Make sure to pre-drill your screw holes to prevent splitting the wood.
Next, attach the shelves to the inside of the shoe rack. Use wood glue and screws to secure them in place. Leave enough space between the shelves to accommodate your shoes. Sand the edges of your shoe rack to smooth any rough spots.
Finishing Touches: Paint or Stain Your Shoe Rack
Now that your shoe rack is assembled, it’s time to paint or stain it. Choose a color that matches your garage decor or go for a bold statement with a bright color. Once your shoe rack is dry, it’s ready to use.
Organizing Your Shoes: Enjoy Your New Shoe Rack
Now that your shoes have a home, it’s time to organize them. You can arrange your shoes by color, style, or season. Add labels to each shelf to keep things organized. Now, you’ll never have to look for a matching pair of shoes again.
Making the Most of Your Shoe Rack: Maximizing Space Efficiency
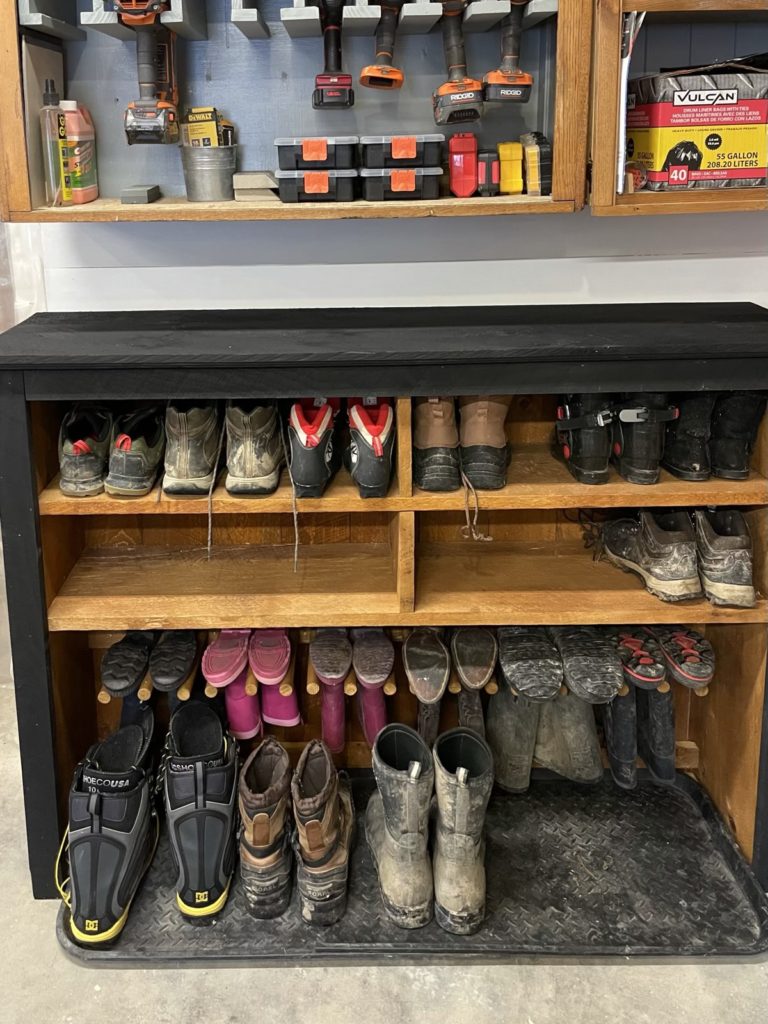
Now that you have your shoe rack built and installed in your garage, it’s time to make the most of the available space. One way to maximize space efficiency is by utilizing the top surface of your shoe rack. Consider placing items such as hats, gloves, or small storage containers on top of the shoe rack. This will allow you to use the vertical space effectively while keeping essential items within reach.
Another tip for maximizing space efficiency is to consider the layout of your shoes on the shelves. If you have varying shoe sizes, try alternating the placement of shoes to create a more uniform appearance. You can also utilize shoe organizers or boxes to group similar shoes together, making it easier to find a specific pair when needed.
Maintaining Your Shoe Rack: Keeping It Clean and Organized
To ensure the longevity and functionality of your DIY shoe rack, it’s essential to keep it clean and organized. Regularly dust off the surfaces of the shoe rack to prevent dirt and debris from accumulating. Additionally, take the time to wipe down the shelves with a damp cloth to remove any scuff marks or stains.
Maintaining organization within your shoe rack is equally important. Regularly assess the contents of your shoe rack and consider purging any shoes that are no longer worn or in good condition. This will free up valuable space and prevent clutter from building up. By periodically decluttering and organizing your shoe rack, you’ll be able to maintain an efficient and visually appealing storage solution.
Expanding Your Shoe Rack: Adapting to Changing Needs
As time goes on, your shoe collection may grow, or your storage needs may change. The beauty of a DIY shoe rack is its adaptability. If you find that your shoe rack is no longer accommodating all of your shoes, consider adding extra shelves or building an additional shoe rack.
Expanding your shoe rack can be done by following the same construction process as before. Measure the available space in your garage and adjust the dimensions of the 2×4 lumber and shelves accordingly. With a little extra effort, you can easily expand your shoe rack to suit your evolving needs.
Choosing the Right Location for Your Shoe Rack: Convenience and Accessibility
When installing your DIY shoe rack in the garage, it’s crucial to choose the right location for maximum convenience and accessibility. Consider placing the shoe rack near the entry door or the door leading into your house. This will allow you to easily slip off your shoes as you enter the house and keep them neatly stored away.
Additionally, take into account any existing storage systems or shelving units in your garage. You’ll want to position the shoe rack in a space that complements your existing storage layout and doesn’t obstruct any pathways or access points.
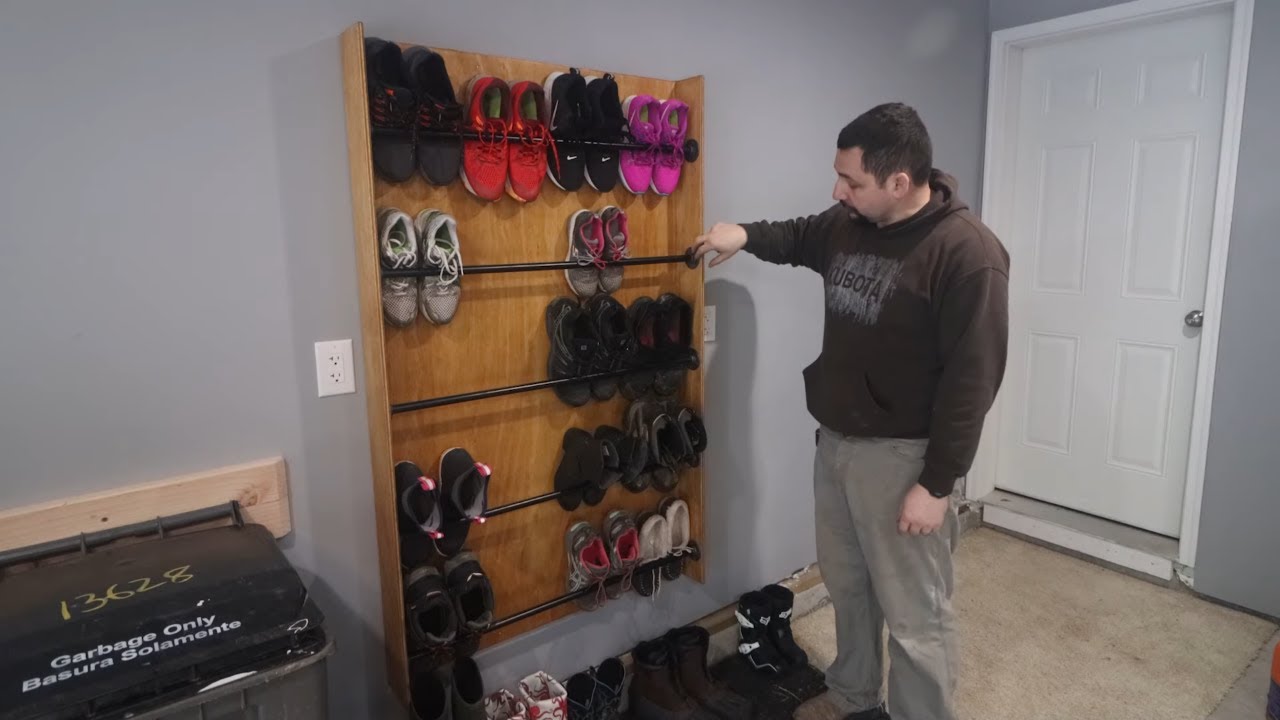
If space is limited in your garage, consider installing the shoe rack vertically against a wall to save floor space. Wall-mounted shoe racks are a great space-saving solution and can be customized to fit your specific needs and preferences.
Conclusion: A Simple Solution for a Common Problem
Building a shoe rack is an easy and practical solution to keep your garage organized. With a few pieces of lumber and some basic tools, you can create a functional and attractive storage solution for your shoes. Plus, with the satisfaction of completing a DIY project, you’ll enjoy your organized garage even more. So, grab your tools and get started on your shoe rack this weekend.