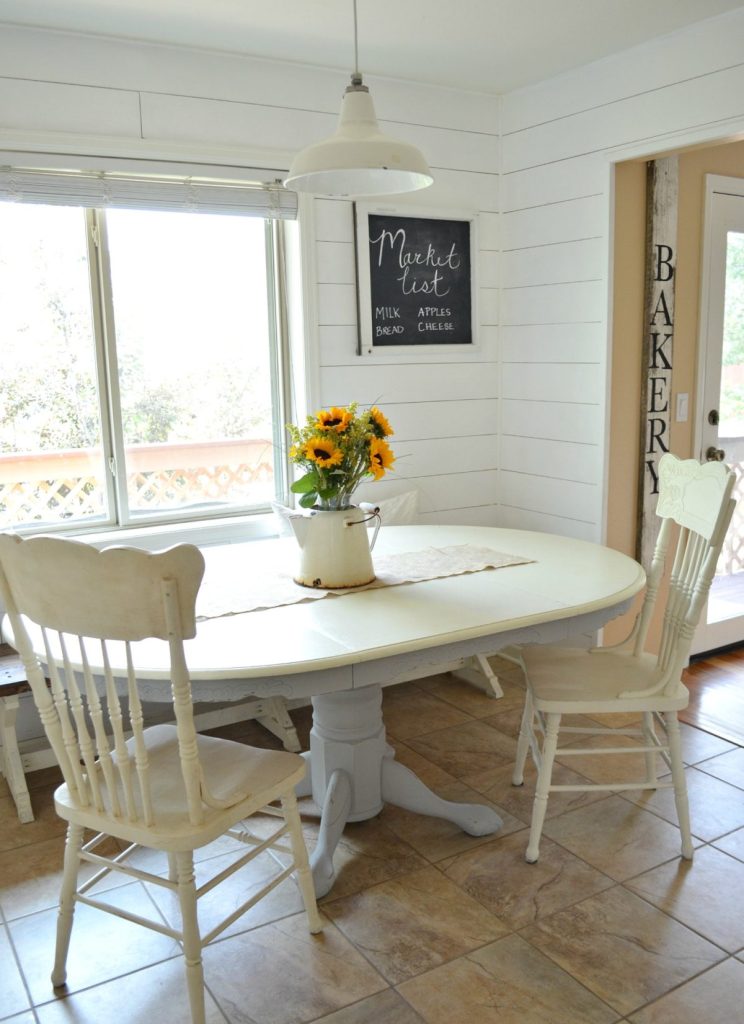
Giving your dining table a fresh coat of paint is an easy DIY route to transform the look of your eating space. With some prep and paint, you can update a dated table or customize a thrift store find to match your decor. Here is an expert guide on how to properly paint various dining table materials to achieve a beautiful hand-painted finish.
Assess Your Dining Table Type
Before starting, inspect your table to identify the construction:
- Wood – Requires sanding, staining/priming before painting. Most forgiving surface.
- Laminate – Needs thorough degassing and priming for paint to adhere. Avoid oil-based paints.
- Metal – Must be sanded and primed well due to slick surfaces. Ideal for spray paints.
- Glass/Stone – Etch surfaces before applying paint formulated for slick materials.
- Veneers – Can only paint if veneer is damaged. Paint soaks into edges.
Check for Finishes or Damage
Existing finishes, stains, or repairs may need addressing so the paint job lasts. Make any fixes before painting.
Prep and Clean the Dining Table Surface
Proper prep ensures your paint adheres and lasts. For all table types:
- Remove any furniture wax, oils or polishes with mild detergent
- Lightly sand surface to rough up and remove gloss
- Clean thoroughly with tack cloth to remove dust
- Use painter’s tape to mask off table apron and legs
Protect Flooring
Lay down plastic sheeting or drop cloths to safeguard surrounding flooring from drips and spills during the painting process.
Select the Right Paints and Supplies
- Paint – For wood, use acrylic, chalk or milk paints. For laminate and metal, select primers and spray paints that specify your material. Purchase enough for 2-3 coats.
- Paintbrush – Angled sash brushes assist cutting in edges neatly. Round or flat brushes work for covering large tabletop areas.
- Paint tray – A wide, shallow tray with ridges prevents too much paint pooling.
- Sandpaper – Lightly sand between coats with 220 grit paper to smooth drips or debris.
- Tack cloth – These sticky cloths pick up dust between sanding and recoating.
Optional Supplies – Paint rollers, foam brushes, wood filler, drop cloths, frog tape, paint pens
Priming and Painting the Table Top
Follow these steps for flawless paint coverage:
- On wood, apply 1-2 coats of primer letting dry fully between. For other materials, degloss then scuff sand.
- Use angled brush to carefully “cut in” around table edges and corners. Allow to dry.
- With flat or round brush, apply first coat using long, even strokes with the wood grain. Let dry completely.
- Gently sand to smooth any drips or debris bumps. Tack off dust.
- Paint second finish coat, using a new clean brush. Allow to cure 24 hours.
- If desired, apply a clear sealer/topcoat for added protection.
Avoid Overbrushing
Lightly apply paint in thin coats. Too much brushing or rolling can create air bubbles and a streaked look. Allow paint to self-level.
Painting Dining Table Legs and Base
Extend your painted finish to table legs and aprons using similar prep and painting steps. Considerations:
- Sand and fill dents, dings, or flaws in the base wood before priming.
- Tapered table legs prone to drips may benefit from using painter’s tape bands for sharper paint lines.
- Use spray paint for metal legs, aprons, or pedestal bases for smooth even coverage. Apply multiple light coats allowing drying between.
- For intricate carved details, use small paint brushes and foam tipped sticks to carefully work paint into crevices.
Achieving Special Painting Techniques and Effects
Beyond standard solid coats, consider these options to create additional interest:
- Distressing – Rub painted edges with sandpaper once dry to expose wood tones underneath. Age with white wax.
- Dry brushing – Drag nearly dry stiff bristle brush over paint to create a variable tinted, textured effect.
- Marbling – Mix contrasting paint colors then gently fold together avoiding total blending to create streaked marble looks.
- Sponging – Lightly apply glazed paints over base coats using a cut-up sponge for an organic, mottled effect.
- Stenciling – Use stencils and dabbing motions to make geometric, floral, or other patterns on table edges or legs.
With the right preparation and painting approach, even DIYers can transform a basic dining table into a showstopping centerpiece that displays their unique style. Consider making this simple upgrade to refresh your dining space.