Introduction to Kitchen Cabinet Painting
A fresh coat of paint can transform any kitchen. Painting cabinets is a popular way to refresh your space without a full remodel. It’s cost-effective and can yield dramatic results. Before starting, you should know that this project requires patience and precision. But don’t worry, we’ll guide you through each step.
The key to a successful kitchen cabinet painting job lies in preparation and choosing the right materials. From selecting the best paint to learning the proper painting techniques, we’ll cover everything. You’ll see impressive before and after photos of painted kitchen cabinets. Learn how to maintain the new look for years to come.
Whether you’re a DIY enthusiast or planning to hire a professional, understanding the process is essential. Let’s dive into the world of kitchen cabinet painting and discover how you can give your kitchen a new lease on life.
Choosing the Right Paint for Cabinets
Choosing the right type of paint is crucial for kitchen cabinets. The paint must withstand frequent cleaning and exposure to cooking oils, grease, and fluctuating temperatures. Depending on your budget, style, and durability requirements, there are several options available.
Types of Paint Suitable for Kitchen Cabinets
There are two popular types of paint for kitchen cabinets – oil-based and latex. Oil-based paints offer a durable, hard finish that’s less prone to chipping. They also provide a smooth look but take longer to dry and are harder to clean up. Latex (or acrylic) paints are water-based. They dry faster, are easier to clean up, and are less fumy. However, they may not be as tough as oil-based options.
Specialty cabinet paints are also on the market, designed specifically for cabinetry. They often combine the durability of oil-based with the easy use of latex. Chalk paint is another choice, giving cabinets a matte finish and vintage look without needing much prep work.
For an eco-friendly option, consider low-VOC (volatile organic compounds) paints, which have fewer harmful chemicals and are better for indoor air quality.

Factors to Consider When Selecting Paint
When picking out paint for your kitchen cabinets, think about the finish you want. Glossy paints are more durable and easier to clean but show more imperfections. Matte finishes hide imperfections but are less durable.
Color choice is also key. Light colors can brighten a kitchen and make it feel larger, while dark colors can give a sleek, modern vibe.
Consider your kitchen’s humidity and temperature changes. Paints with good adhesive qualities and resistance to mildew and mold will endure these conditions better.
Lastly, think about the paint’s workability. Some paints are easier to apply than others, which can be especially important if you’re doing the job yourself.
By factoring in these considerations and selecting the right type of paint, you ensure a stunning transformation of your before and after painted kitchen cabinets.
Preparing the Cabinets for Painting
Before you dip your brush in paint, proper preparation is crucial for a flawless finish. Preparing your cabinets involves cleaning them thoroughly and sanding them down to create a smooth surface for the paint to adhere to. Let’s break down these steps to ensure your before and after painted kitchen cabinets will make a stunning impact.
Cleaning and Sanding
Start by removing all hardware from the cabinet doors and drawers. Clean every surface with a degreaser to remove any buildup of grease and dirt. Once the cabinets are clean, you’ll need to sand them. Sanding helps to scuff up the surface, allowing the primer and paint to stick better. Use a medium-grit sandpaper for this task. Be sure to sand evenly and get into all the corners and detailed areas. After sanding, wipe down the cabinets with a tack cloth to remove all the dust.
Priming the Surface
After cleaning and sanding, priming is your next step. A quality primer will help cover any stains or wood tannins that might bleed through the paint. It also makes your paint job last longer by providing a good base. Apply the primer with a brush or roller, and let it dry as instructed by the manufacturer. Remember, taking the time to apply primer properly is a game-changer for achieving the best before and after painted kitchen cabinets.
Step-by-Step Guide to Painting Kitchen Cabinets
Now that your cabinets are prepped, it’s time to start painting. A methodical approach will ensure your cabinets look as good as new. We will focus on two crucial steps: Applying the primer and the actual painting. Following this guide will help you achieve that perfect before and after painted kitchen cabinets look.
Applying the Primer
Primer is key for a lasting finish. Start with a smooth, even coat. You may need to use a brush for corners and a roller for flat surfaces. Allow the primer to fully dry. This can take a few hours. Do not rush this step; it’s critical for a good paint job.
Painting Techniques and Tips
Once the primer is set, begin painting. Use a high-quality brush or roller. Start with light, even coats to avoid drips. Allow each coat to dry before applying the next. This might take longer, but it will yield better results. For durability, two or three coats may be necessary.
Remember, the goal is to achieve a smooth, uniform finish, so take your time with each step. Careful painting will reflect in your cabinets’ before and after transformations. With patience and attention to detail, your kitchen cabinets will boast a professional and refreshed look.
Comparative Visuals: Before & After Painting
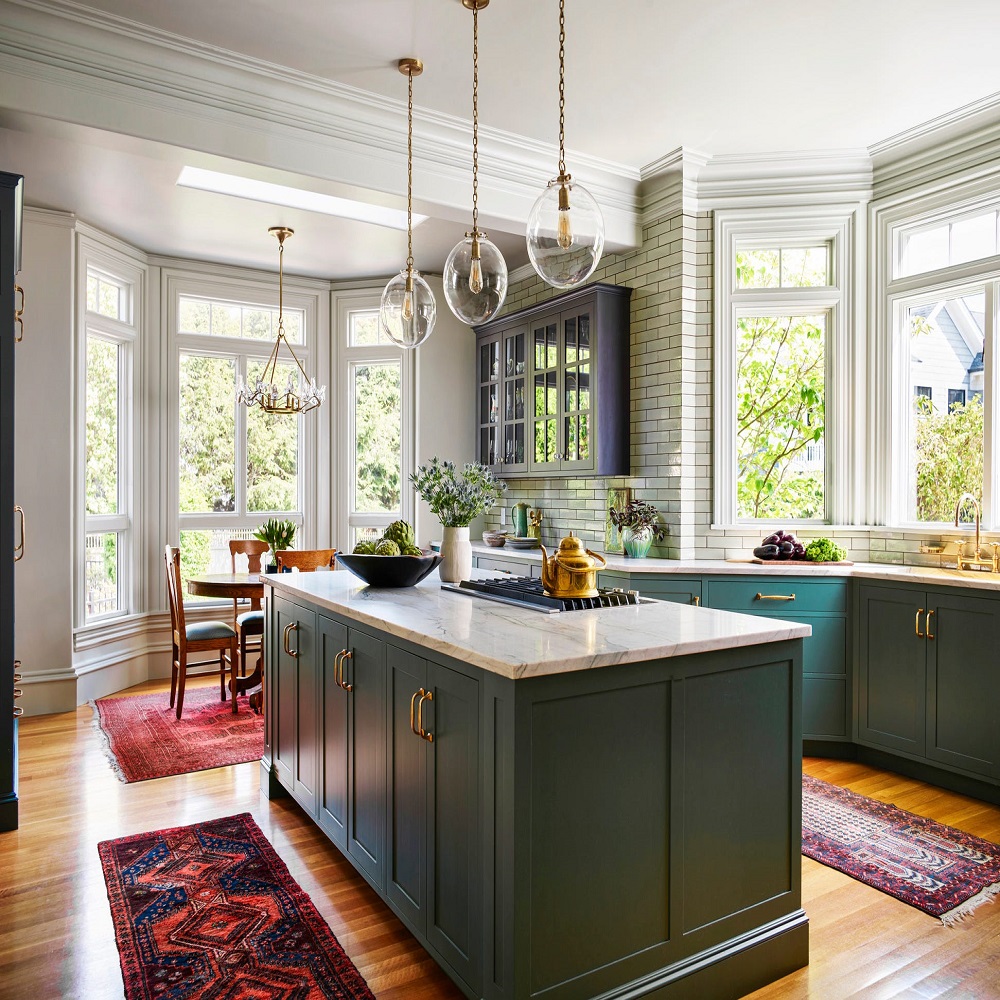
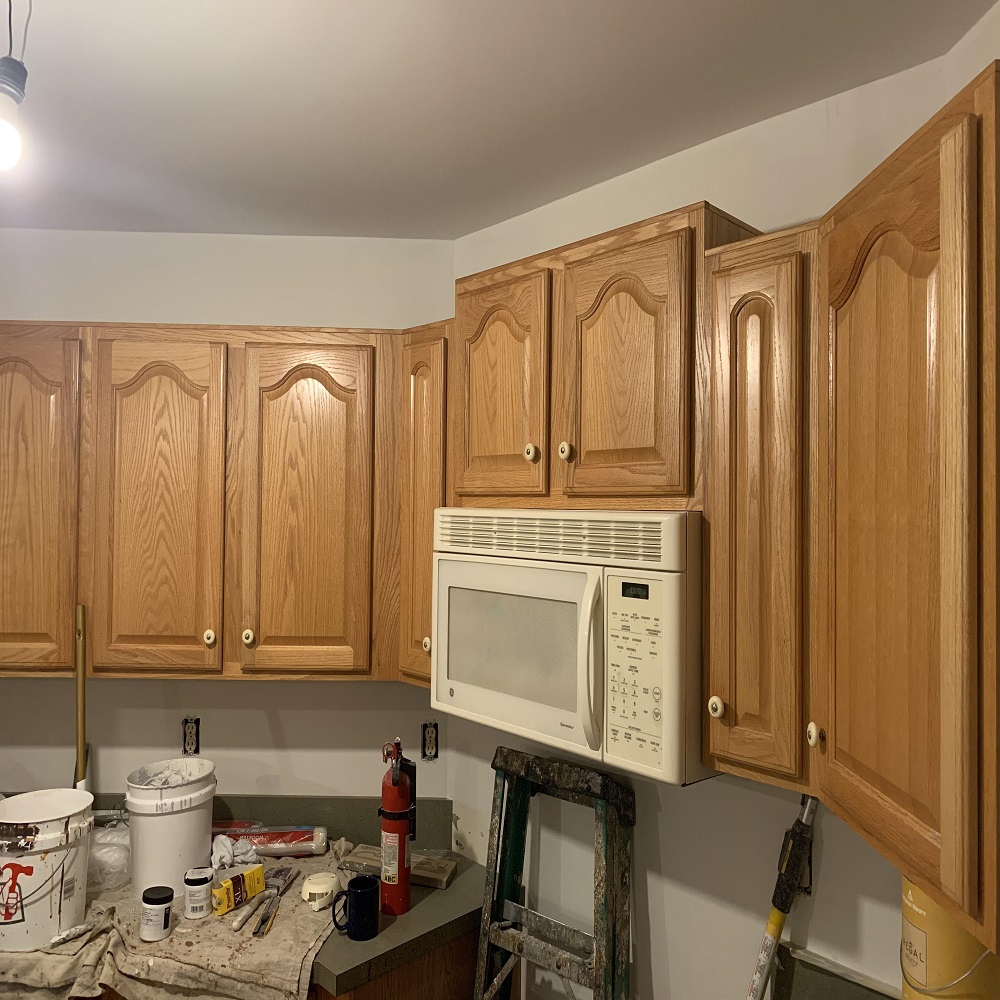
Viewing before and after painted kitchen cabinets can be striking. It’s one thing to imagine the transformation, and quite another to see it. These comparative visuals serve as evidence of the change. They highlight the power of a fresh coat of paint. To appreciate the full impact, let’s observe what these visuals tell us.
Before painting, cabinets often show signs of wear and tear. They may look outdated and worn out. The color might be faded, and there can be scratches and dings. It’s not just about aesthetics. The overall feel of the kitchen can seem neglected.
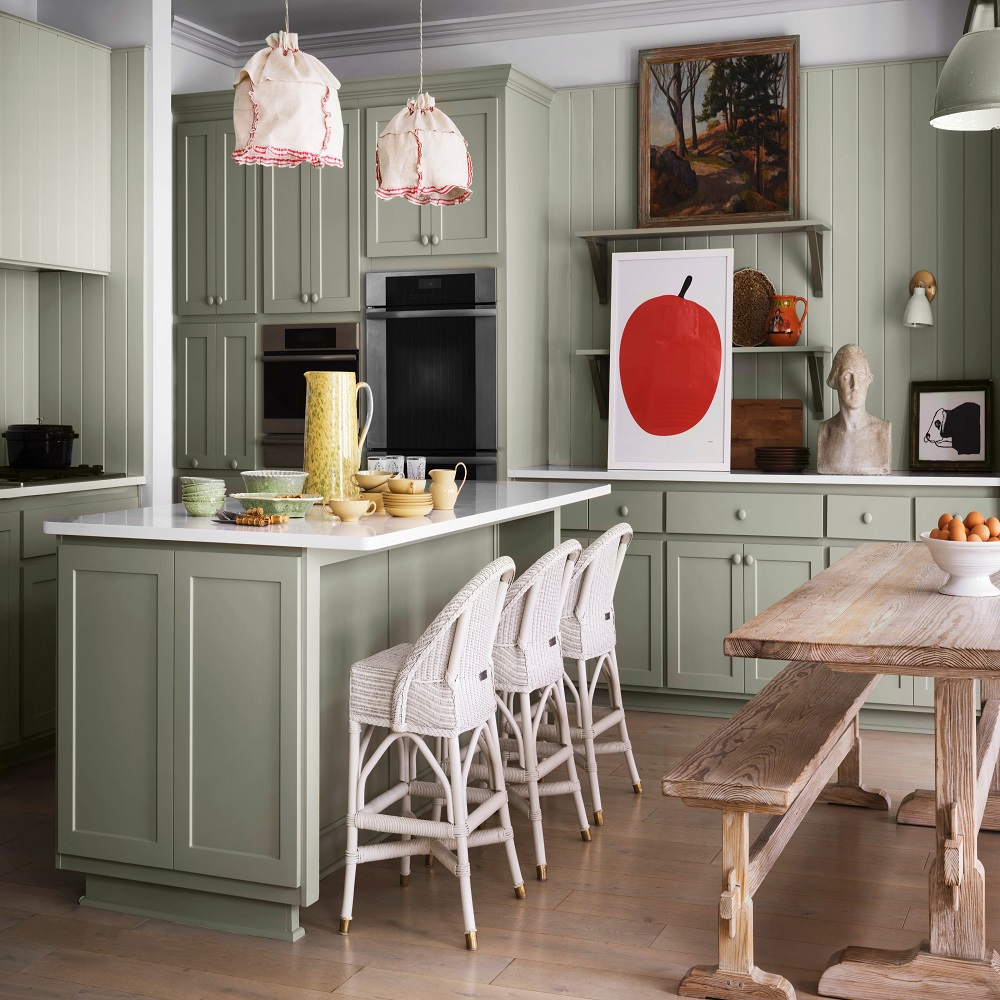
After painting, it’s like a different kitchen has emerged. The cabinets look fresh and modern. A bright color can make the space feel larger and more inviting. Dark tones can bring a touch of elegance and sophistication. The finish on the painted cabinets adds to the room’s ambiance. It can sway it from casual to chic, all with the stroke of a brush.
Photos of before and after painted kitchen cabinets also help with decision-making. They can inspire one to take the leap into painting their cabinets. Sometimes, seeing is believing. And for this transformation, the visual contrast is often enough to convince.
These visuals are not just for showcasing. They are a testimony to the work put in. They reveal the importance of each step, from prepping to the final coat. Those who have undergone this process can vouch for the effort. And the results speak volumes.
In summary, before and after pictures serve a dual purpose. They demonstrate the potential impact and confirm the worth of this undertaking. As the saying goes, a picture is worth a thousand words. In this case, it’s also worth a whole new kitchen look.
Maintenance Tips for Painted Cabinets
Maintaining your newly painted kitchen cabinets is crucial for lasting beauty. Here are some tips to keep them looking as good as new.
- Regular Cleaning: Wipe cabinets weekly with a soft cloth. Use a mild soap and water solution. Avoid harsh chemicals that can damage the paint.
- Immediate Stain Removal: Clean spills and stains immediately. Prolonged exposure can cause the paint to discolor or chip.
- Avoid Excessive Moisture: Wipe off any moisture buildup from steam or splashes. Excess moisture can weaken the paint’s bond to the cabinet surface.
- Use Gentle Cleaning Tools: Avoid abrasive sponges or scrubbers. They can scratch the paint. Instead, use microfiber cloths which are gentle on surfaces.
- Regular Touch-Ups: Check for any chips or wear. Use a small brush for touch-ups. This maintains the pristine look of your cabinets.
- Polish Hardware: While cleaning, also polish the hardware. This prevents tarnishing and complements the clean look of your cabinets.
By following these tips, your before and after painted kitchen cabinets will preserve their finish and continue to enhance your kitchen’s aesthetics.
Concluding Thoughts: The Impact of Painted Cabinets on Kitchen Aesthetics
Painted kitchen cabinets can truly transform the look and feel of a kitchen. The impact of a fresh coat of paint goes beyond aesthetics, influencing the entire ambiance and perception of the space. Here are some key takeaways:
- Enhanced Aesthetics: Freshly painted cabinets look clean and modern. They can brighten up the kitchen or give it a sleek, sophisticated look depending on the color chosen.
- Increased Home Value: A kitchen makeover can increase your home’s market value. Painted cabinets are a cost-effective way to enhance this key space.
- Personal Satisfaction: A beautiful kitchen can make daily routines more pleasant. It’s enjoyable to cook and spend time in a visually appealing space.
- Customization: Painting provides customization options. You can choose exactly the color and finish that suit your taste and home decor.
- Low Cost, Big Impact: Compared to other renovations, painting cabinets is less expensive. However, the visual impact is remarkably significant.
In summary, painting your kitchen cabinets not only revitalizes the space but also offers a variety of tangible benefits. With the right choice of paint, proper application, and regular maintenance, the transformation can be enduring and satisfying.