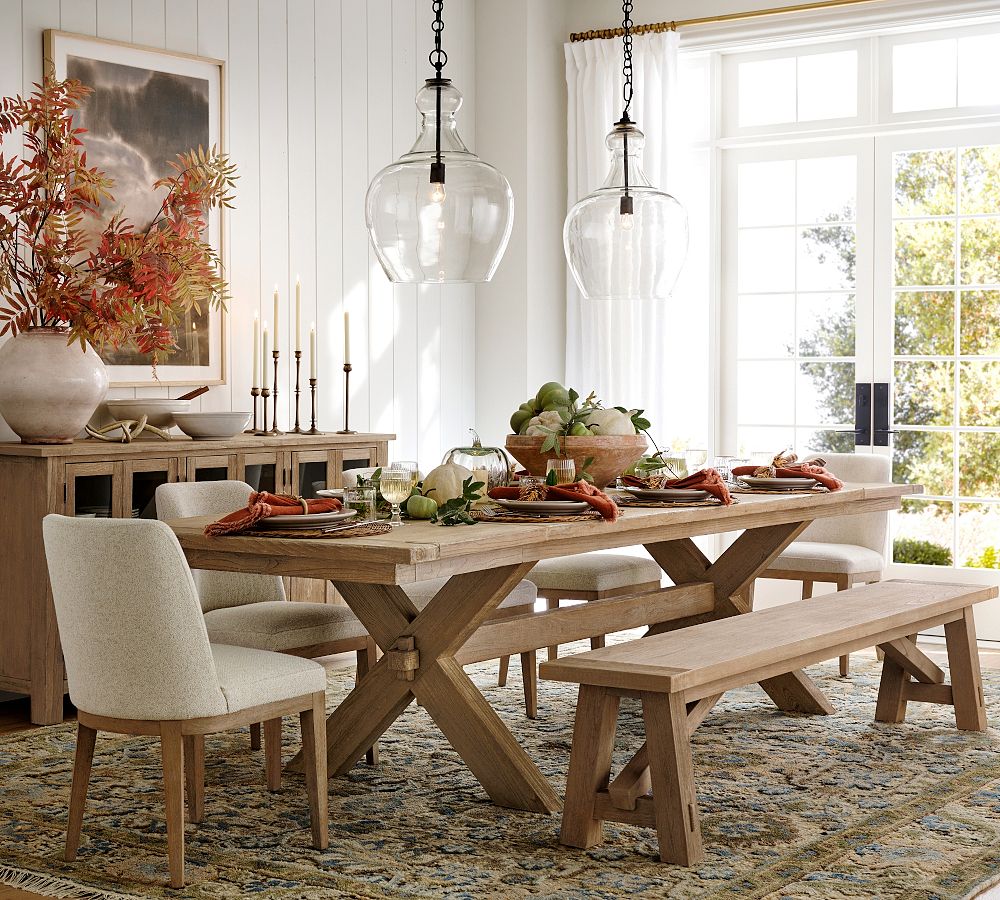
Give Your Dining Table a Beautiful Facelift: A Refinishing How-To
How to refinish wood dining table ?Over time, the wood surfaces of beloved dining tables become worn, scratched, dull and faded from years of meals and memories being made around them.
Rather than replacing that sentimental antique or vintage flea market find altogether when it loses its luster, consider refinishing the wood instead. Follow this step-by-step tutorial for breathing radiant new life into tired dining tables.
Start By Clearing and Cleaning
Begin your dining table refinishing project by clearing everything off the surface, removing table leaves if any, and tightly covering surrounding floor areas with plastic sheeting or tarps. Next, give the bare wood a thorough cleaning using a degreasing agent to eliminate dirt, grime, grease and wax buildup so it doesn’t interfere with refinishing adhesion.
Pay extra attention to carved crevices, grooves and edges by scrubbing with steel wool. Allow the completely stripped bare wood to fully air dry before proceeding.
Supplies Needed to Refinish Wood Dining Table
How to refinish wood dining table ? Refinishing a dining table requires gathering the right tools and materials ahead of time:
- Sandpaper in varying grits
- Electric sander or sanding blocks
- Tack cloths
- Drop cloths
- Paint brushes
- Rags
- Wood filler
- Wood stain and/or paint colors
- Protective polyurethane
Safety first
Before diving into sanding, apply safety precautions:
- Work in a well-ventilated area
- Wear protective eyewear, gloves, mask or respirator
- Keep children and pets away from workspace
Sand Away Imperfections
With an electric orbital sander and successive grit sandpaper (80, 120 and 220 grades), uniformly sand off existing finishes, light scratches, cloudiness and any surface imperfections. Always sand with directional wood grain for a smoother outcome. Finish by hand sanding harder to reach areas like corners or intricately turned table legs.
Vacuum away all dust particles between sanding and after this key prep step so debris doesn’t get trapped beneath your new stain.
Stain and Seal the Bare Wood
Based on your desired hue, apply oil-based wood conditioner uniformly across all surfaces to prevent blotchy stain absorption. Allow to penetrate 10-15 minutes before wiping away any excess. Next, use a clean lint-free cloth or foam applicator to brush on oil-based wood stain matching the conditioner undertone. Allow to rest 5-10 minutes before gently wiping in direction of grain to blend.
Once fully dry, protect the stunning wood grain patterns with 2-3 layers of high grade polyurethane. Lightly sand with extra fine (400) grit paper between sealant coat. The variegated richness captivates the eye!
Reassemble Your Table
Attach table leaves if previously removed and return all base hardware like caster wheels or corner protectors once the table is completely dry to the touch. Now stand back and admire the amazing, richly renewed wood surface! It should once again feel silky smooth and beautifully eye catching.
Remove Table Hardware
The first step involves disassembling any parts attached to the table. Removing these allows full access for refinishing the underlying wood.
Detach table legs if possible
Remove any clips, brackets or supports
Take off hardware like drawer pulls or hinges
Label pieces and organize hardware for reinstallation

Restore Damaged Areas
With the wood surface stripped and sanded smooth, repair any remaining blemishes:
Fill divots, gouges or cracking with wood filler per package instructions
Allow filler drying time to harden
Sand patched areas flush and smooth
Stain for Desired Color
Optional but impactful, wood stains impart beautiful and protective pigment.
Test colors on underside or inconspicuous area
Apply oil-based or water-based stain with a foam brush or lint-free cloth
Allow to penetrate wood for 5-10 minutes
Wipe away excess evenly for uniform appearance
Repeat as needed for darker shades
Seal and Protect
The final step after careful sanding, damage control and optional re-staining seals the deal with water-based or oil-based polyurethane or varnish.
Brush fast drying oil-based or water-based variation
Enable 2 hours drying time between 3-4 coats
Lightly sand with 220 grit paper before final coat
If desired, add paste wax as a final buffed out layer
Maintain That Refinished Glow
To sustain that luminous revitalized dining table sheen long term, be diligent about coasters, placemat rotations and immediately wiping spills. Consider applying fresh sealant every 2-4 years as needed when you begin noticing slight wear regain or renewal of small scratches.
In summary, don’t retire a treasured wood dining table prematurely if its finish appears tired and lackluster. Refinishing the worn surface rewards all that cherished history with gorgeous restored beauty ideal for making future memories around.