Painting oak kitchen cabinets is a popular and effective way to refresh the look of your kitchen without the cost of a full renovation. Whether you’re looking to modernize your space or simply want a new look, understanding the process and benefits of painting oak cabinets can help you achieve stunning results. This comprehensive guide will walk you through every step, from preparation to the final touches, and showcase the dramatic before-and-after transformations you can achieve.
The Appeal of Painted Oak Cabinets
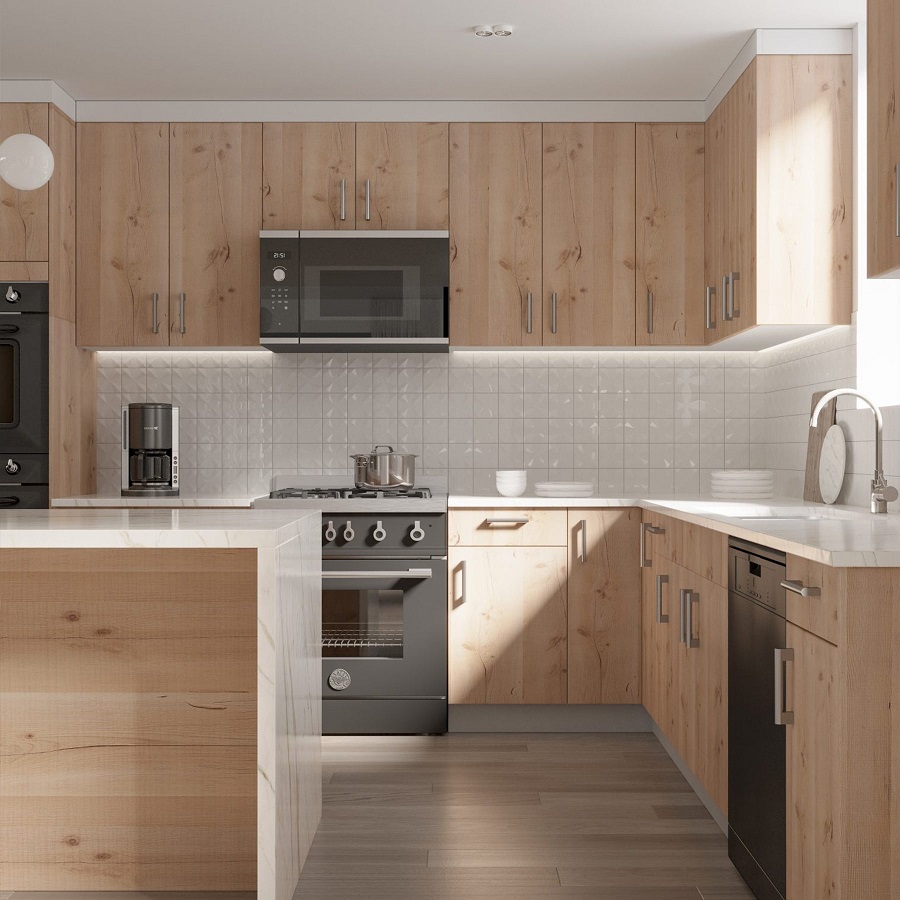
Why Choose Oak Cabinets for Painting?
Oak cabinets have long been a staple in kitchen design due to their durability and classic look. Their strong, sturdy nature makes them an excellent candidate for painting, as they can withstand the preparation process and provide a solid base for a fresh coat of paint. Oak’s natural grain patterns, while distinctive, can also be smoothed out with the right techniques, allowing for a sleek, modern finish.
Benefits of Painting Oak Cabinets
Painting your oak cabinets offers several benefits. Firstly, it is a cost-effective way to update the appearance of your kitchen. Instead of investing in new cabinetry, which can be expensive, a new paint job can give your cabinets a fresh, modern look at a fraction of the cost. Additionally, painting allows you to customize your kitchen with colors and finishes that match your style, creating a cohesive and updated look. It also helps to cover up any imperfections or outdated finishes, giving your kitchen a polished appearance.
Preparing Oak Cabinets for Painting
Assessing and Preparing the Surface
Before painting, proper preparation is crucial to ensure the paint adheres well and the finish is smooth. Start by assessing the condition of your oak cabinets. Look for any scratches, dents, or old finishes that need to be addressed. Clean the cabinets thoroughly to remove any grease, dust, or residue. Use a degreaser or a mild soap solution, and ensure the surfaces are completely dry before proceeding.
Sanding and Priming
Sanding is a key step in preparing oak cabinets for painting. Use a medium-grit sandpaper to scuff up the existing finish and create a rough surface that helps the primer adhere better. Be sure to sand in the direction of the wood grain to avoid creating scratches. After sanding, remove all dust with a tack cloth or vacuum. Apply a high-quality primer designed for use on wood surfaces. Primer helps to seal the wood, cover any stains or imperfections, and provide a smooth base for the paint.
Choosing the Right Paint and Finish
Selecting the Ideal Paint
When it comes to painting oak cabinets, choosing the right type of paint is essential. Latex or acrylic paints are popular choices due to their durability and ease of cleaning. They are available in a variety of finishes, including matte, satin, and gloss. Satin and semi-gloss finishes are often preferred for kitchen cabinets because they are more resistant to stains and easy to clean.
Finishes and Sheens
The finish of your paint can significantly impact the overall look of your cabinets. A gloss finish will give your cabinets a sleek, modern appearance and reflect more light, making the space feel brighter. Satin finishes offer a more subtle sheen while still being durable and easy to maintain. For a more traditional look, consider using a matte finish, which provides a smooth, non-reflective surface but may require more maintenance to keep clean.
Painting Your Oak Cabinets
Application Techniques
Proper application techniques are crucial for achieving a professional-looking finish. Use a high-quality brush or a foam roller to apply the paint. For larger surfaces, a foam roller can provide a smooth, even coat. Use a brush to reach into corners and detailed areas. Apply thin, even coats of paint to avoid drips and ensure a uniform finish. Allow each coat to dry completely before applying additional coats, following the manufacturer’s instructions for drying times.
Handling Drips and Runs
Despite your best efforts, drips and runs can sometimes occur during the painting process. If you notice any drips or runs, address them as soon as possible while the paint is still wet. Use a brush or roller to smooth out the imperfections. If the paint has already dried, lightly sand the area and apply a touch-up coat. Proper technique and patience will help you achieve a flawless finish.
Reassembling and Final Touches
Reinstalling Cabinet Hardware
Once the paint has dried completely, it’s time to reassemble your cabinets. If you removed the cabinet doors and hardware before painting, now is the time to reattach them. Ensure that all screws and fittings are securely fastened. If you’re updating your kitchen’s look, consider replacing old hardware with new knobs or handles that complement your new paint color.
Cleaning and Maintenance
Proper cleaning and maintenance are key to keeping your newly painted cabinets looking their best. Avoid using abrasive cleaners or scrubbing tools that can damage the paint. Instead, use a mild soap solution and a soft cloth to clean the surfaces. Regularly wipe down the cabinets to remove dust and fingerprints. If you notice any scuffs or scratches, address them promptly with touch-up paint.
Showcasing Before-and-After Transformations
Dramatic Visual Changes
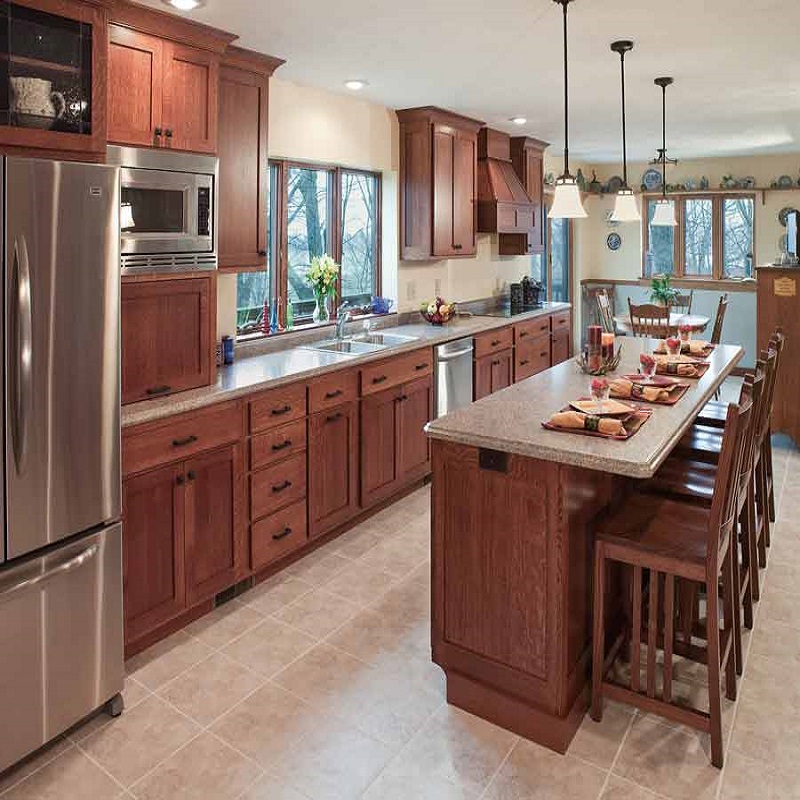
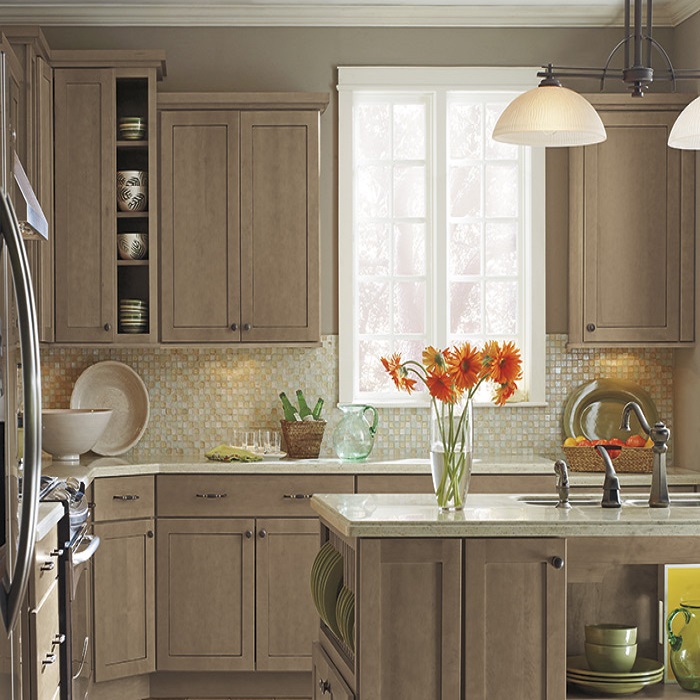
One of the most compelling aspects of painting oak cabinets is the dramatic visual transformation it can achieve. Before painting, cabinets may appear outdated or worn, with a finish that no longer suits your style. After painting, the cabinets can look completely refreshed, with a modern color and smooth finish that revitalizes the entire kitchen. The contrast between the old and new can be striking, highlighting the effectiveness of a well-executed paint job.
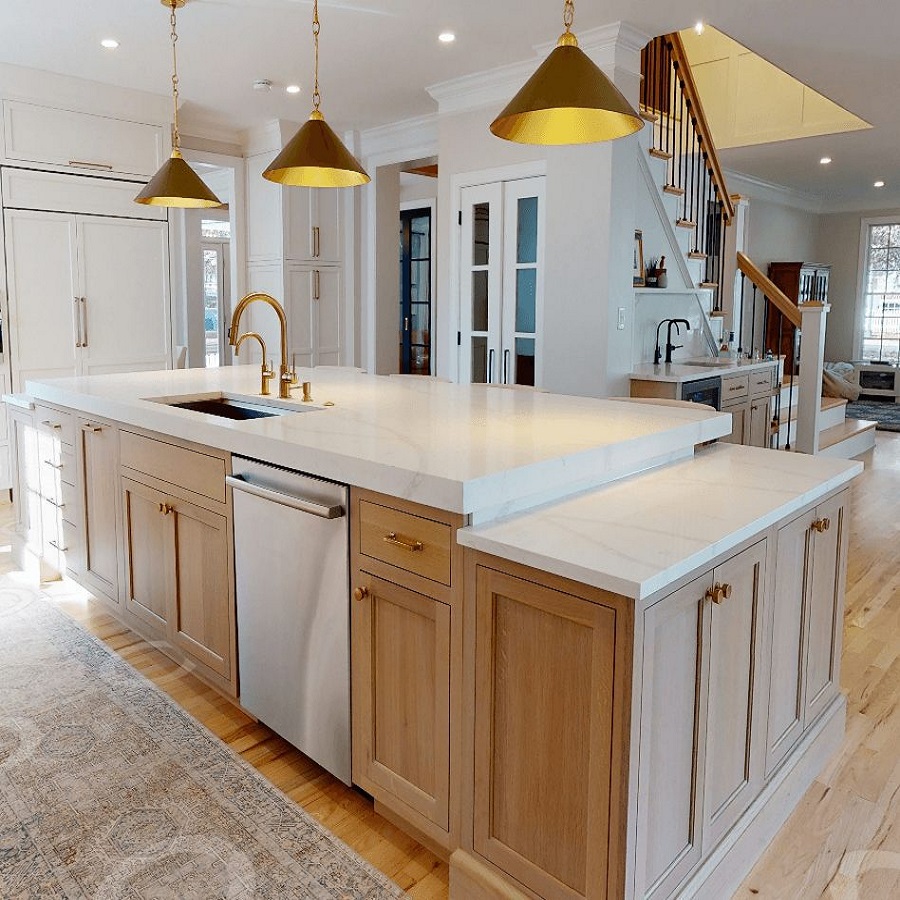
Case Studies and Examples
Consider reviewing case studies and examples of kitchens that have undergone a cabinet painting transformation. Many homeowners have successfully updated their kitchens with painted oak cabinets, showcasing a range of styles and color choices. These examples can provide inspiration and insight into the potential results of your own project. Pay attention to the color schemes, finishes, and design elements that work well together to create a cohesive and appealing look.
Cost and Time Considerations
Budgeting for Your Project
Painting oak cabinets is a cost-effective way to update your kitchen, but it’s important to budget appropriately for the project. Costs can vary depending on the size of your kitchen, the type of paint and primer used, and whether you choose to DIY or hire a professional. Calculate the total cost of materials and any additional expenses, such as new hardware or professional assistance, to ensure you stay within your budget.
Time Investment
The time required for painting oak cabinets can vary depending on the complexity of the project and your level of experience. Allow ample time for preparation, painting, and drying between coats. While painting can be a time-consuming process, careful planning and execution will result in a beautiful, long-lasting finish. Factor in drying times and any potential delays to ensure the project is completed to your satisfaction.
Conclusion
Painting oak kitchen cabinets is a transformative project that can breathe new life into your kitchen space. By carefully preparing the surfaces, choosing the right paint and finish, and employing proper painting techniques, you can achieve a professional-looking result that enhances the beauty and functionality of your kitchen. The dramatic before-and-after changes highlight the potential of a well-executed painting project, making it a worthwhile investment for updating your home. Whether you choose to tackle the project yourself or hire a professional, the end result will be a refreshed, stylish kitchen that reflects your personal taste.