Introduction:
In today’s fast-paced world, convenience is key. One area where convenience can greatly impact our daily lives is in the organization of our belongings. A cluttered entryway filled with shoes can make leaving the house a stressful experience. However, with a simple yet functional shoe rack, you can streamline your morning routine and maintain a tidy living space. In this guide, we’ll explore how to craft a shoe rack that not only keeps your footwear organized but also adds a touch of style to your home.
Gathering Materials and Tools:
Before diving into the construction process, it’s essential to gather all the necessary materials and tools. For a basic shoe rack, you’ll need:
- Wood boards (such as pine or cedar)
- Saw (circular saw or hand saw)
- Sandpaper
- Wood glue
- Screws or nails
- Drill
- Measuring tape
- Pencil
- Paint or stain (optional)
- Varnish or sealant (optional)
Designing Your Shoe Rack:
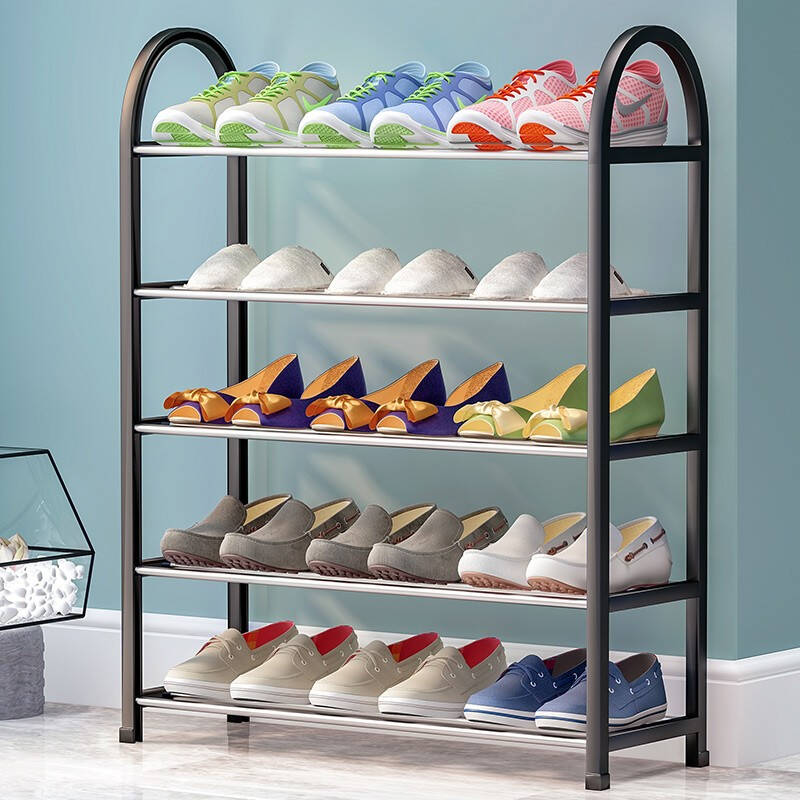
The first step in creating a functional shoe rack is to design the layout. Consider factors such as the number of shoes you need to accommodate, the available space in your entryway or closet, and the overall aesthetic of your home. You can opt for a simple rectangular design with multiple shelves or get creative with tiered racks or angled shelves for added visual interest.
Preparing the Wood:
Once you’ve finalized your design, it’s time to prepare the wood for construction. Use a saw to cut the boards to the desired lengths for the shelves and sides of the shoe rack. Sand down any rough edges or surfaces to create a smooth finish. If you prefer a more polished look, you can paint or stain the wood before assembly. Allow the paint or stain to dry completely before proceeding.
Assembling the Shoe Rack:
With your materials prepared, it’s time to assemble the shoe rack. Start by attaching the sides of the rack to the shelves using wood glue and screws or nails. Ensure that the shelves are evenly spaced and securely attached to the sides. Use a drill to pre-drill holes for the screws to prevent splitting the wood. Once the basic structure is assembled, double-check for stability and make any necessary adjustments.

Adding Finishing Touches:
With the shoe rack assembled, it’s time to add any finishing touches to enhance its durability and appearance. Consider applying a coat of varnish or sealant to protect the wood from moisture and wear. This step is especially important if your shoe rack will be placed in a high-traffic area such as the entryway. Additionally, you can add decorative elements such as molding or trim to customize the look of your shoe rack to suit your personal style.
Installing the Shoe Rack:
Once the shoe rack is complete, it’s time to install it in your desired location. Depending on the design of your rack, you may choose to mount it to the wall for added stability or simply place it on the floor. Use a level to ensure that the rack is straight and evenly balanced. If mounting to the wall, be sure to use appropriate anchors or brackets to support the weight of the rack and the shoes it will hold.

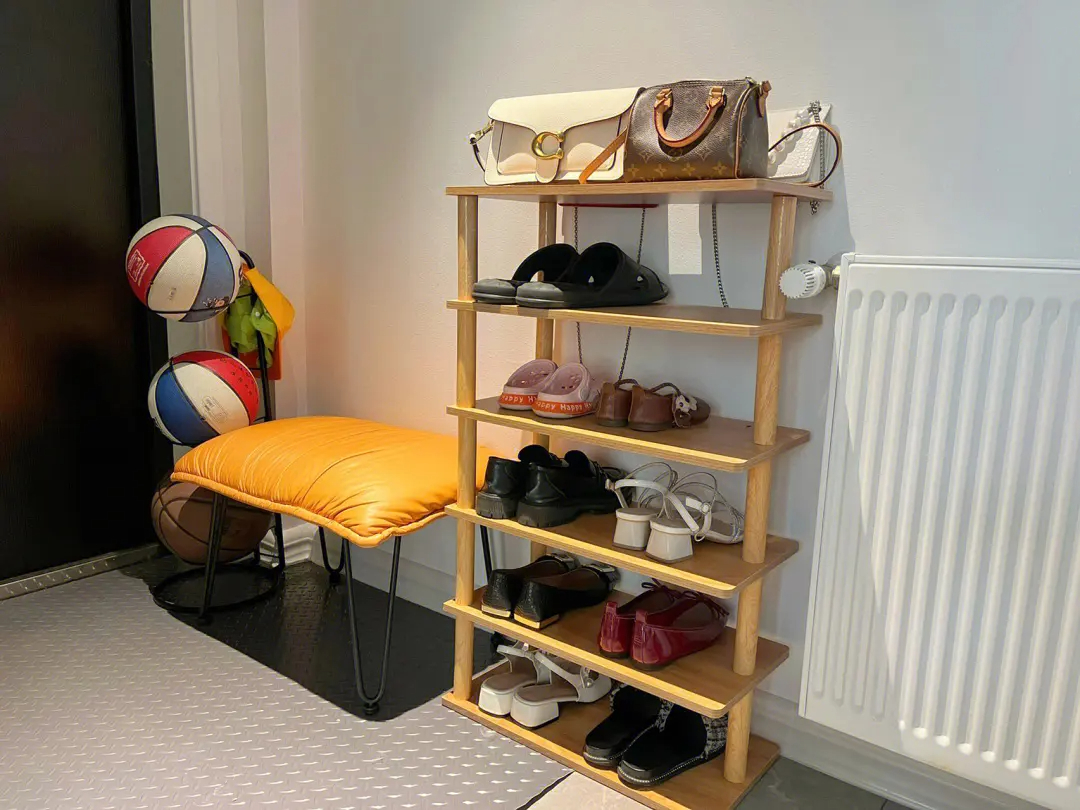
Organizing Your Shoes:
With your new shoe rack in place, it’s time to organize your footwear. Arrange your shoes neatly on the shelves, grouping them by type or color for easy access. Consider using additional storage bins or baskets to corral smaller items such as sandals or slippers. By keeping your shoes organized and easily accessible, you’ll streamline your daily routine and maintain a clutter-free living space.
Maintaining Your Shoe Rack:
To ensure your shoe rack remains functional and in good condition, it’s important to maintain it regularly. Keep the rack clean by dusting or wiping it down with a damp cloth to remove any dirt or debris that may accumulate over time. If your shoe rack is made of wood, periodically check for any signs of wear or damage, such as loose screws or cracks. Address these issues promptly to prevent further damage and prolong the life of your shoe rack.
Expanding Your Shoe Rack:
As your shoe collection grows, you may find that your existing shoe rack no longer provides enough storage space. Instead of purchasing a new rack, consider expanding your current one. You can easily add additional shelves or extend the existing ones to accommodate more shoes. Follow the same construction process as before, ensuring the added sections are securely attached to the original structure. This allows you to adapt your shoe rack to your changing needs without the expense of buying a new one.
Customizing Your Shoe Rack:
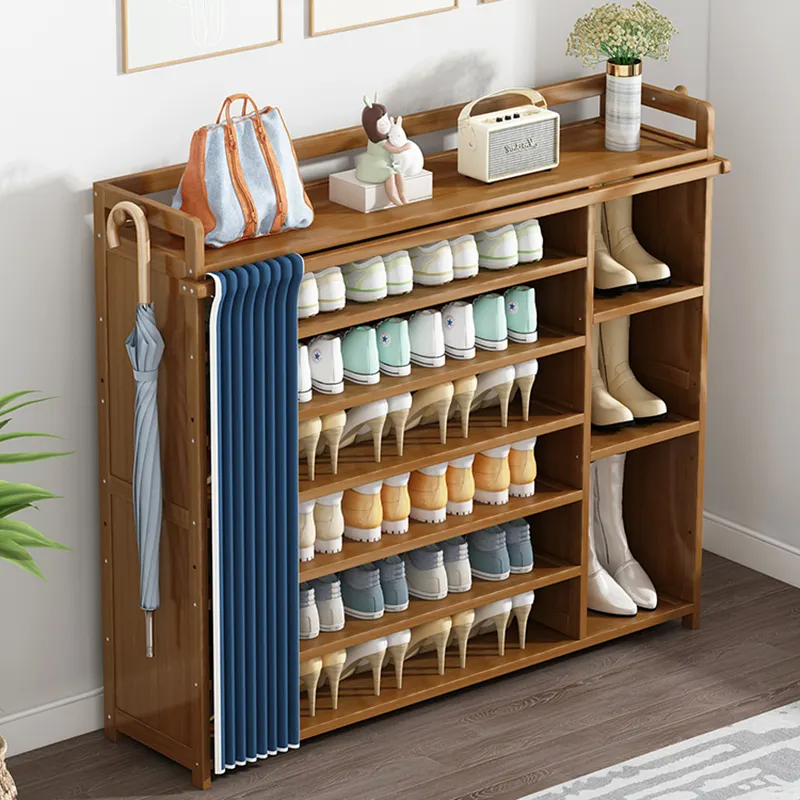
While a basic shoe rack serves its purpose, you can get creative and customize it to suit your personal style and preferences. Consider adding hooks or pegs on the sides of the rack to hang items such as keys, umbrellas, or scarves. Alternatively, you could attach a small mirror or chalkboard panel to the front of the rack for added functionality. Let your imagination run wild and transform your shoe rack into a multi-purpose organization station that reflects your unique personality.

Repurposing Materials for Sustainability:
If you’re passionate about sustainability and reducing waste, consider repurposing materials to create your shoe rack. Look for unused or discarded items that can be transformed into functional shelving units. For example, old wooden crates or pallets can be disassembled and reassembled into a rustic shoe rack. Not only does this approach reduce waste, but it also adds character and charm to your home while showcasing your commitment to sustainable living.
Exploring Alternative Shoe Storage Solutions:
While a shoe rack is a popular choice for organizing footwear, it’s not the only option available. Depending on your space and preferences, you may find alternative storage solutions more suitable. Shoe cabinets with doors provide a concealed storage option, keeping your shoes out of sight and maintaining a clutter-free appearance. Over-the-door shoe organizers or hanging shoe racks are excellent choices for those with limited floor space. Explore different options and choose the one that best fits your needs and lifestyle.
Inspiring Shoe Rack Display Ideas:
Beyond functionality, a shoe rack can also serve as a stylish focal point in your home. Consider displaying your shoes in an artistic and visually appealing way. Arrange them by color gradient or alternate between different shoe styles for an eye-catching effect. You can also incorporate decorative accents such as potted plants, artwork, or string lights to further enhance the aesthetic appeal of your shoe rack. Let your creativity shine and transform your shoe storage into a statement piece that adds beauty to your living space.
Conclusion:
A simple yet functional shoe rack is a practical addition to any home, providing a convenient solution for storing and organizing your footwear. By following these steps, you can create a custom shoe rack that not only meets your practical needs but also adds a touch of style to your living space. So gather your materials, roll up your sleeves, and get ready to craft convenience with your very own DIY shoe rack.