The Importance of Quality Cabinet Paint
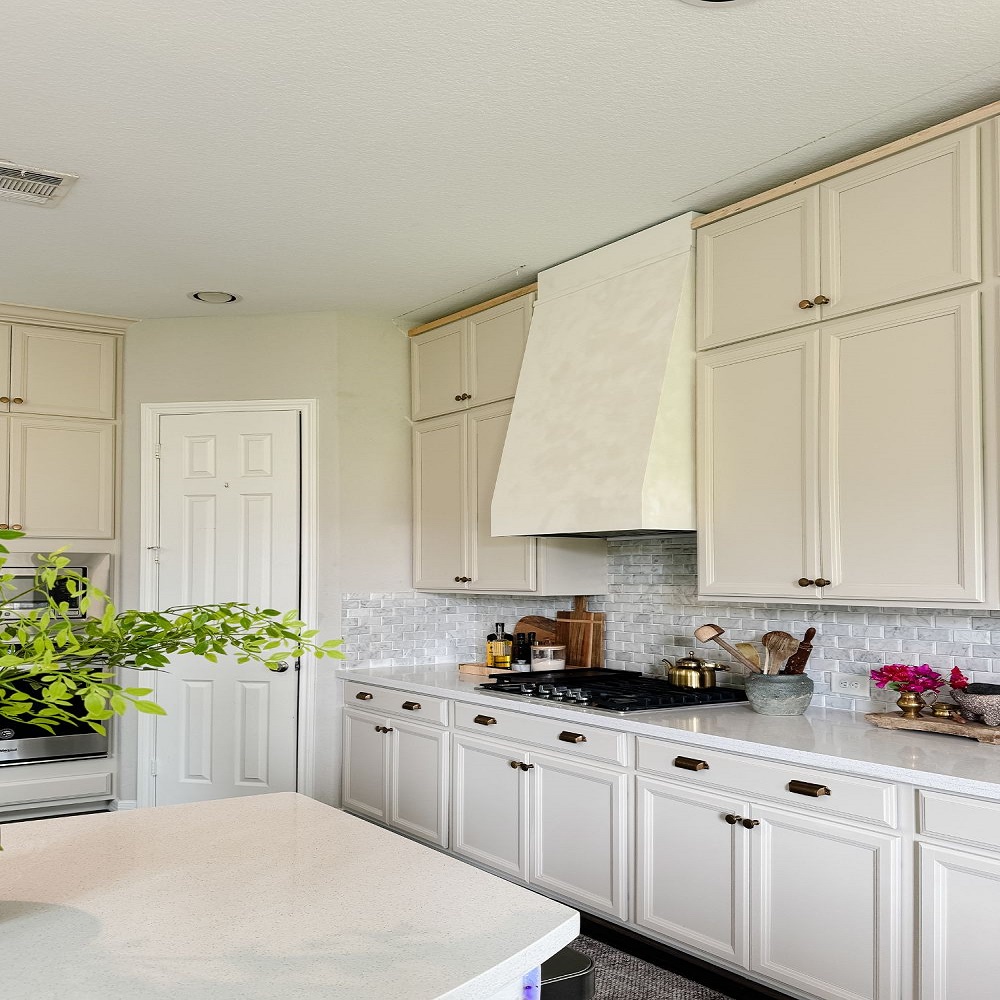
Quality cabinet paint is crucial for a stunning, durable kitchen makeover. It’s more than just color; it’s about the finish’s resistance to daily wear and tear. When it comes to choosing paint for kitchen cabinets, don’t settle for less. The paint you select needs to stand up to frequent cleaning, incidental knocks, and the inevitable splashes and spills.
High-quality paint ensures a better, longer-lasting finish. It’s an investment in your kitchen’s future. The right paint can transform old cabinets into a fresh, new feature that rejuvenates the entire space. Choosing a less durable option might save money in the short term, but you’ll likely face chipping, peeling, and the need to repaint sooner.
A superior cabinet paint brings with it self-leveling properties, high coverage, and moisture resistance — qualities essential to the kitchen environment. It should also be capable of hiding imperfections, producing a factory-smooth finish even if you’re painting over a previous color. High-quality paints often have low-VOC formulations as well, which contribute to better air quality in your home.
Remember, when it comes to cabinets, the paint you choose will dictate the room’s overall appeal and how well it stands up to the rigors of kitchen life. There’s no need to rush this decision; take the time to find a paint that offers both the appearance and durability you want for your home.
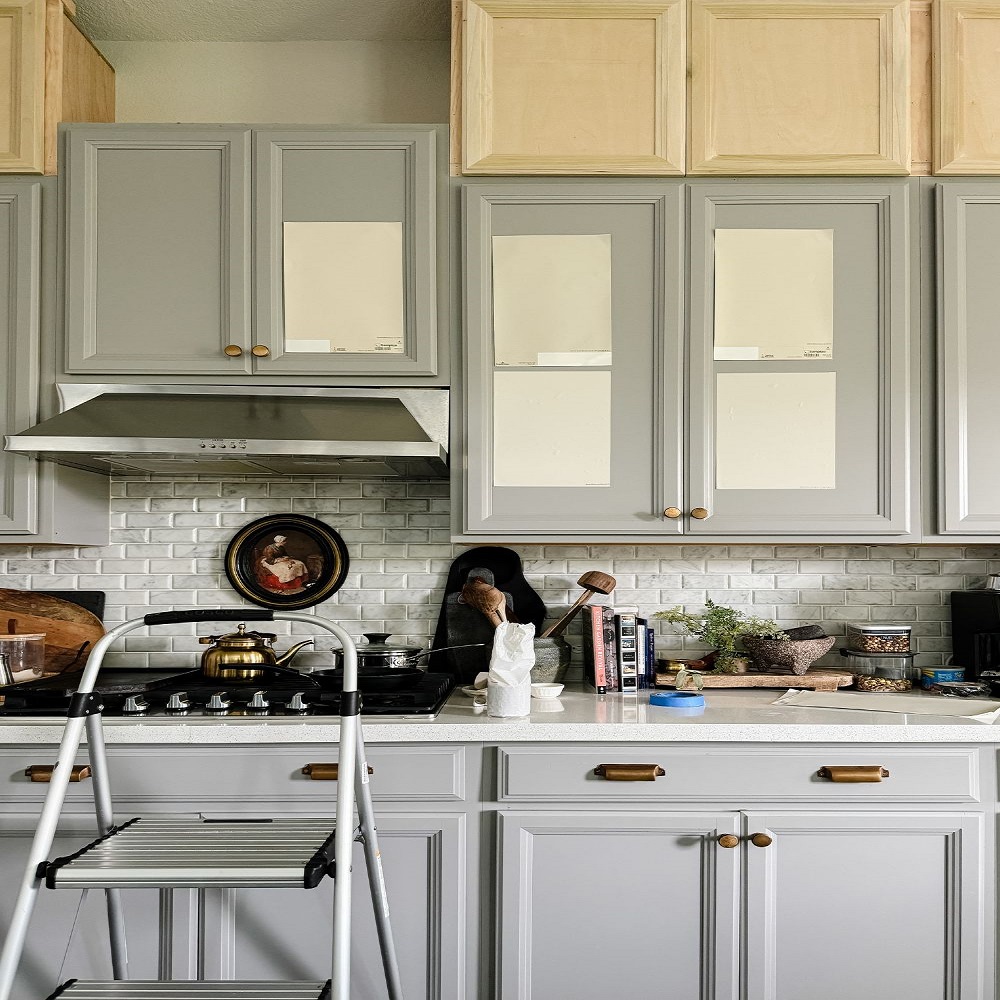
Overview of Popular Cabinet Paint Options
Choosing the right cabinet paint is vital for a long-lasting, beautiful finish. Here’s a look at some top options.
Sherwin-Williams Urethane Trim Enamel
Sherwin-Williams Urethane Trim Enamel stands out for its durability and smooth finish. It’s excellent for cabinets and offers great resistance to daily wear. Plus, it dries faster than some other brands, allowing for quicker job completion.
Benjamin Moore Advance
Benjamin Moore Advance is a popular choice for its oil-like finish but with easier cleanup. It’s waterborne, so it has lower VOCs, but it also requires a longer drying time between coats. This paint is known for its beauty and tough exterior, making it ideal for heavy-use areas.
Behr Cabinet Enamel
For those on a tighter budget, Behr Cabinet Enamel from Home Depot might be a good fit. It’s less expensive, looks nice, and is widely available. However, it may not be as durable as the others and could feel sticky or chip over time. Proper sanding and priming can help it last longer, but it generally requires more maintenance.
Prime and Prep: The Foundation of a Durable Finish
Before you start painting your kitchen cabinets, priming and prepping are key for a long-lasting finish. Skipping this step can lead to poor adhesion, and your fresh coat of paint might start peeling or chipping sooner than you’d expect. Here are the important steps to prime and prep your cabinets before painting:
- Clean Your Cabinets: Grease, dust, and grime can prevent paint from sticking properly. Use a degreaser and a clean cloth to thoroughly wipe down your cabinets. Let them dry completely.
- Sand the Surfaces: Use a medium to fine-grit sandpaper to sand the cabinet doors and frames. This creates a better surface for primer to stick and also helps get rid of imperfections.
- Apply Primer: Choose a high-quality primer that’s suitable for your cabinet’s material. Oil-based primers work well for staining and are durable, but they do have a strong odor. Water-based primers are easier to clean up and have fewer fumes. Apply an even coat and let it dry as per the manufacturer’s guide.
- Fill in Gaps or Holes: If there are any nicks or holes in your cabinets, now is the time to fill them with a wood filler. Once dry, sand the filler until it’s flush with the cabinet surface.
- Wipe Down Again: After sanding, there will be a lot of dust. Use a tack cloth or a slightly damp rag to wipe the cabinets down. This ensures a clean, dust-free surface for painting.
Good preparation is the secret behind a finish that not only looks professional but also withstands the test of time and kitchen chaos. Investing time in priming and prepping can save you from future touch-ups and repainting.
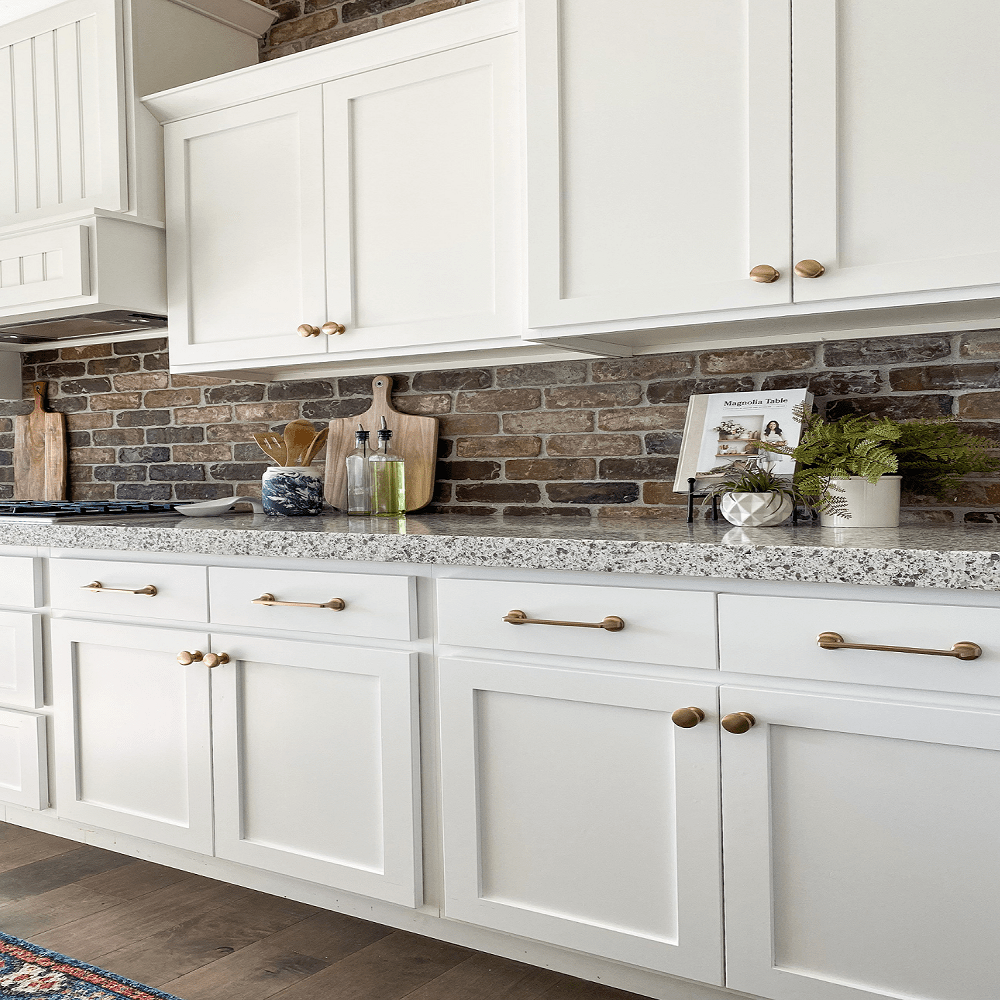
Sanding for Smoothness: Key to a Professional Look
Achieving a smooth finish on kitchen cabinets is vital for a professional look. Sanding plays a crucial role in prepping the surface before applying paint. Here are the steps to ensure smoothness through proper sanding:
- Choose the Right Sandpaper: Start with a medium-grit and progress to fine-grit. Coarser grits remove old finish, while finer grits smooth the surface.
- Use a Sanding Block: This tool helps apply even pressure, leading to a uniform surface.
- Sanding Technique: Move in the direction of the wood grain. This reduces scratches and helps achieve a smoother finish.
- Check Your Work: After sanding, inspect the surface. It should feel smooth to the touch without any bumps or ridges.
- Clean Up: Remove all the dust from sanding. Use a tack cloth or a damp rag for best results.
- Repeat if Necessary: If the surface isn’t smooth enough, sand again. Remember, patience during prep work pays off in the end.
Good sanding sets the foundation for cabinet paint to adhere and look flawless. Don’t rush through this step. It allows the best paint finish for cabinets to truly shine and resist wear over time.
Pros and Cons of Top Cabinet Paint Brands
When renovating your kitchen, choosing the right paint brand for your cabinets is crucial. Here, we’ll explore the advantages and disadvantages of some of the top cabinet paint brands to help you make the best decision for your home.
Sherwin-Williams Urethane Trim Enamel
- Pros:
- Durable and withstands daily wear.
- Self-leveling for a smooth finish.
- Fast drying time cuts down project length.
- Resistant to moisture, important for kitchens.
- Cons:
- Can be more costly than other options.
- Final finish may not be as deep as oil-based paints.
Benjamin Moore Advance
- Pros:
- Waterborne alkyd gives an oil-like finish.
- Has lower VOCs for better air quality.
- Known for its tough surface, good for heavy use.
- Cons:
- Longer drying time between coats.
- May be pricier compared to some brands.
- Can be harder to work with for beginners.
Behr Cabinet Enamel
- Pros:
- More budget-friendly and easily accessible.
- Good for those on a tight budget.
- Appealing look once applied.
- Cons:
- May not be as durable; prone to chipping.
- Can feel sticky, affecting the finish feel.
- Might require more maintenance over time.
Choosing the best paint finish for cabinets can make a big difference in your kitchen’s longevity and aesthetic. It’s worth weighing the pros and cons of each brand to find the most suitable option for your needs.
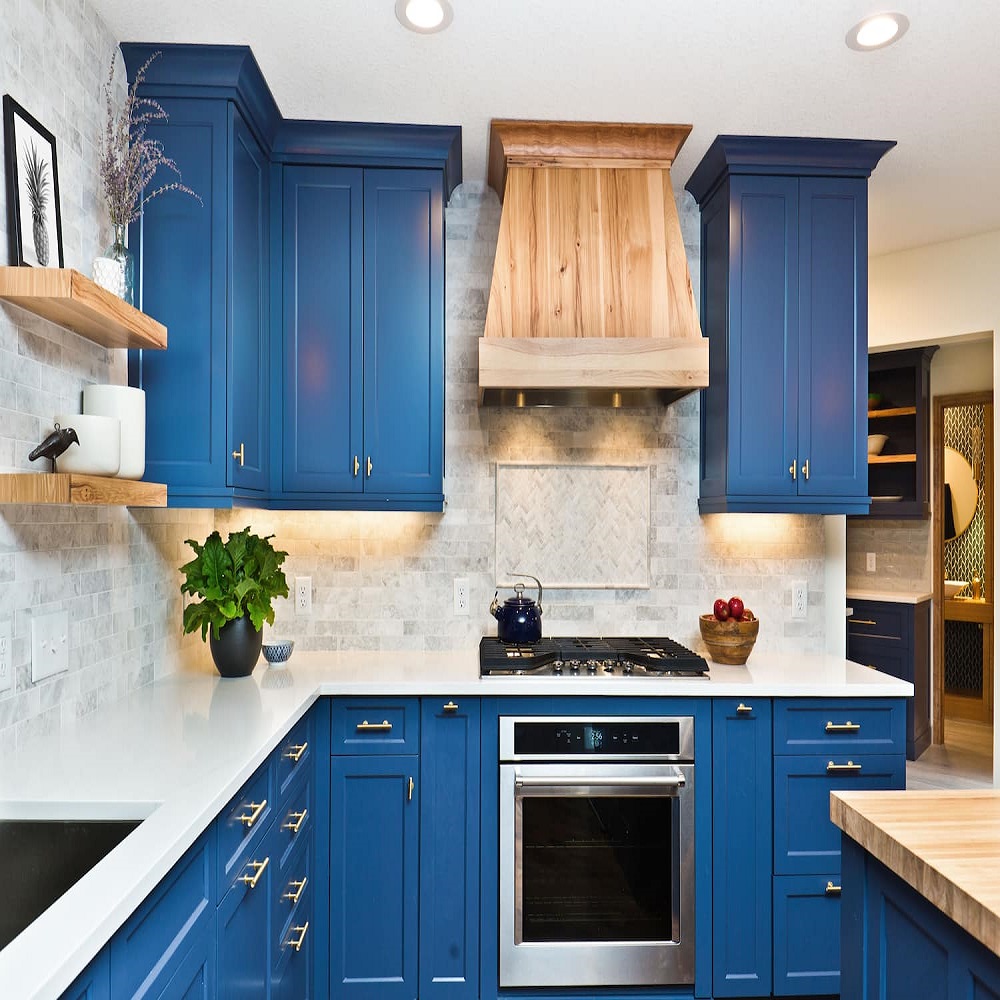
Understanding Paint Sheens: Matte vs Satin vs Semi-Gloss vs High-Gloss
When choosing the best paint finish for cabinets, understanding sheens is crucial. Different sheens offer distinct looks and practical benefits.
Matte Finish
- Low sheen, hides imperfections.
- Not as easy to clean.
- Good for low-traffic areas or achieving a rustic look.
Satin Finish
- Slightly glossy, a popular choice.
- Easier to clean than matte.
- Works well in kitchens for a soft glow.
Semi-Gloss Finish
- More reflective, vibrant look.
- Easy to clean, great for kitchens and bathrooms.
- Shows imperfections more than satin.
High-Gloss Finish
- Maximum shine, bold statement.
- Very easy to clean, durable against moisture.
- Highlights imperfections, frequent cleaning needed.
The right sheen affects the cabinet’s appearance and function. For kitchen cabinets, semi-gloss or satin are often best. They balance between being easy to clean and hiding imperfections. Avoid matte in high-use areas, and reserve high-gloss for accent features or spaces where you want a dramatic look.
Application Techniques for a Flawless Finish
Achieving a flawless finish on your cabinets involves using the right application techniques. Let’s dive into the two main methods: spraying and rolling, and share tips for priming your cabinets effectively.
Spraying vs Rolling
Spraying cabinets often gives the smoothest finish but requires more prep work. You’ll need to mask off areas to protect from overspray and invest in a good sprayer. Spraying is faster but has a steeper learning curve. For smaller projects or beginners, rolling might be easier. Use a high-density foam roller for a smooth finish without brush marks. It takes longer but is less messy and doesn’t need special tools.
Tips for Using a High-Quality Primer
A high-quality primer is the secret to lasting paint jobs. Before applying the primer, clean your cabinets thoroughly. Sand them to enhance primer adhesion. Apply an even layer of primer, and give it enough time to dry. Follow with a light sanding for the smoothest base. This will help your chosen high-quality cabinet paint to adhere better and last longer.
Longevity and Maintenance: Choosing Paint That Lasts
Choosing the right paint affects how long your cabinets look good and how easy they are to maintain. Go for high-quality options that resist chipping and staining, and are easy to clean. Frequent touch-ups can be a hassle; a durable paint job will need less of them. Look at how a paint withstands daily use before you choose. Consider how finishes react to cleaners, as kitchens need regular cleaning. High-performance paints often have tougher finishes that handle cleaning well. A pro tip is to keep spare paint for small touch-ups over time. Prep work is essential too, as it impacts paint longevity. Choose water-resistant paints for areas exposed to moisture. High-quality paints have a cost, but they save you time and money in the long run. Look at the long-term benefits, not just the upfront cost. Remember, the right paint means more time enjoying your kitchen, less time fixing it.
Budget Considerations: Balancing Cost and Quality
When you’re revamping your kitchen cabinets, cost and quality are key. It’s tempting to cut corners with cheaper paints. Yet, this often leads to more expenses down the line. High-quality paints, though pricier, save money in the long run with durability. Here’s how to balance your budget with the need for quality:
- Research the Paint Options: Compare different brands and prices. Look for sales or discounts on top-quality brands like Sherwin-Williams or Benjamin Moore.
- Calculate Long-Term Value: Cheaper paint may need more coats or quicker redoing. Premium paints last longer and can be worth the extra upfront cost.
- Consider DIY vs Professional: Applying the paint yourself saves on labor. However, ensure you have the right tools and skills to do it properly.
- Buy Only What You Need: Measure your cabinets and buy the right amount of paint. This avoids waste and unnecessary spending.
- Keep Spare Paint: After your project, keep a little paint for touch-ups. This extends your cabinets’ life without needing a full repaint.
Balancing cost versus quality is about looking at the big picture. Investing in a durable paint may have a higher initial cost. Yet, it can mean fewer touch-ups and a longer-lasting finish. When it comes to kitchen cabinets, choose the best paint finish for lasting beauty and practicality.

