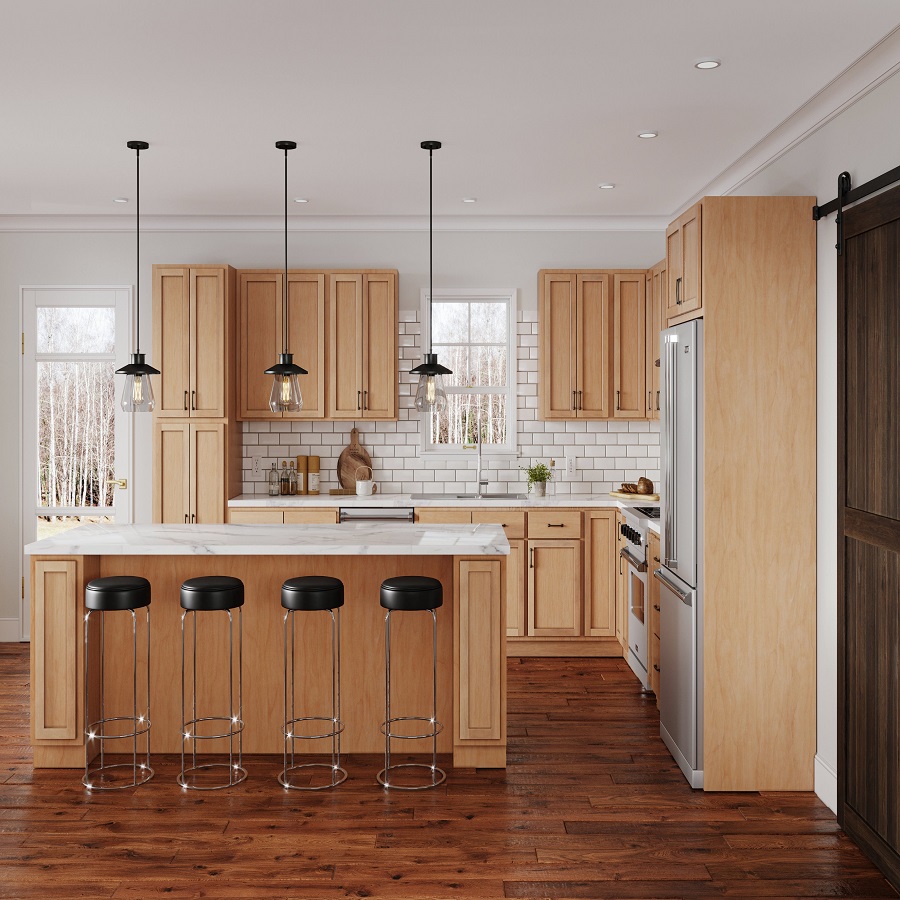
Installing base cabinets can transform your kitchen or bathroom into a functional and stylish space. This comprehensive guide will walk you through the process of installing base cabinets like a pro, from planning and preparation to finishing touches.
Understanding Base Cabinets
What Are Base Cabinets?
Base cabinets are the foundational elements of kitchen and bathroom cabinetry. They sit directly on the floor and support countertops, appliances, and other storage solutions. Typically, they are 34.5 inches tall, allowing for a standard countertop height of 36 inches when you add the countertop thickness.
Importance of Base Cabinets
Base cabinets are essential not only for their functional storage capacity but also for the overall aesthetic of your space. They serve as a base for your countertop and play a crucial role in organizing kitchen tools, utensils, and pantry items. The choice of style, material, and finish can greatly influence the overall look and feel of your kitchen or bathroom.
Planning Your Installation
Measuring Your Space
Before you purchase your cabinets, accurate measurements are critical. Start by measuring the length and width of the area where you’ll install the cabinets. Take note of any obstacles such as windows, doors, or plumbing that could affect your cabinet placement.
Choosing the Right Cabinets
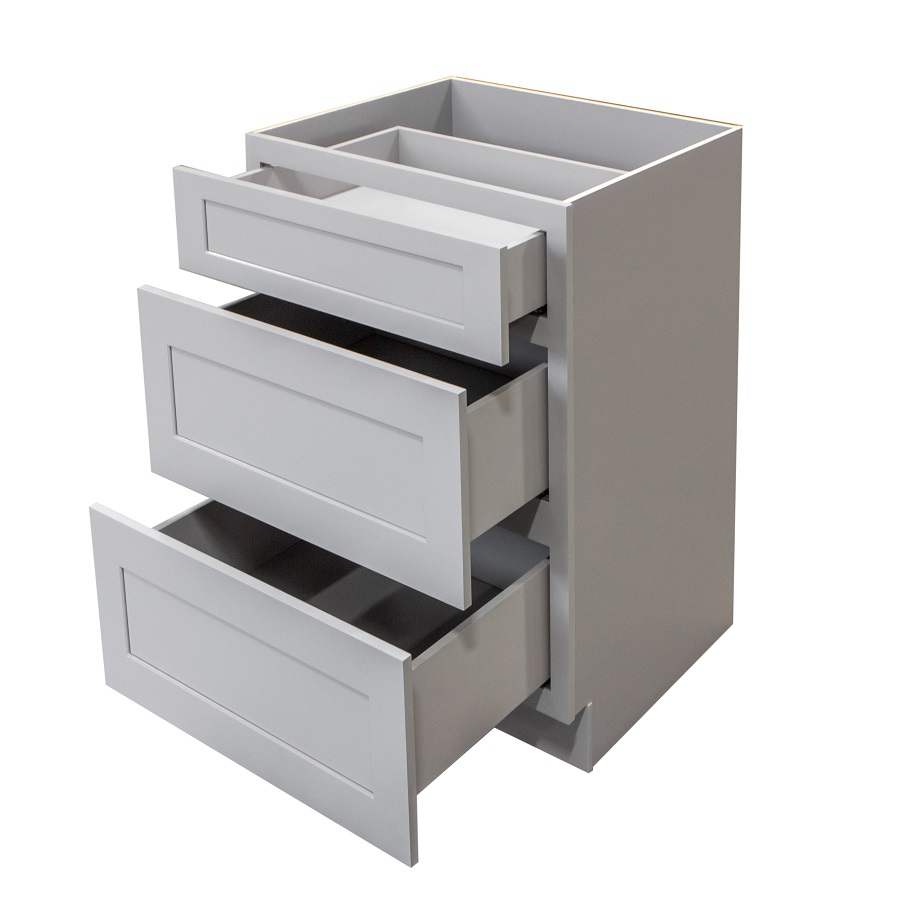
Select cabinets that fit your style and budget. Consider factors like material, finish, and design. Popular materials include plywood, particleboard, and solid wood. Additionally, think about the functionality—do you need more drawers, shelves, or specialized storage for appliances?
Tools and Materials Needed
Essential Tools
To successfully install base cabinets, you’ll need several tools. A tape measure, level, drill, and screwdriver are must-haves. You may also require a saw for any necessary cuts and a square to ensure your cabinets are aligned properly.
Materials Checklist
In addition to your cabinets, you’ll need screws, shims, cabinet brackets, and possibly a backer board. Gather all materials before starting the installation to avoid interruptions.
Preparing the Area
Clearing the Workspace
Remove any existing cabinets or obstacles from the area where you’ll be working. This may involve unscrewing old cabinets and removing countertops. Be sure to turn off any plumbing or electrical components if they interfere with your installation.
Ensuring a Level Floor
A level floor is crucial for a successful installation. Use a level tool to check the floor’s evenness. If your floor is uneven, use shims to raise or lower the cabinets as needed. This step is essential to avoid future issues with doors and drawers.
Installing the First Cabinet
Positioning the Cabinet
Start with a corner cabinet if your layout includes one. Position the first cabinet in the desired location, ensuring it aligns with your marked lines from your measurements. Use a level to confirm that it is straight.
Securing the Cabinet
Once positioned, secure the cabinet to the wall using screws. It’s best to attach it to wall studs for maximum stability. If you can’t find a stud, use wall anchors to ensure a secure fit.
Installing Additional Cabinets
Connecting Cabinets Together
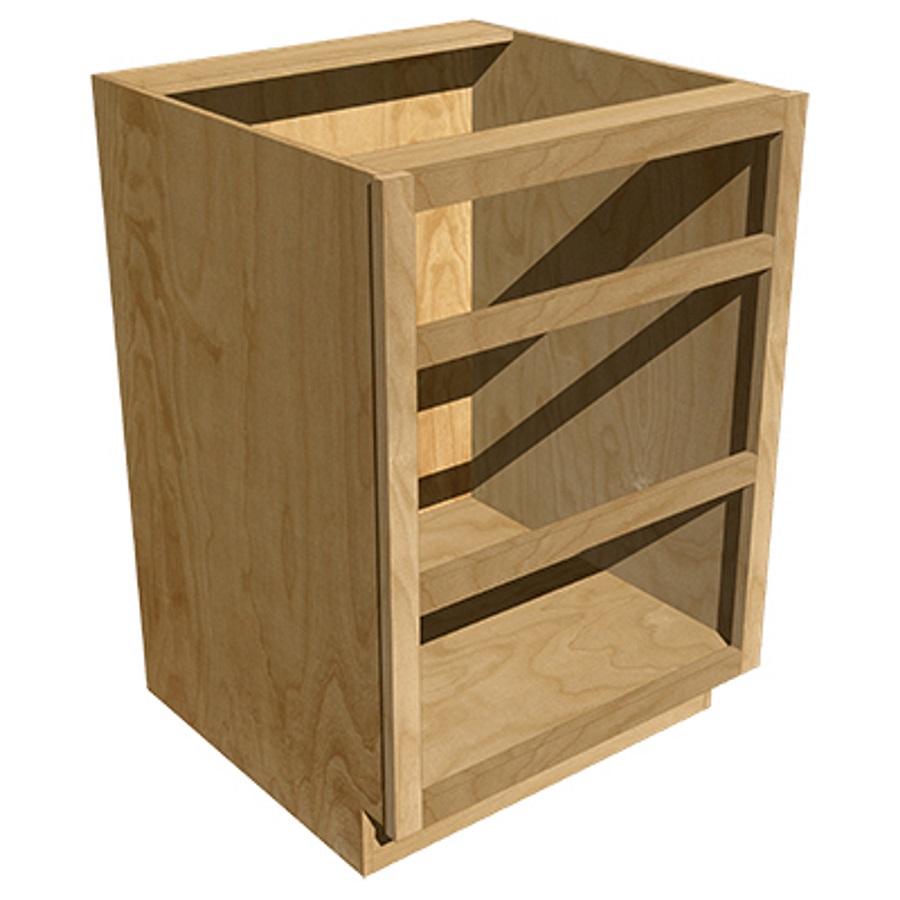
For additional cabinets, it’s essential to connect them securely. Use cabinet screws to attach the adjacent cabinets to each other. This not only strengthens the installation but also helps maintain a consistent alignment.
Adjusting for Level and Plumb
As you install each subsequent cabinet, continually check for level and plumb. Adjust with shims as necessary to ensure that all cabinets are even. This will prevent issues with doors not closing properly or countertops appearing uneven.
Installing the Countertop
Choosing Your Countertop Material
Selecting a countertop material is a personal choice and can range from laminate to granite. Each material has its benefits and drawbacks in terms of cost, durability, and maintenance.
Installing the Countertop
Once your cabinets are installed and secure, it’s time to place the countertop. Start at one end and carefully set the countertop in place. Use adhesive or screws as necessary to secure it to the cabinets. Ensure it is level and aligned properly.
Adding Finishing Touches
Installing Cabinet Doors and Drawers
With the countertop in place, proceed to attach the cabinet doors and install the drawers. Follow the manufacturer’s instructions for alignment and spacing to ensure smooth operation.
Final Adjustments
Make any necessary adjustments to door hinges and drawer slides. This step is crucial for ensuring that everything functions correctly and looks polished.
Troubleshooting Common Issues
Dealing with Uneven Floors
If you encounter issues with uneven floors, consider using additional shims or adjusting your cabinet layout. In some cases, you may need to modify the cabinets themselves for a better fit.
Fixing Misaligned Cabinets
Misalignment can occur during installation. To fix this, loosen the screws attaching the cabinets together and gently shift them into the correct position before retightening.
Maintenance Tips for Your Cabinets
Cleaning and Care
To maintain the beauty and functionality of your cabinets, regular cleaning is essential. Use a soft cloth and mild detergent to wipe down surfaces. Avoid harsh chemicals that can damage the finish.
Preventing Damage
Be mindful of moisture and heat around your cabinets, particularly in kitchens. Use cutting boards and coasters to prevent scratches and water damage. Regular inspections for loose hinges or screws can also help maintain their integrity.
Choosing the Right Cabinet Style
Styles and Aesthetics
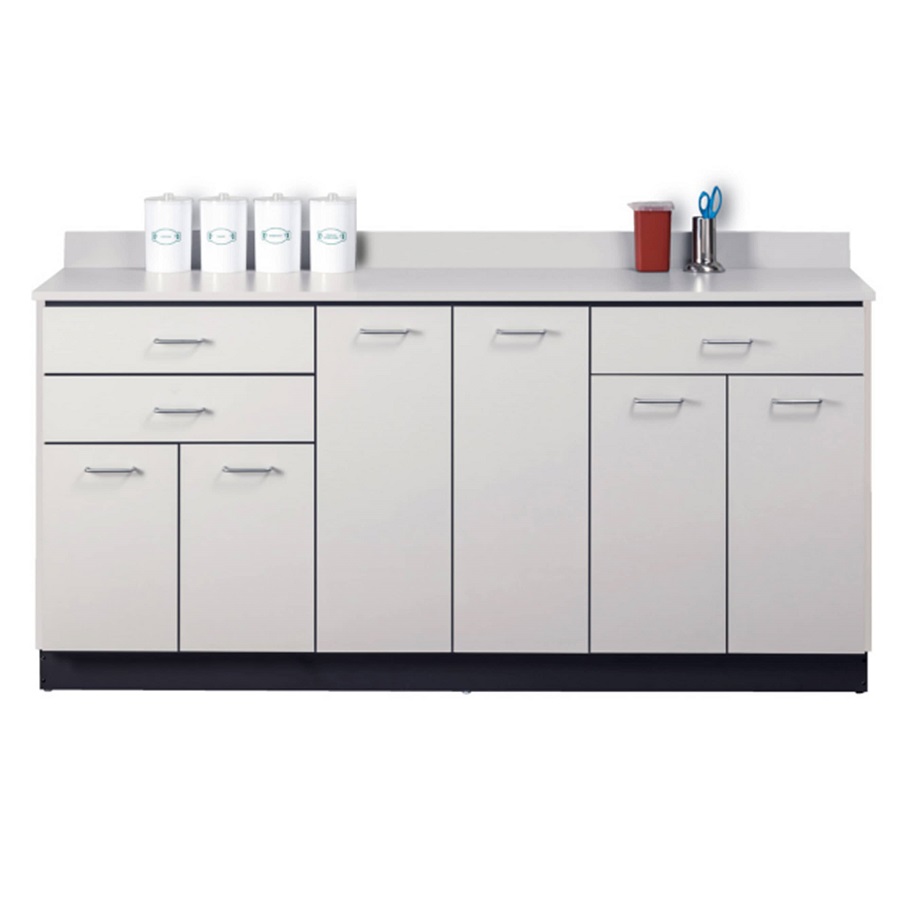
When selecting base cabinets, consider the style that best complements your space. Options range from modern and sleek designs to traditional and rustic looks. Shaker-style cabinets are popular for their simple lines and versatility, while raised-panel designs can add a touch of elegance. Remember that your choice should harmonize with existing decor and overall theme.
Color and Finish
The color and finish of your cabinets can dramatically impact the room’s atmosphere. Lighter colors can make a small space feel larger and more open, while darker shades can add warmth and depth. Consider finishes that not only suit your aesthetic but are also durable and easy to clean, such as paint, stain, or laminate.
Cabinet Hardware: Function Meets Style
Selecting the Right Hardware
Choosing cabinet knobs and pulls is an essential detail that can enhance both functionality and design. Consider materials like metal, ceramic, or glass to match your cabinet style. Ensure that the hardware is comfortable to use and complements the overall look of your cabinets.
Installation Tips for Hardware
When installing hardware, take care to align it correctly for a professional finish. Measure the distance from the top or bottom of the door to ensure consistency across all cabinets. A template can help make this process quicker and more accurate.
Lighting Considerations
Importance of Proper Lighting
Good lighting can transform the look and functionality of your cabinets. Under-cabinet lighting not only highlights the beauty of your cabinetry but also provides essential task lighting for food preparation areas.
Options for Cabinet Lighting
Consider options such as LED strips or puck lights that can be easily installed under the cabinets. For a more integrated look, recessed lighting can be a great choice. Ensure that the lighting complements your cabinet color and style, enhancing the overall ambiance of your space.
Sustainable Choices
Eco-Friendly Materials
If sustainability is a priority, explore eco-friendly cabinet options made from recycled or sustainably sourced materials. Look for cabinets that are certified by organizations like the Forest Stewardship Council (FSC), which ensures responsible forest management.
Low-VOC Finishes
Opt for low-VOC (volatile organic compounds) paints and finishes to improve indoor air quality. These products reduce harmful emissions while still providing a beautiful, durable finish.
Future-Proofing Your Installation
Planning for Change
As you install your base cabinets, consider future needs and potential changes in your space. Leave enough room for upgrades, such as larger appliances or additional cabinetry. This foresight will save you from having to redo your installation later on.
Modular Cabinet Systems
Investing in modular cabinet systems can provide flexibility. These systems allow you to add or rearrange components easily, adapting your kitchen or bathroom to your evolving needs.
Conclusion
Installing base cabinets might seem daunting, but with the right tools, materials, and a clear step-by-step plan, you can achieve professional results. Remember to take your time, measure accurately, and enjoy the process of transforming your space. With these tips and techniques, your newly installed base cabinets will be both functional and stylish, enhancing your home for years to come.

