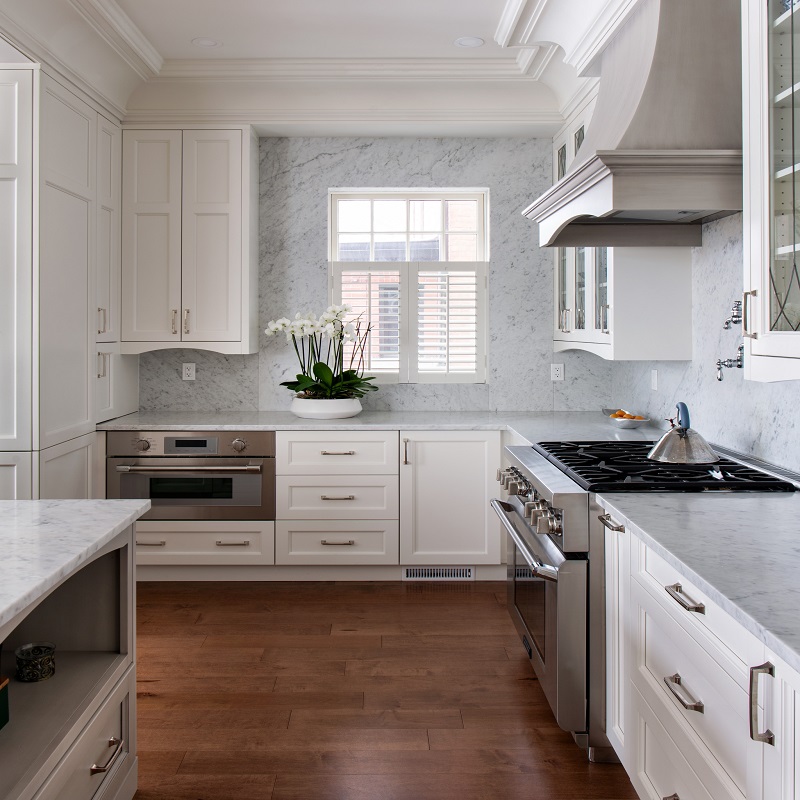
Transforming your kitchen can be a rewarding endeavor, especially when it comes to painting cabinets white. This process not only revitalizes the space but also enhances its overall aesthetic appeal. In this comprehensive guide, we will delve into each step required to achieve the ultimate transformation of your kitchen through white cabinet painting.
The Appeal of White Cabinets
Why Choose White?
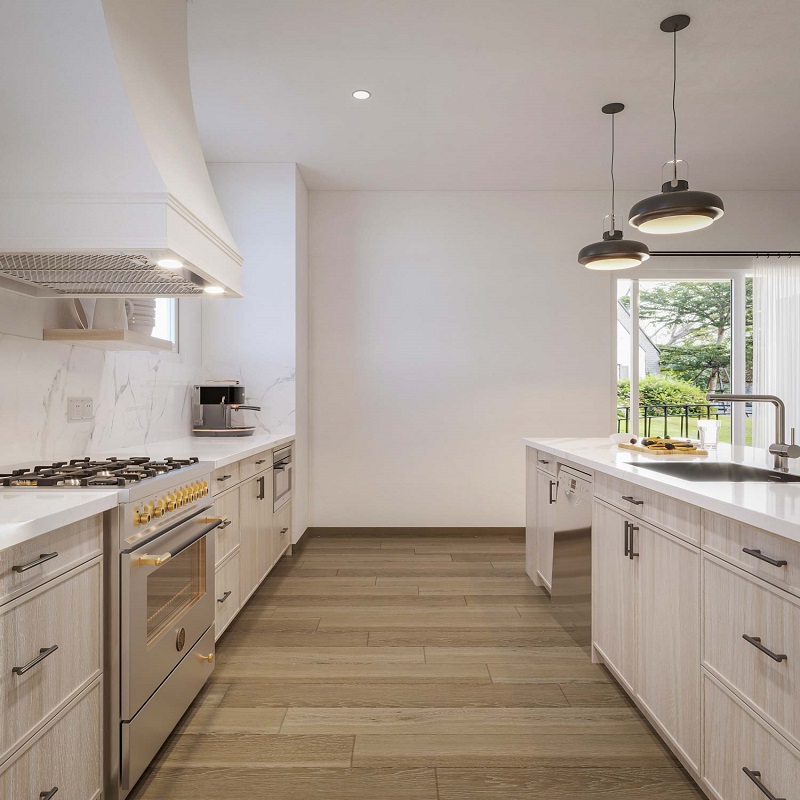
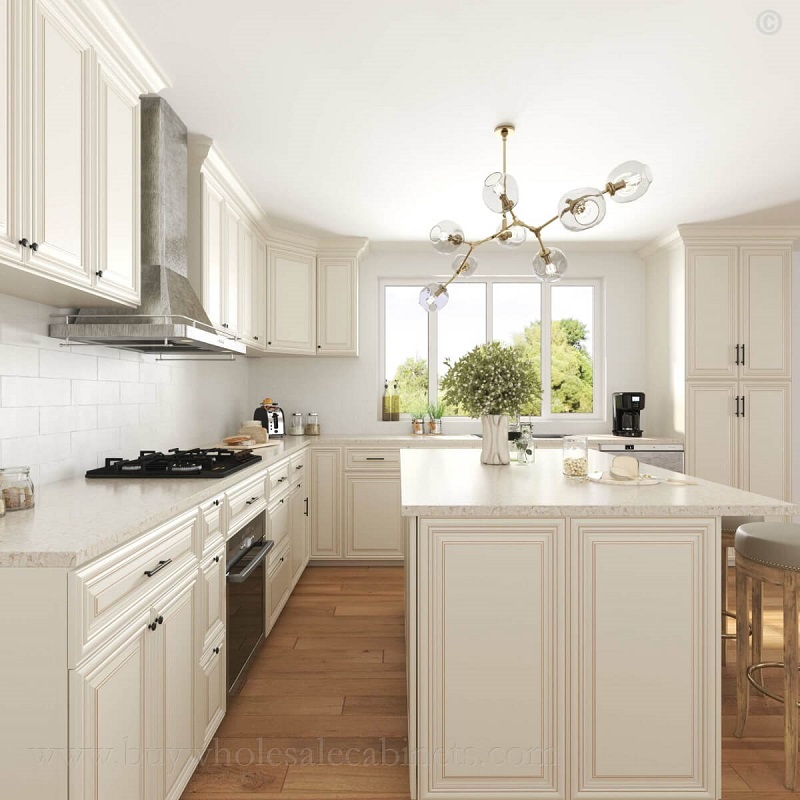
White cabinets painting have become a staple in modern kitchen design due to their timeless appeal. They create an illusion of space, making kitchens appear larger and more open. This is particularly beneficial for smaller areas where darker colors can make the space feel cramped. Additionally, white is incredibly versatile, pairing well with various color schemes and design styles. Whether you prefer a modern, traditional, or rustic look, white cabinets can seamlessly integrate into any aesthetic, providing a clean and fresh backdrop.
Light Reflection and Atmosphere
One of the standout features of white cabinets is their ability to reflect light. A well-lit kitchen is not only inviting but also functional, making cooking and entertaining more enjoyable. White surfaces can amplify natural light, brightening up the entire room and creating an airy atmosphere. This aspect is especially important in kitchens that may lack sufficient windows or sunlight. The use of white can drastically change the feel of the room, making it more cheerful and welcoming.
Planning Your Project
Assessing Your Kitchen
Before diving into the painting process, it’s crucial to assess your kitchen and determine what you want to achieve. Take a close look at your cabinets: are they solid wood, laminate, or another material? Each type may require different preparation methods. Consider the overall style of your kitchen and how white cabinets will fit in. Creating a vision board can help you visualize the final outcome and keep you motivated throughout the project.
Gathering Necessary Supplies
Preparation is key to a successful painting project. Gather all the necessary supplies, including high-quality paint (preferably semi-gloss or satin), primer, sandpaper, painter’s tape, brushes, rollers, and drop cloths. Investing in good-quality materials will yield better results and ensure the durability of the finish. Additionally, consider a paint sprayer for a more professional finish if you’re comfortable using one. Having everything on hand will make the process smoother and more efficient.
Disassembling Your Cabinets
Removing Doors and Hardware
To achieve the best results, it’s advisable to remove cabinet doors and hardware before painting. Start by carefully unscrewing hinges and removing knobs or handles. It’s a good idea to label each door and its corresponding hardware to simplify reassembly later. This step not only allows for better access to all surfaces but also helps prevent paint drips on the cabinet frame.
Organizing Your Workspace
Setting up a well-organized workspace is essential. Choose an area that is well-ventilated and has good lighting to facilitate your work. If possible, place the cabinet painting doors on sawhorses or a flat surface to make painting easier. Lay down drop cloths to protect the surrounding areas from paint splatters. An organized workspace will keep you focused and make the entire process more enjoyable.
Cleaning and Preparing Surfaces
Cleaning for Optimal Adhesion
Once the cabinets painting are disassembled, it’s time to clean all surfaces thoroughly. Use a mixture of warm water and mild detergent to remove grease, grime, and dust. Pay special attention to areas around handles and corners, where dirt tends to accumulate. This cleaning step is crucial for ensuring that the paint adheres properly, leading to a smoother finish. After cleaning, rinse the surfaces with water and allow them to dry completely.
Sanding and Smoothing Surfaces
After cleaning, lightly sand all surfaces using fine-grit sandpaper. Sanding helps to create a rough texture for better paint adhesion and removes any existing imperfections. If your cabinets have a glossy finish, this step is especially important, as it allows the new paint to bond more effectively. Once you’ve sanded the surfaces, wipe away any dust created during the process with a damp cloth, ensuring a clean base for primer.
Priming Your Cabinets
The Importance of Primer
Applying primer is a critical step in the cabinet painting process. Primer not only improves paint adhesion but also helps to cover up stains, imperfections, and wood grain, resulting in a more uniform final appearance. A high-quality primer designed specifically for cabinets painting will ensure a smooth and durable finish, enhancing the overall longevity of your paint job.
Applying Primer Evenly
Using a brush or roller, apply a thin, even layer of primer to all cabinet surfaces. Start with the edges and corners using a brush for precision, then switch to a roller for larger flat areas. It’s important to allow the primer to dry completely according to the manufacturer’s instructions. Depending on the coverage, you may need to apply a second coat of primer for optimal results. Once dry, lightly sand the primed surfaces again to smooth out any imperfections before moving on to paint.
Painting the Cabinets
Selecting the Right Paint
Choosing the right paint is crucial for achieving a durable finish. Look for high-quality paint specifically designed for cabinetry, as these formulations are engineered to withstand wear and tear. Acrylic or latex paints are popular choices, providing excellent durability and ease of use. If you prefer a more robust finish, consider oil-based paint, keeping in mind that it requires longer drying times and cleanup with solvents.
Applying the First Coat
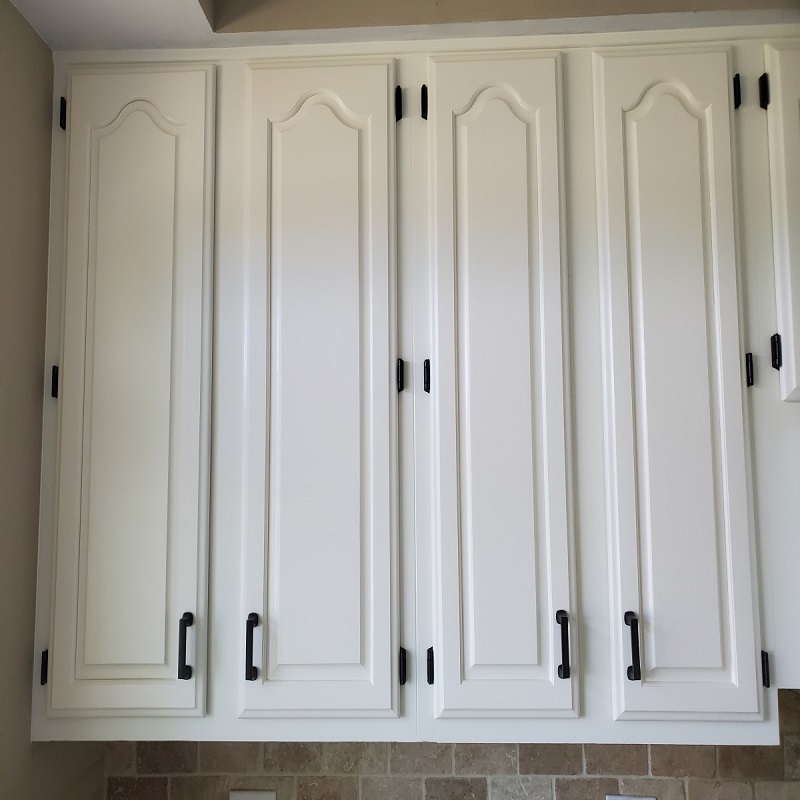
Once the primer is dry, it’s time to apply the first coat of white paint. As with the primer, start by painting the edges and corners with a brush, ensuring thorough coverage. After that, use a roller for the flat surfaces, working in long, even strokes. This method helps to avoid roller marks and creates a more professional finish. Allow the first coat to dry completely before evaluating the coverage. Depending on the paint’s opacity, you may need to apply additional coats for an even, uniform look.
Finishing Touches
Sanding Between Coats
To achieve a smooth, professional finish, lightly sand the surface between paint coats using very fine sandpaper (around 320-grit). This step helps eliminate any imperfections and ensures better adhesion for subsequent layers. After sanding, wipe away any dust with a clean cloth, preparing the surface for the next coat of paint. This meticulous attention to detail is what sets apart a DIY project from a professional job.
Applying Final Coats
Once you have completed the sanding process, apply additional coats of paint as needed. Follow the same application technique as before, allowing adequate drying time between each coat. Evaluate the coverage after each layer; the number of coats required will depend on the paint’s opacity and the original color of your cabinets. After applying the final coat, allow the paint to cure completely before reattaching the hardware and doors.
Reattaching Doors and Hardware
Organizing Hardware for Reassembly
After the final coat of paint has dried thoroughly, it’s time to reattach the cabinet doors and hardware. Use the labeled bags from earlier to find the correct screws and hinges. This organization will save you time and frustration during reassembly. Carefully align each door with the cabinet frame, ensuring that everything is secure and operates smoothly.
Final Adjustments
Once all doors and hardware are reattached, take a step back to evaluate the overall look. Make any necessary adjustments to hinges or handles for a polished appearance. Check that all doors open and close properly, and ensure that the finish is uniform across all surfaces. This final evaluation is crucial for achieving a professional look and ensuring that your hard work pays off.
Cleaning Up Your Workspace
Proper Cleanup
After completing the project, take time to clean your workspace thoroughly. Dispose of any used materials responsibly, and wash brushes, rollers, and other tools with soap and water (or solvents for oil-based products) to prolong their life. Remove drop cloths and ensure that any paint spills are cleaned up. A tidy workspace not only looks better but also prepares you for any future projects.
Enjoying Your Transformed Kitchen
Revel in Your Achievement
With your kitchen cabinets now painted white, it’s time to enjoy the transformation. Step back and admire your hard work—this project has not only enhanced your kitchen’s appearance but also potentially increased its value. A fresh, bright space can make cooking and entertaining more enjoyable, providing a welcoming environment for family and friends.
Conclusion: Embrace the Change
Painting your kitchen cabinets white can significantly transform your space, creating an inviting and timeless atmosphere. By following this step-by-step guide, you can achieve a professional finish that enhances both the aesthetic and functional qualities of your kitchen. Enjoy the satisfaction of completing this rewarding project and take pride in your newly transformed kitchen!